Inserting Attribute Dimensions on the Sheet--Example
Cloud data source types: Oracle Essbase, Planning Ad Hoc
On-premises data source types: Oracle Essbase
Using Essbase Sample Basic, from the Action Panel, select Ad hoc analysis to place dimensions, including page dimensions, on the worksheet, as shown in Figure 9-1.
Figure 9-1 Initial Ad Hoc Grid

Now click Insert Attributes, ![]() .
.
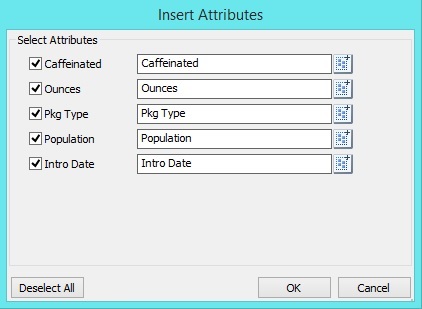
In the Insert Attributes dialog box, note that all attribute dimensions are selected by default:

Click OK and you can see, as shown in Figure 9-2, that the attribute dimensions Caffeinated, Ounces, Pkg Type, Population, and Intro Date have been added to the worksheet as page dimensions.
Figure 9-2 Ad Hoc Grid After Adding Attribute Dimensions

You can also choose to add attribute members, instead of attribute dimensions, to the sheet. In the Insert Attributes dialog box, click ![]() for an attribute dimension and select an attribute member to use.
for an attribute dimension and select an attribute member to use.
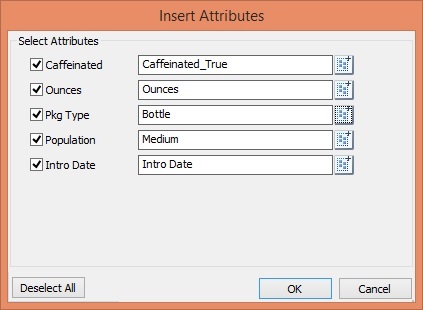
In the Insert Attributes dialog box, notice that the attribute dimensions Caffeinated, Pkg Type, and Populations, the attribute members Caffeinated_True, Bottle, and Medium are selected:

In Figure 9-3, notice that the attribute members Caffeinated_True, Bottle, and Medium, along with the Ounces and Intro Date attribute dimensions, have been added to the worksheet as page dimensions.
Figure 9-3 Ad Hoc Grid After Adding Attribute Members and Dimensions

See also Guidelines on Inserting Attributes.