Creating a User Mapping in EnterpriseOne
The application for mapping EnterpriseOne user IDs is available only on the EnterpriseOne Windows client.
Sign in to the EnterpriseOne Windows client.
Select the System Administration Tools menu (GH9011), Security Maintenance, Security Maintenance Advanced and Technical Operations, and then double-click SSO Environment Configuration Tools.
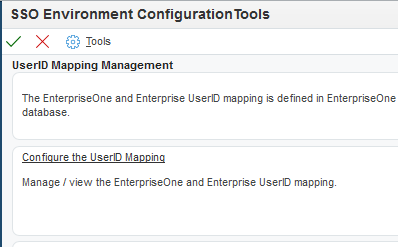
On SSO Environment Configuration Tools, select the Configure the UserID Mapping link.
On Work With SSO E/E1 UserID Mapping, click the Add button.
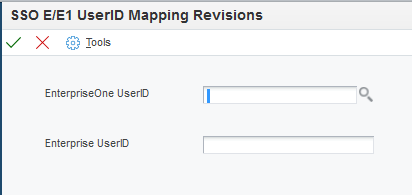
On SSO E/E1 UserID Mapping Revisions, complete these fields:
EnterpriseOne UserID. Enter the existing EnterpriseOne user ID.
Enterprise UserID. Enter the new long user ID created in LDAP.
This is the same as the user ID entered in the "mail" field in OID or "userPrincipalName" in Active Directory.
Important:All entries MUST be entered in upper case.
EnterpriseOne saves the information in the F00927 table as shown in the following screenshot:
