Working with Logic Extension Assertions (Release 9.2.7.4)
You can validate a logic extension by saving a set of inputs and a set of outputs using the built-in framework provided by the JD Edwards Orchestrator Studio. You can save multiple test cases and run them individually or as a set. This feature enables you to test and revalidate the logic whenever something changes, for example, after applying a software update.
To create an assertion (test) case:
-
Create your logic extension. See Creating a Logic Extension.
-
Click the Test tab.
The system displays the Assertion Case Selection drop-down list with the default value<Clear>.Note: The grid displays the Name, Input, and Output columns. -
Enter the input values in the Input field.
-
Click the Run button.
The system displays the output value in the Output field, details in the Response and Expected Error sections, and enables the Save As button.
To save the input and output values as a test case, click the Save As button.
In the Save As pop-up window, retain the auto-generated name or change the name in the Name field, and then click OK.
The system displays the newly created test case name in the Assertion Case Selection drop-down list.
Note: The grid in the Test tab now displays the Name, Input, Expected Output, and Actual Output columns. You can also see the read-only Expected Error section below the grid. Click the Menu icon and select Delete or Rename options if required for a test case.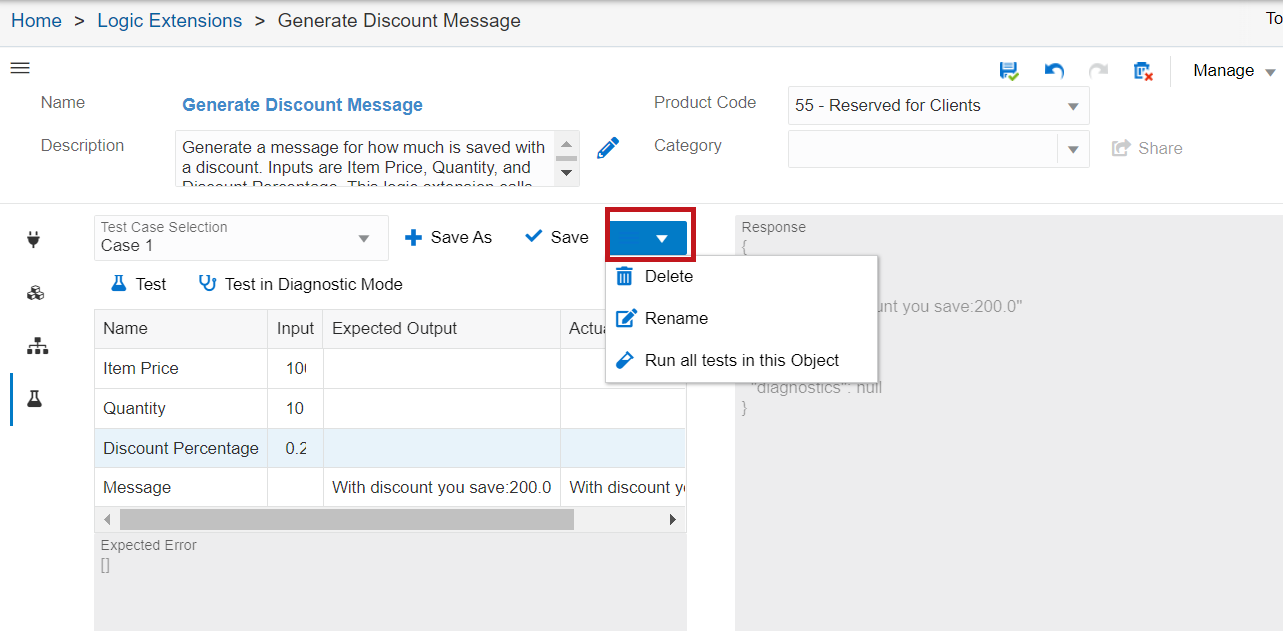
-
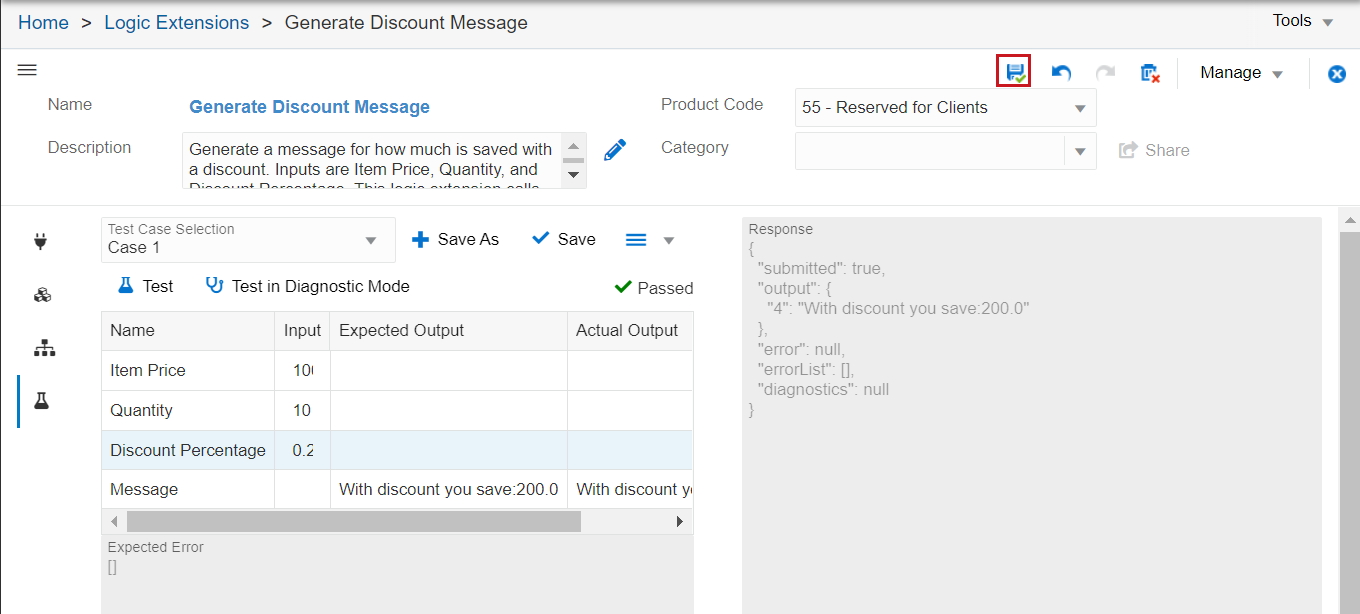
To compare the test case output with the actual output, click the Run button again, and verify the values in the Expected Output and the Actual Output fields. You can also change the values in the Input field to compare the outputs.
If there is a single value or an array value difference between the actual output and the expected output, the system displays the value in the Actual Output column in red. Additionally, the system displays the status of the result as Passed or Failed. You can review the details in the Response and the Expected Error sections.
If there is any difference between the actual error and the expected error, the system displays a red border around the Expected Error section.
Similarly, you can create and test multiple test cases. To create a new test case with
different input and output, reset the value in the Test Case Selection drop-down list as
<Clear>, enter input values in the grid, click Test,
click Save As, retain the auto-generated name, or enter a new name, and then
click OK.
You can click the Assertion Case Selection drop-down list to view all the test cases. To modify an existing test case, select the test case from the Test Case Selection drop-down list, enter the new input values in the grid, click Test, and then click Save.
Running Assertion Cases in a Batch
To run assertion cases in a batch:
-
After you create all the required the assertion cases, click the Menu icon.
-
Click Run all assertions in this object.The system displays the Test Report window and the title for this window displays the Logic Extension name. In the Test Report window, verify the progress and status of the assertion cases.
-
To download the assertion report, click Create Report.The system downloads a csv file with the assertion case details.
To save the assertion cases as User Defined Objects (UDO), click Save at the right corner of the Logic Extension window.