Adding and Configuring Sections in the Designer Pane
You can add multiple sections to a Designer Pane.
To add a section:
Open a Composed EnterpriseOne Page that contains a Designer Pane. You must be in the Page Composer to work with the Designer Pane.
Click the Add a New Section button located at the bottom of the Designer Pane frame. This action displays the Initialize Section dialog.
Specify the number of rows and columns that you want added to the grid in the new section as shown in the following example:
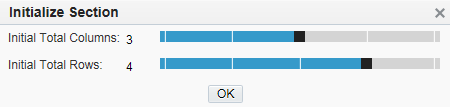
A new section is added in the Designer Pane with the specified number of rows and columns. (Release 9.2.0.3)
Click Default Section Title in the title bar of the section frame to enter a title for the section of the Designer Pane. The title that you enter can be up to 80 characters. You can edit the title by clicking the Edit the title of this section icon.
Note:If the Designer Pane contains only one section, the Default Section Title, Configure Section, and Delete this Section icons are not displayed.
Click Configure Section icon to configure Collapsible setting for the selected section as shown in the example:
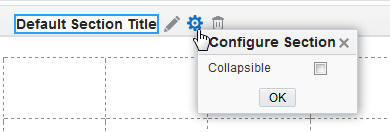
Collapsible
Select to create a collapsible section in the Designer Pane.
In the Composed EnterpriseOne Page, a Collapse this section button is displayed adjacent to the section title of the Designer Pane content type. You can use this button to either collapse or expand a section in the Designer Pane of the Composed EnterpriseOne Page. The system preserves the Collapsible state across user sessions. (Release 9.2.0.3)
Click OK to save and close the configure section setting.
Add components to this section of the Designer Pane as described in the Adding and Configuring a Component in Designer Pane.
Click Save to save content to the Composed EnterpriseOne Page.
Close the Page Composer.
You cannot delete a section, if the Designer Pane contains only one section.