Creating the JMS Server
To create the JMS Server:
From the WebLogic Administration Console, select the domain in which you want to create the JMS Server.
Click on YourDomain > Services > Messaging > JMS Servers
In the right panel click the New button.

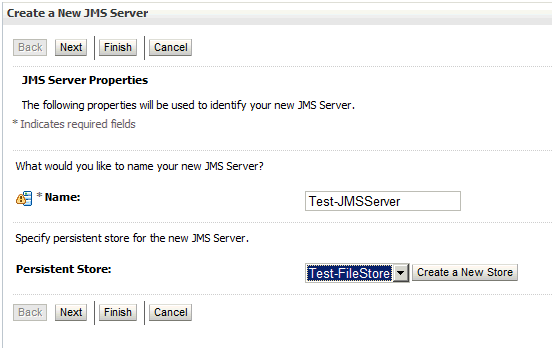
On Create a New JMS Server, enter a value for the name of the JMS server to be created. In this guide, the name is Test-JMSServer.
Use the pulldown to select the Persistence Store.
Note: If Persistence Store does not exist you must create a new Persistence Store by clicking the Create a New Store button.Click the Next button.

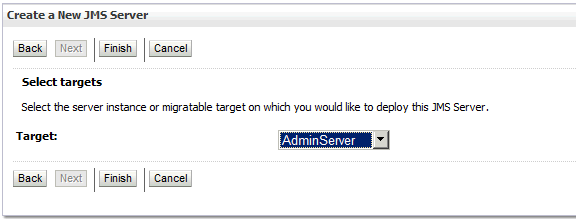
On Create a New JMS Server, select the Weblogic server node and click the Finish button.
As shown below, at this point using the example in this guide a JMS server called Test-JMSServer is created. This Test-JMSServer is targeted to AdminServer. However this can be targeted to any other container available, which may not necessarily be AdminServer
