Manually Installing WebSphere Web Client (WASH4A; Tools Releases Prior to 9.2.9)
For a package that includes an WASH4A Web Client, be aware that the installers for IBM WebSphere Express, IBM WebSphere for Developers, and WebSphere 9.0 place data into the registry specifically for the Microsoft Windows user that is signed into Microsoft Windows at the time of installation. You must sign into Microsoft Windows using this same user when you install and run the JD Edwards EnterpriseOne Development and Web Clients.
For WebSphere Application Server 9 (9.0.0.0 to 9.0.0.2 only) version, before installing WASH4A, you must perform this prerequisite procedure:
Run
Regedit.exeto edit the Windows Registry.Back up Windows Registry. For example, you could use File > Export registry.
In the Windows Registry, rename this entry from 8.5.0.0 to 9.0.0.0 by right clicking and choosing Rename:
HKEY_CURRENT_USER\SOFTWARE\WebSphere
                            Application Server\8.5.0.0
Highlight and right click the 9.0.0.0 directory, choose MajorVersion name, and click Modify...
Update the Value data field from 8 to 9.
Close the Windows Registry window and restart the system.
If you run the Development Client installer that includes the installation of a package for the WASH4A Web Client and the corresponding version of WebSphere Express, Developers is not installed, the installer displays an error during the installation of the web component. The standard Microsoft Windows components of the Development Client will install and function normally, but you will not be able to run the Web Client.
Perform these steps to install the WebSphere Express, WebSphere for Developers, or WebSphere 9.0 Web Client (WASH4A):
Right-click on the following program and select Run as Administrator.
\\<deployment server name>\<release>\OneWorld Client Install \ThirdParty\WebDevFeature\WASH4A\install\setup.exeCaution:For Microsoft Windows, you must right-click on the executable and select Run as Administrator from the drop-down.
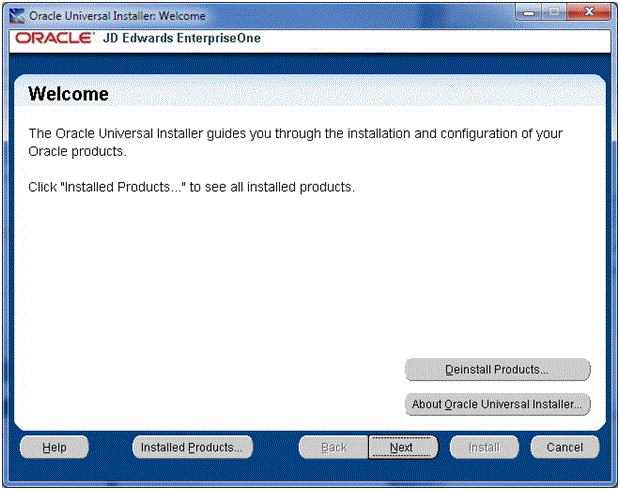
On Welcome, click the Next button.
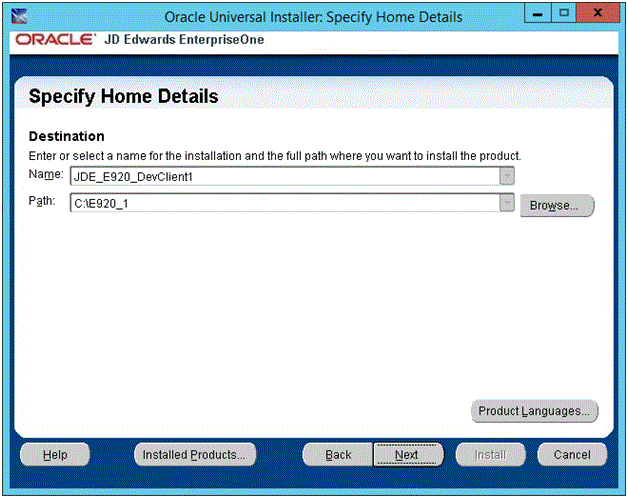
On Specify Home Details, click either one of the drop downs and select the same name or path as the Development Client. When you select a path or name from one of the drop downs, the corresponding name or path will automatically be displayed in the other field.
Caution:It is imperative that you select the Oracle Home Name and Path where the Development Client is installed. If you do not do this, the installation will fail or the resulting installation will not be runnable.
Click the Next button.
If multiple WebSphere Application Servers are installed, you will see the window entitled: WebSphere Application Server Selection. You should verify the radio button is selected that corresponds to the WebSphere Application Server path that the Development Client should use. By default, the system selects the highest version. You can change the version if required.

Click the Next button.

On Summary, click the Install button.

The installer displays a progress screen.
If running as a feature in a package, you will see the End of Installation screen. Click the Exit button to complete the Development Client installation and return to the OUI installer.
Otherwise, if you are running the WASH4A installer manually, you will not see the End of Installation screen.

On the Exit dialog, click the Yes button to exit the OUI installer.
If you encounter errors during the installation process, refer to these troubleshooting chapters in this guide:
- Troubleshooting the Workstation