Installing the Oracle Database Client
To install an Oracle database client:
- In the directory where you expanded the download in the previous step in this
chapter, run this setup file to start the Oracle database client
installer:
\client32\setup.exe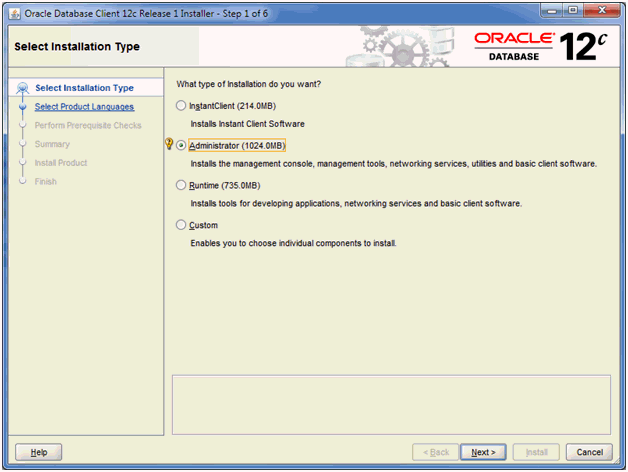
- On Step 1 of 6, select the Administrator radio button and click the
Next button.
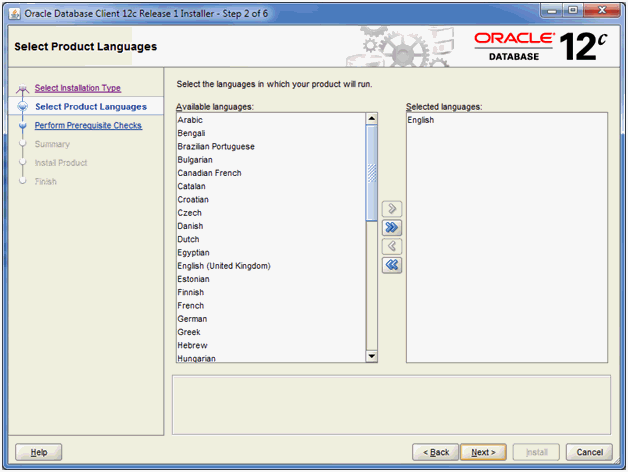
- On Step 2 of 6, select the English language from the list of Available
languages and click the Next button.
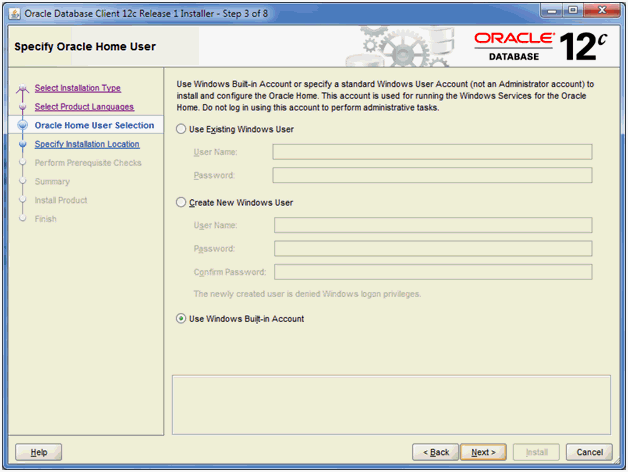
- On Step 3 of 8, you can accept the default value which is:
Use Windows Built-in Account
Note:Unlike the installation of the database where Oracle recommends not using the built-in account, this option for the database client is acceptable.
- Click the Next button.
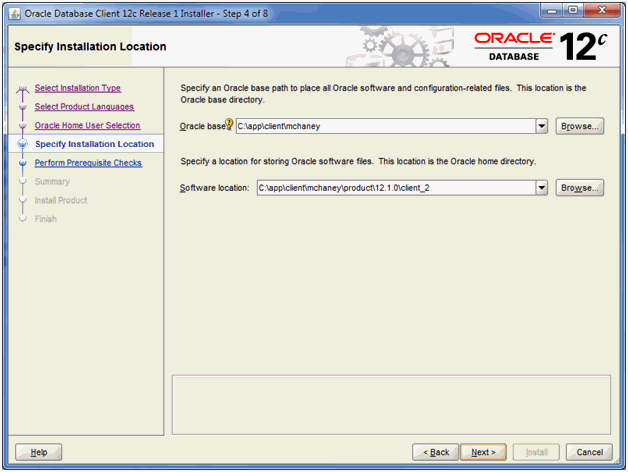
- On Step 4 of 8, enter path values for the Oracle base and Software location.
- Click the Next button.

- On Step 6 of 8, verify the Global Settings and click the Install
button.
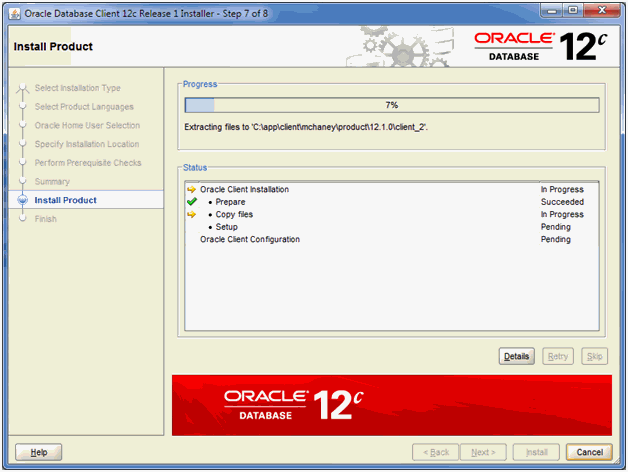
- On Step 7 of 8, the installer displays the Progress.

- On Step 8 of 8, the installer indicates the installation was successful. Click the Close button to exit the installer.