Performing Post-Provisioning Tasks
This section shows you how to perform the post-provisioning tasks.
Prerequisite
Successfully completed the Deployment of a Quick Start or an Advanced Deployment Plan using the JD Edwards One-Click Provisioning Console.
Enabling Enterprise Server Predefined Ports
You must enable Predefined Ports in the jde.ini file on the Enterprise Server. Use Server
Manager to ensure this setting exists:
[JDENET]
enablePredefinedPorts=1
For Release 9.2, the serviceNameListen value is 6017. The next port for
use by net services on the Enterprise Server is defined by the value
serviceNameListen+1 until the value set by
maxNetProcesses= is reached, where the default is value is 6
net processes. Therefore, the default value of 6 net process means you must open
ports in the firewall on the Enterprise Server 6018-6023 for use by net processes.
These ports cannot be in use by any other process running on the Enterprise Server.
If they are already in use, then whatever program is using them must be reconfigured
to use different ports.
Starting the Database in the Secondary Node in RAC
If you are using DB Systems for your database, and if you have enabled RAC within it, if you have followed the recommendation in this Learning Path you have previously stopped the database in the Secondary Node in RAC. At this point you must start the database in the Secondary Node for RAC. The recommended procedure is to use a line command as shown below.
srvctl start instance -d <DB_UNIQUE_NAME> -i <DB_NAME>
where <DB_UNIQUE_NAME> is the name you determined in the
preceding OBE in this Learning Path entitled: xxxx and in the section within that
OBE entited: Setting Up the Secondary Node.
where <DB_NAME> is name you have given the database and which is
appended with a 2. For example, if you gave the database name as ORCL, then the
database name in the Secondary Node is named ORCL2.
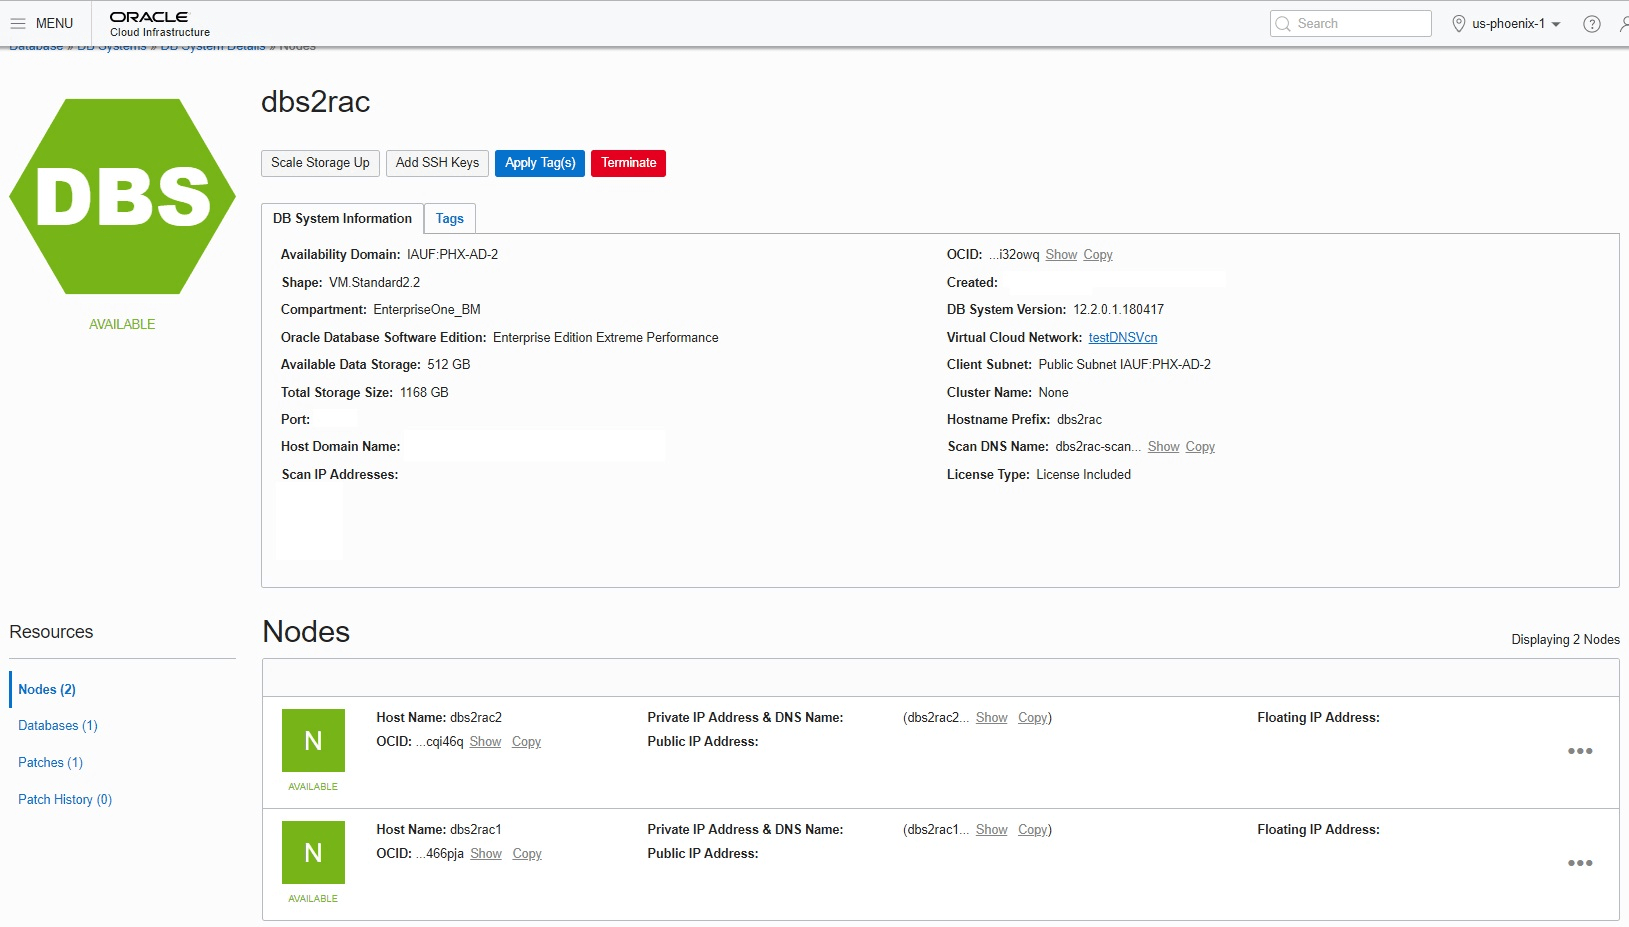
To view details of the Secondary Node in RAC:
- On the Oracle Cloud Infrastructure Console Home page, click the
Navigation Menu in the upper-left corner.
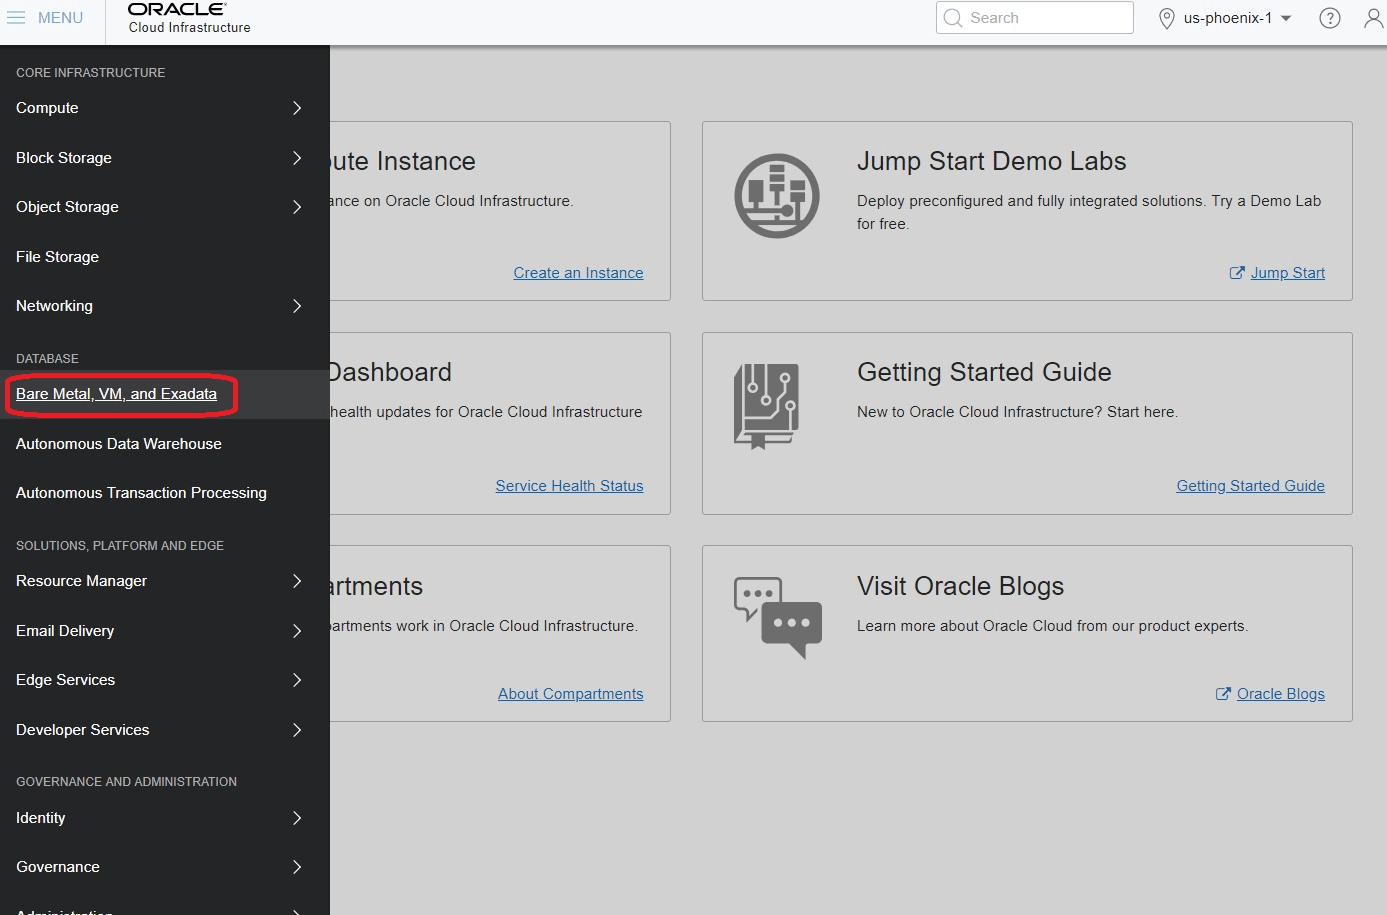
- From the Navigation Menu, in the Database section, click to select Bare Metal, VM, and Exadata.
- In the left panel ensure that DB Systems is selected, and that under List Scope that the applicable COMPARTMENT is selected which contains the DB System with RAC that you created.
- Click the link for your DB System with RAC.
- In the Resources section in the left pane, click Nodes.Details for two Nodes are displayed as shown below:
Setting up Additional Security Configurations
As part of meeting the CIS Benchmarks for secure Linux Machines, you can further secure your One-Click Provisioned Linux environments by performing the below steps:
These settings in the sshd_config file are located at
/etc/ssh.
- Disable TCP Forwarding
Edit the
/etc/ssh/sshd_configfile to set the parameter as follows:AllowTcpForwarding=no Disable Root Login
Edit the
/etc/ssh/sshd_configfile to set the parameter as follows:
Ensure that there are no other entries that might override the above settings. For the settings to reflect, restart the SSH Service using the below command:PermitRootLogin=nosudo systemctl restart sshd
Closing Port 22 on Public IP for Enhanced Security
For enhanced security, it is highly recommended to close Port 22 (SSH) in both the Security List (VCN/Subnet level) and the Network Security Group (NSG) after provisioning is complete. This minimizes potential vulnerabilities and aligns with a stronger security posture.
Follow the below steps to close Port 22 in Security List and NSG:
- Security List:
- Navigate to the OCI Console > Networking > Virtual Cloud Networks (VCN)
- Select the VCN associated with your instance.
- Open the Security List attached to the subnet.
- Locate the ingress rule for Port 22 (TCP) and delete it.
- Network Security Group (NSG):
- Navigate to the OCI Console > Networking > Network Security Groups
- Select the NSG attached to your instance.
- Locate the ingress rule allowing Port 22 (TCP) and delete it.