Generate the Web Server Plug-in for wp_profile
To use an external http port to access the portal, you must generate the plugin file with the new changes.
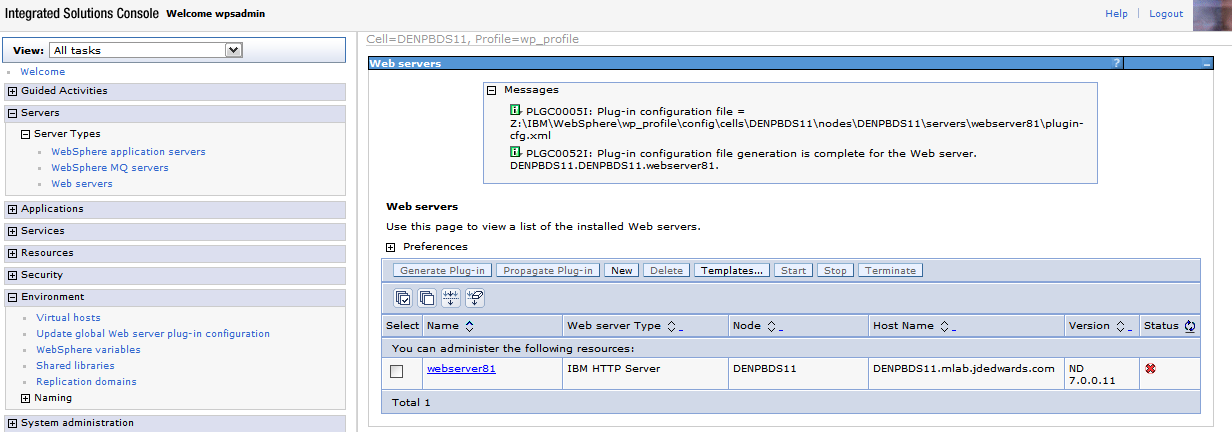
From the portal administration console select Servers, Web servers. Select webserver81 which we just created above and click the generate plugin button.
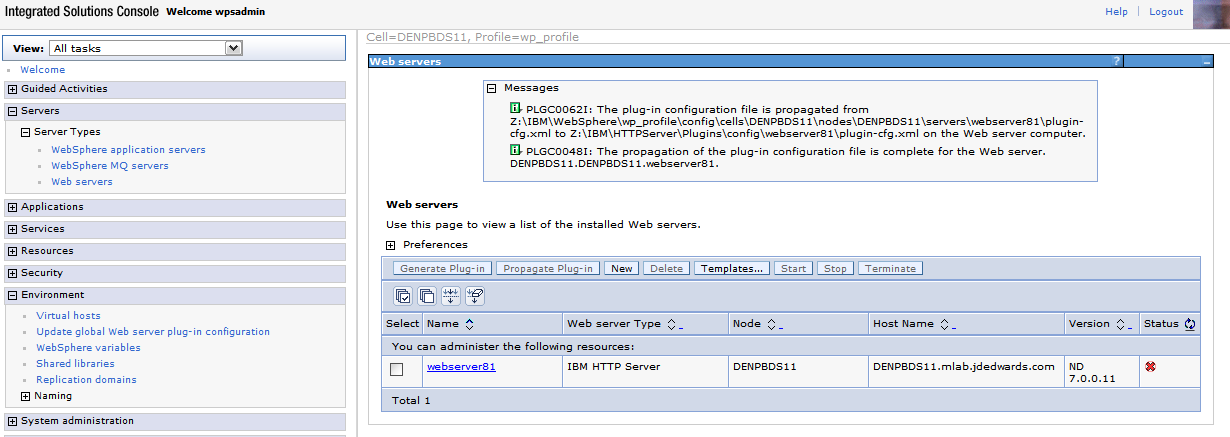
From the portal administration console select Servers -> Web servers. Select webserver81 which we just created above and click the propagate plugin button. Note the location of the new plugin that is displayed in the messages section when the generation and propagation completes.
Open the httpd.conf file for editing.
Add a line for a Listen directive for the external port selected above. For example: Listen 81
Locate the entry in the httpd.conf file with the path to the plugin-cfg.xml file. Verify that the path points to the location of the file generated above. If not, change the path to match the file location.
WebSpherePluginConfig "/u01/IBM/HTTPServer/Plugins/config/wps7httpserver/plugin-cfg.xml"
Restart both the Web server (i.e webserver81) and the WebSphere_Portal servers.