Balance Sheet Case Study Task: Format the Account Descriptions Text
When you set up your row definition, you selected the Enable Level of Detail Rollup check box. In the statement version that you ran, you also specified detail level 5 for the rollup. Because you enabled the level of detail, you can use the levels as a basis for formatting the account descriptions and balances.
To format the account descriptions text, complete the following steps:
Select the entire table to display the Table tab, and then click100 in the Rows to Display section of the tab.
Changing the number of rows to display is an optional step, but making the change enables you to view all of the accounts descriptions and balances.
Select the Description column and select Highlight from the Conditional Formatting section on the Column tab.
In the Highlight window, apply formatting for account descriptions at level of detail 3:
Select Account Level of Detail under the Rowset heading from the Data Field list.
Enter 3 in the Value field.
Select 10pt from the Size list.
Click the Bold icon.
Click OK.
All account descriptions for level of detail 3 appear in the table grid with the formatting that you applied.
In the Highlight window, apply formatting for account descriptions at level of detail 4:
Select Account Level of Detail under the Rowset heading from the Data Field list.
Enter 4 in the Value field.
Enter 6 for the Text Indent value.
Click the Bold icon.
Click OK.
All account descriptions for level of detail 4 appear in the table grid with the formatting that you applied.
In the Highlight window, apply formatting for account descriptions at level of detail 5:
Select Account Level of Detail under the Rowset heading from the Data Field list.
Enter 5 in the Value field.
Enter 12 for the Text Indent value.
Click OK.
All account descriptions for level of detail 5 appear in the table grid with the formatting that you applied.
Click the Save icon to save your layout.
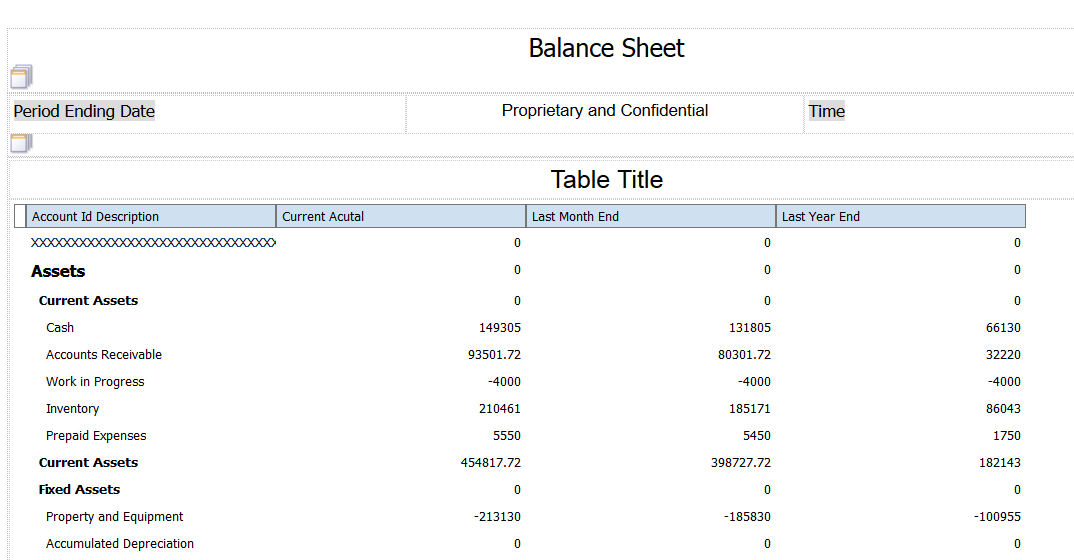
After you complete the steps in this task, your statement layout should look like the following image: