Balance Sheet Case Study Task: Remove the Layout Editor Totals from the Grid
The Layout Editor totals the values in the columns that you place in the table grid. However, you selected the Enable Level of Detail Rollup check box when you set up your row definition, so the OVFS process generated subtotals and totals based on the level of detail. You will remove the totals generated in the Layout Editor and retain the totals generated by the OVFS process.
To remove BI Publisher Layout Editor totals from the grid, complete the following steps:
Select the table in the layout.
In the Show section of the Table tab, select the table icon that does not have the bottom line highlighted.
Click the Save icon to save your layout.
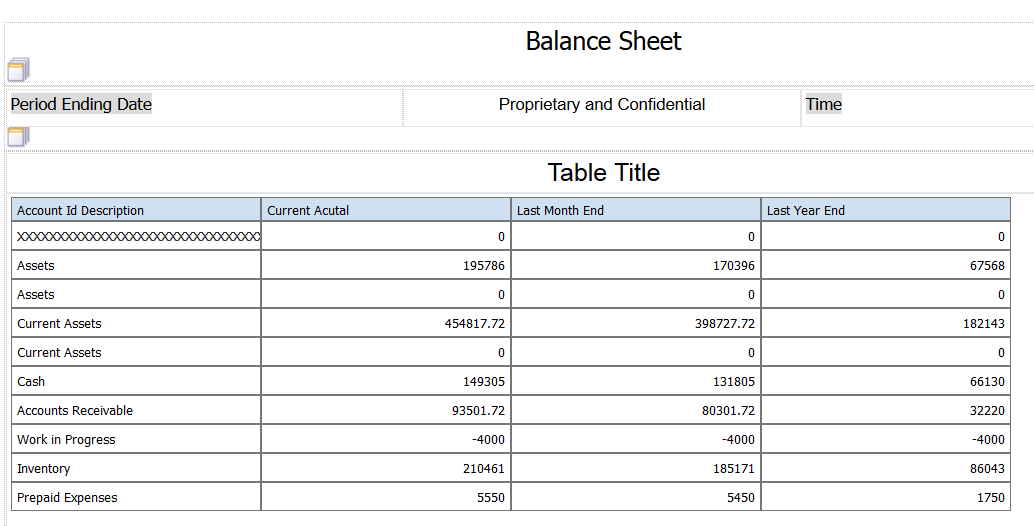
After you complete the steps in this task, your statement layout should look like the following image: