Creating a New Application Server Profile (optional)
To create a new application server profile:
Launch the profile creation wizard. For example:
cd
                        Z:\IBM\WebSphere\AppServer\bin\ProfileManagement
Z:\IBM\WebSphere\AppServer\bin\ProfileManagement > pmt.batcd /u01/IBM/WebSphere/AppServer/bin/ProfileManagement./pmt.sh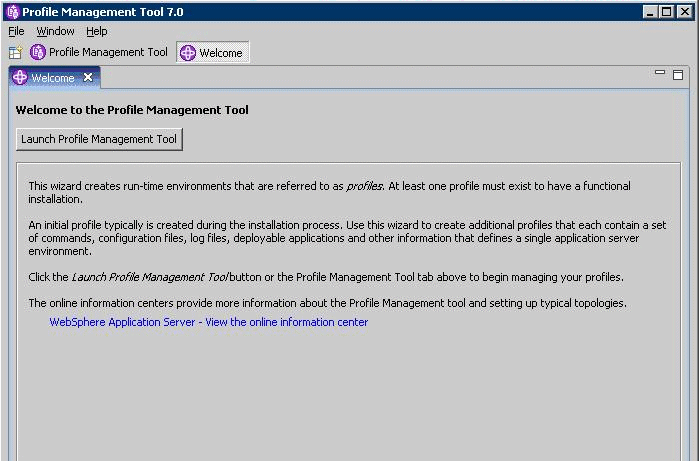
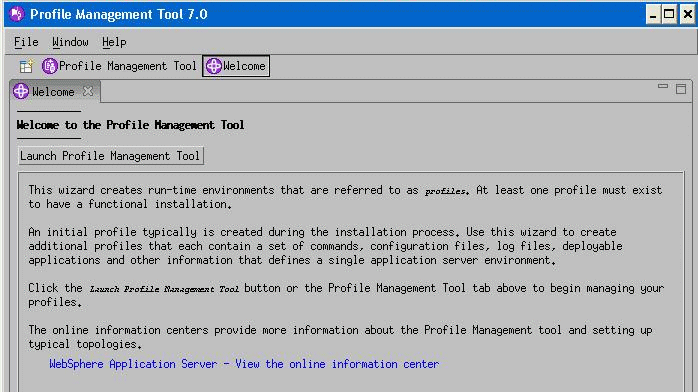
On the Welcome screen, click the Launch Profile Management Tool button.
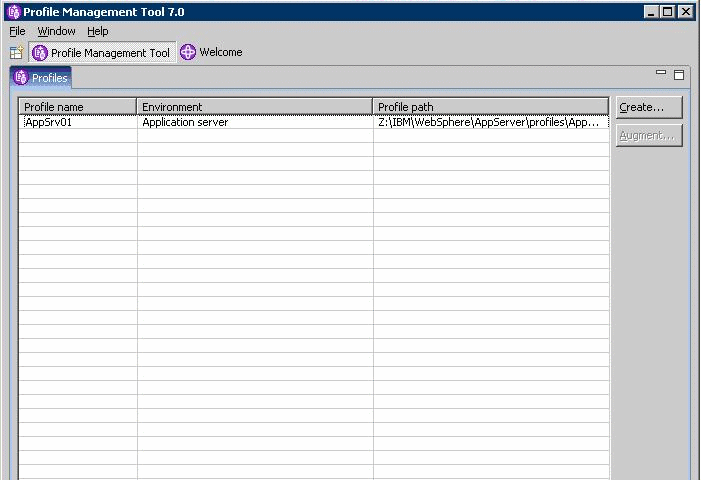
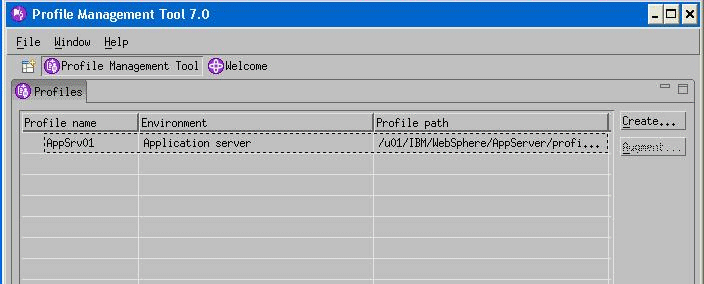
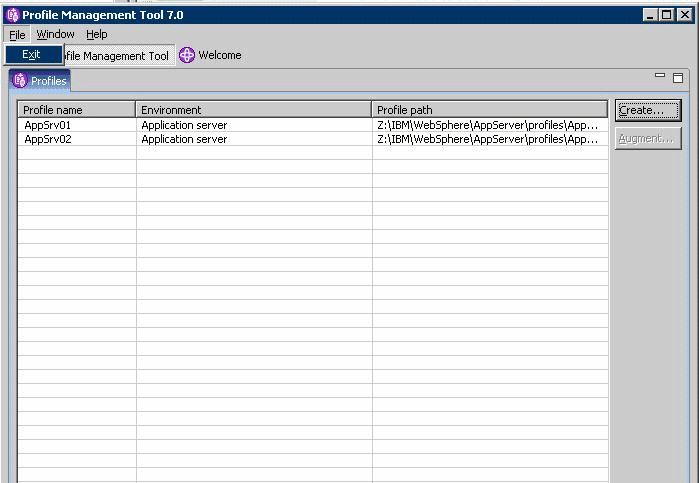
On Profile Management Tool, click the Create button to begin the profile configuration.


On Environment Selection, select Application Server as the type of environment to create.
Click the Next button to continue.
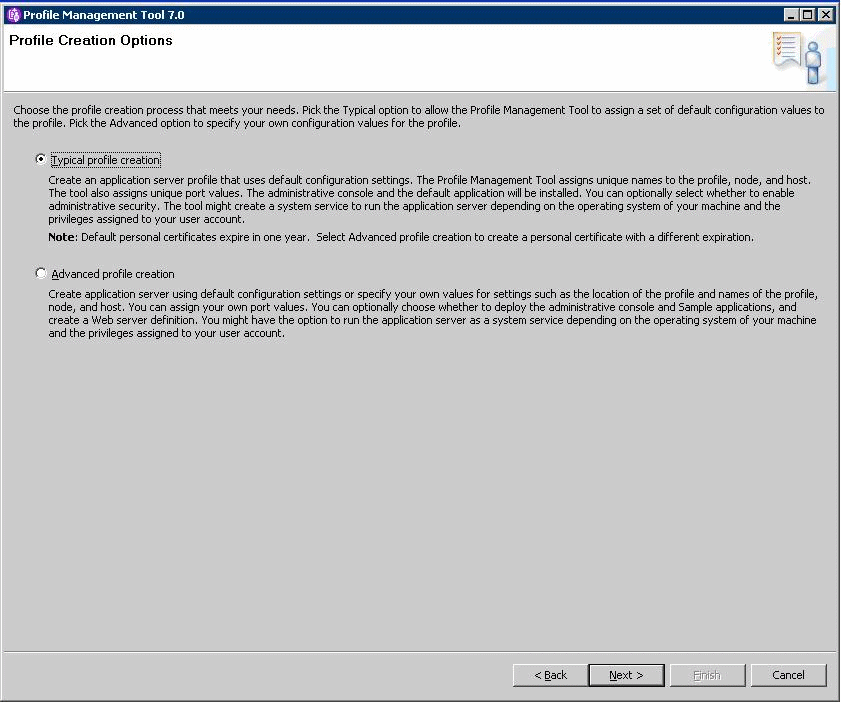
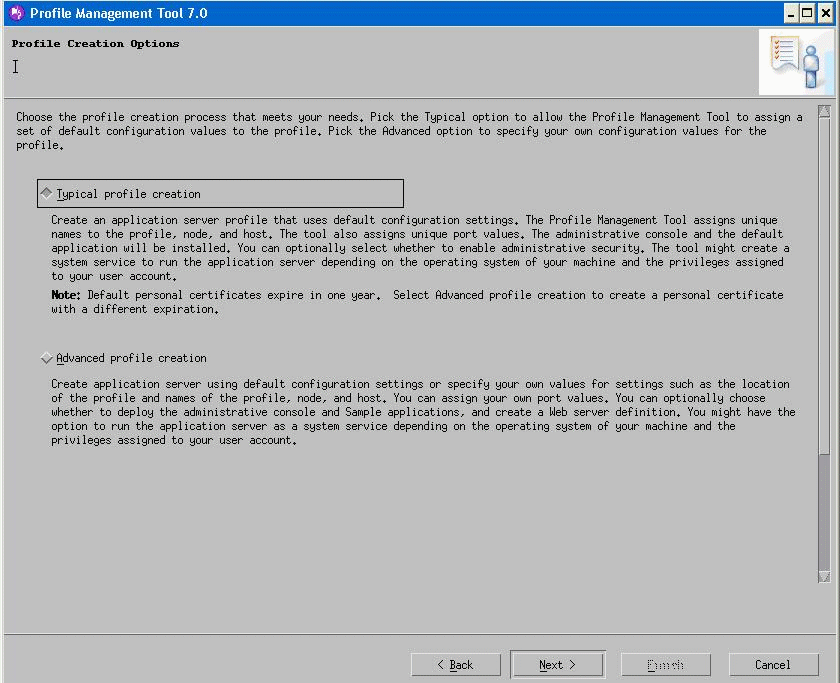
On Profile Creation Options, select the Typical profile creation radio button.
Click the Next button to continue.


Administrative security is enabled for the profile by default. Clear the check box to disable administrative security or enter the user name and password.
On Enable Administrative Security, the check box for the application server profile is checked by default. You can choose either to:
Clear the check box for Enable administrative security to disable server administrative security, or
If the check box is enabled for Enable administrative security, server administration security will be enabled and you must enter the User ID and Password
Click the Next button to continue.

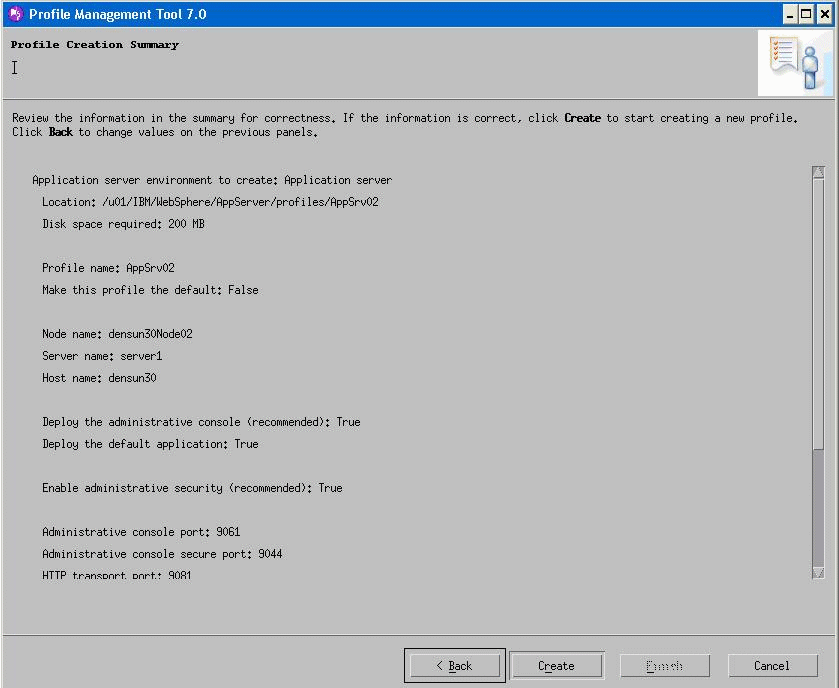
On Profile summary, review your selections.
Click the Create button to start the profile creation.

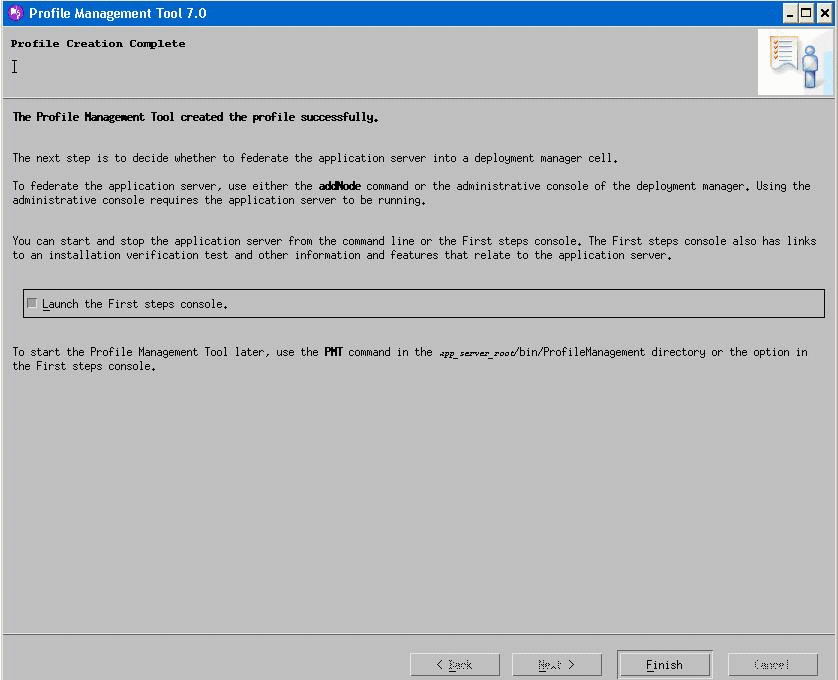
When complete, the installer displays the message: The Profile Management Tool created the profile successfully. It is not necessary to Launch the First Steps console at this time; you can clear the check box, which is checked by default.
Click the Finish button to complete the wizard and the profile configuration and proceed to the final Profiles screen.
Exit the Profile Management Tool by choosing File > Exit.