Installing the IBM HTTP Server 7.0
To install the IBM HTTP Server:
Insert the WebSphere Application Server Supplement CD, Version 7.0 (32-bit) or extract the downloaded image (if you haven't done so already).
Run the install executable that is located in the IHS directory from the extracted location by typically using these commands:
cd x:\dump\was7_windows\sup1\IHSx:\dump\was7_windows\sup1\IHS > install.exewhere
x:is the drive on which you downloaded the WebSphere 7.0 image.mount /cdromcd /cdrom./IHS/install.shNote: The syntax of the mount command can vary by platform, and is not required for Sun platforms.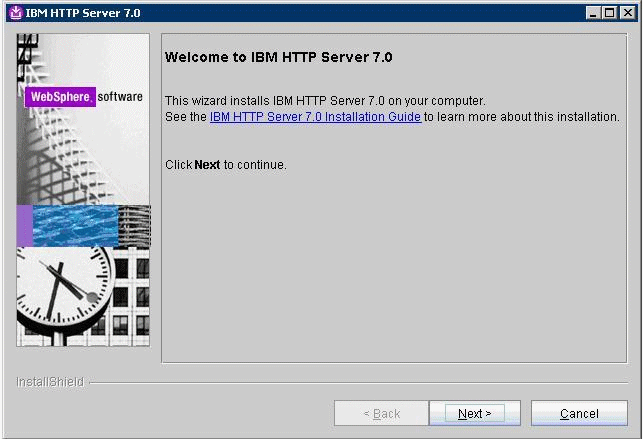
On Welcome, click the Next button to continue.

On Software License Agreement, review the License Agreement and choose an option to accept or decline.
Click the Next button to continue.

On System Prerequisites Check, the installer performs a quick system requirements check on the server. Once the check is complete and successful, click the Next button to continue.
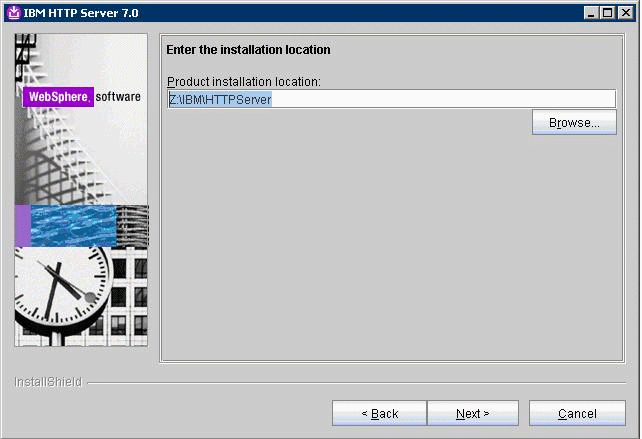
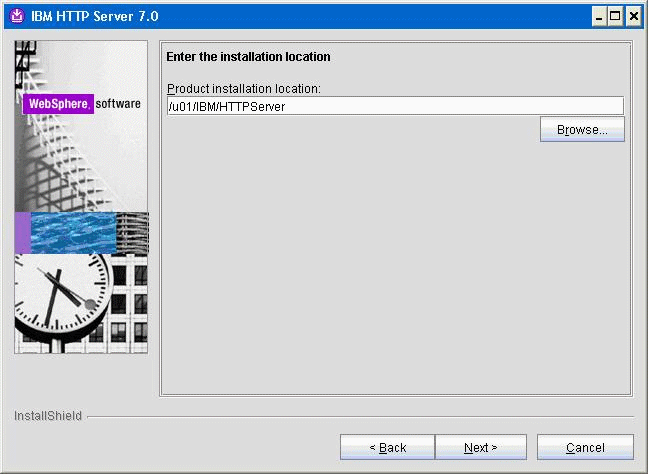
For the install location, enter a valid value for your IBM HTTP Server installation directoryopt/IBM/HTTPServer). Use a value such as:
z:\IBM\HTTPServer/u01/IBM/HTTPServerClick the Next button to continue.

On Port Values Assignment, use the default port or enter different ports.
Click the Next button to continue.
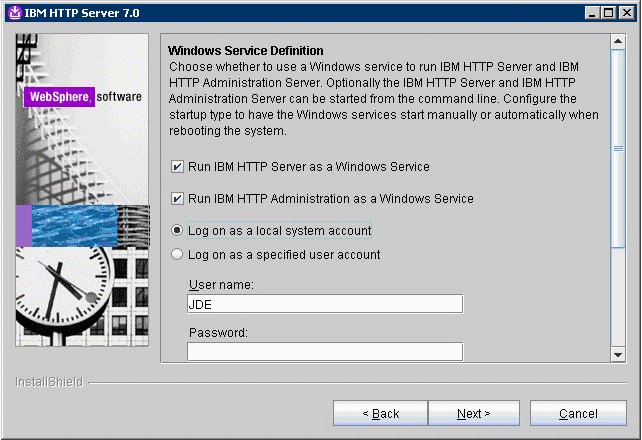
On Windows Service, complete these fields:
Field
Value
Run IBM HTTP Server as a Windows Service
Checked
Run the Application Server process as a Windows Service
Checked
Log on as a local system account
Selected
Startup Type
Use the pull-down to choose either manual or automatic.
Click the Next button to continue.
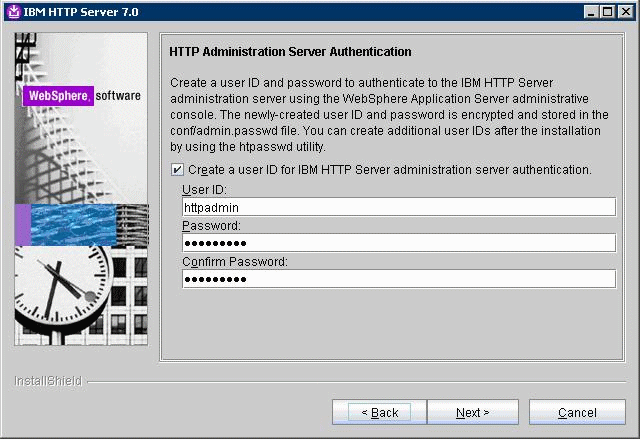
On HTTP Administration Server Authentication, the check box enabling HTTP server administration security is checked by default. You can choose either to:
Clear the check box for Create a user ID for IBM HTTP administration server authentication to disable HTTP server administration security, or
If the check box is enabled for Create a user ID for IBM HTTP administration server authentication, HTTP server administration security will be enabled and you must enter the User ID and Password
Click the Next button to continue.

On Setup HTTP Administration Server, clear the Setup IBM HTTP administration server to administer IBM HTTP Server or enter an User ID and Group to Setup IBM HTTP administration server.
Click the Next button to continue.
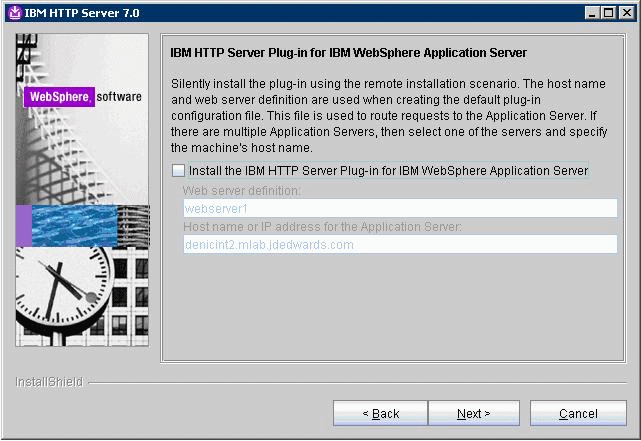
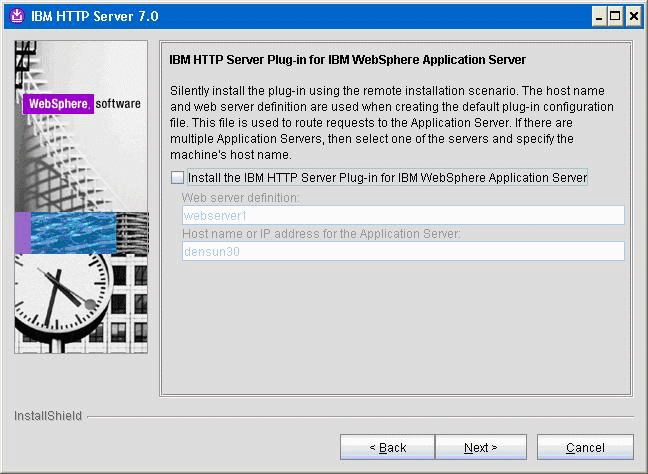
On IBM HTTP Administration Server Plug-in For IBM WebSphere Application Server, clear the check box for Install the IBM HTTP Server Plug-in for IBM WebSphere Application Server to disable the silent install of the plug-in at this time. The installation of IBM HTTP Server Plug-in for IBM WebSphere Application Server will be described in the section Installing IBM HTTP Server Plug-ins for WebSphere Application Server.
Click the Next button to continue.
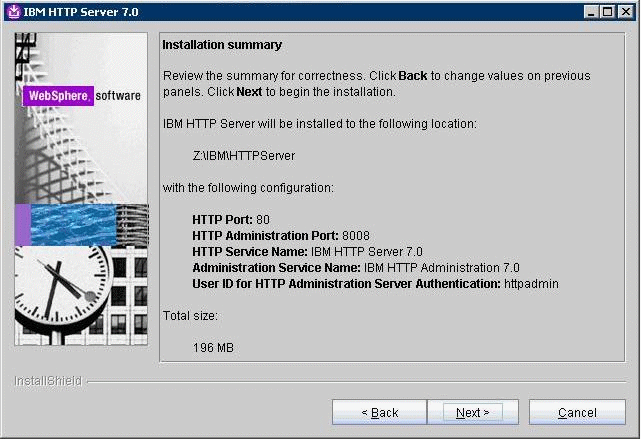

On the summary screen, click the Next button to begin the installation.
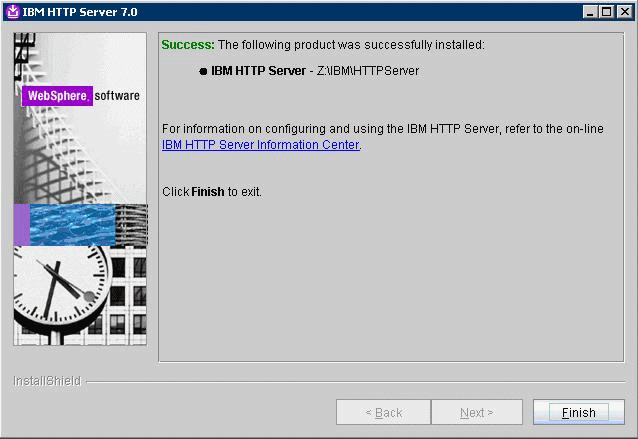
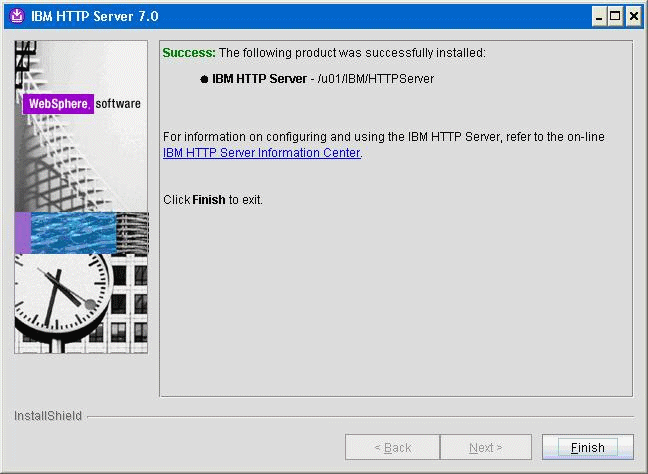
On the successfully installed screen, click Finish.