Installing the IBM Installation Manager
For all supported platforms, you must install the IBM Installation Manager before an IBM WebSphere Application Server can be installed. Follow the steps below to install the Installation Manager.
From the IBM web site, download the IBM Installation Manager.
Unzip the IBM Installation Manager software, and locate the install executable, which is named
install.exe.On Microsoft Windows platforms, you must right-click and select the Run as administrator option.
Unzip the IBM Installation Manager software and locate the install executable, which is named
install.exe.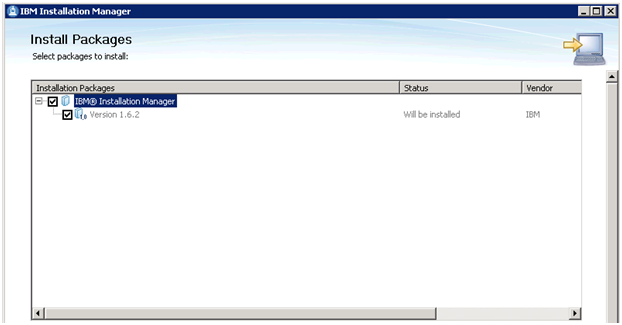
On Install Packages, package selection, select the check box for the latest version of the IBM Installation Manager.
Click the Next button.
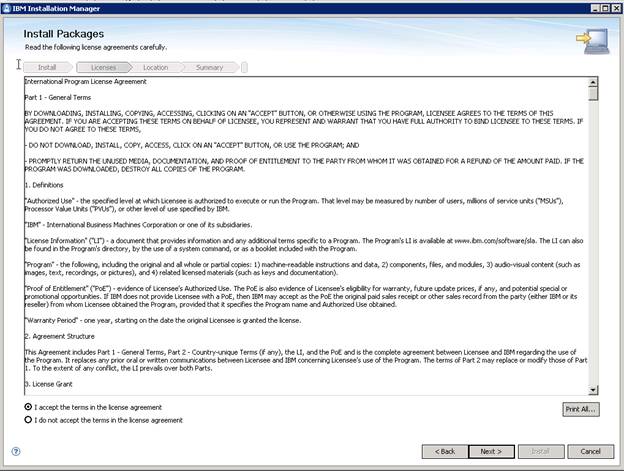
On Install Packages, review the International Program License Agreement and click the radio button to accept the terms if you want to continue with the installation.
Click the Next button.
On Install Packages, Select a location for Installation Manager, enter an installation directory.
For example:
Z:\IBM\Installation Manager\eclipse/u01/WebSphere855 /InstallationManager/eclipse
On Install Packages, summary information, review the summary information and click the Install button to begin the installation.
On Install Packages, if you are ready to install using the IBM Installation Manager, click the Restart Installation Manager button.
After the Installation Manager is restarted, continue to the next section in this chapter entitled: Installing an IBM WebSphere Application Server 8.5.x/9.0.