Running the WebSphere Application Server Installer for the Server Manager Console
To install the Server Manager Console:
Log on to the machine onto which you are installing the Server Manager Management Console.
Change to the directory in which you extracted the Server Manager Console installer as described in the previous section of this chapter entitled: Obtain and Extract the Server Manager Management Console for JD Edwards EnterpriseOne Tools.
Launch the OUI installer as follows:
Microsoft Windows
Using “Run As Administrator", run
setup.exefrom the directory in which you unzipped the installer. For example, if you followed the recommendation in Obtain and Extract the Server Manager Management Console for JD Edwards EnterpriseOne Tools:C:\SM_Console\Disk1\installThe Windows Command window starts indicating Windows is preparing to launch the Oracle Universal Installer for the Server Manager Management Console.
All Platforms
The Oracle Universal Installer (OUI) Wizard begins to initialize and prepare the JVM for the JD Edwards EnterpriseOne Management Console installer. This may take a few minutes to completely initialize. When the initialization is complete, a new and separate JD Edwards EnterpriseOne Management Console installer window is displayed.
On Welcome, click the Next button.
On Specify Home Details, complete these fields:
Name
Enter a unique name of the Management Console. The default value is:
EOne_ManagementConsole
Note:If there is an existing installation of the Management Console with the default name, the installer will append the default name with a number to make it unique. For example, EOne_ManagementConsole1.
Path
Enter the drive and directory where you want the files installed on your Management Console. The JD Edwards EnterpriseOne Management Console installer automatically detects the root drive location on the machine and by default appends this value:
jde_home
Note:Although jde_home is the default and recommended setting, you can specify any value to replace the default value. If there is an existing installation of the Management Console the default name will be appended with an underscore and a number. For example, JDE_HOME_1.
Caution:You cannot specify a directory that already exists.
Click the Next button.
On Enter Admin Password, enter and confirm the password for the jde_admin user.
Note:The user name itself cannot be changed from jde_admin. The password must be at least eight (8) characters in length and cannot contain space or blank character values. Values are alphanumeric and these special characters: ! @ # $ _. At least one (1) special character is required in the password.
Note:The default value for the user named jde_admin is automatically populated by the Management Console installer and cannot be altered. This is the administrative user account that is associated with the Management Console.
Caution:Because there is no programmatic way to retrieve a lost or forgotten password, it is critical that you remember and safeguard this password. If the password is forgotten or lost, the only recovery is a complete reinstallation of Server Manager.
If you reinstall the Management Console and specify the JMX port the original installation was configured to use, you will retain all your managed homes and associated instances along with the configuration of those instances. However, you will lose this data:
Console configuration, which includes database information entered using the Setup Wizard and information regarding security server(s) used to authenticate users.
User Configuration, which are the added JD Edwards EnterpriseOne users and defined user groups, including their permissions.
Server Groups and associated template configurations.
Defined monitors and their associated monitor history.
Click the Next button.
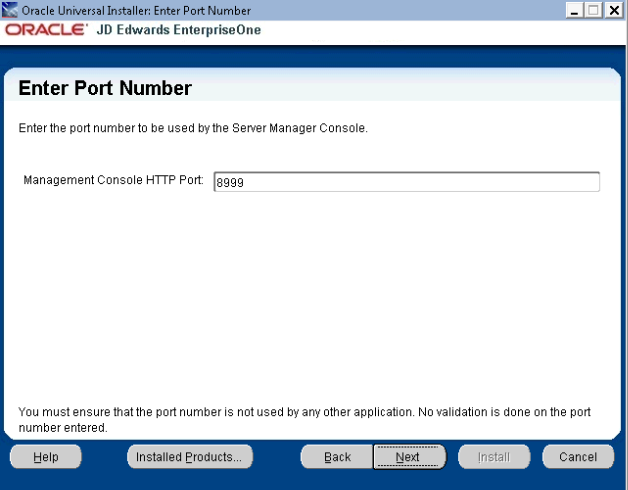
On Enter Port Number, complete this field:
Management Console HTTP Port
Enter valid unused port number for use by the Management Console.
The default value is 8999.
Caution:This port number must be available and cannot be in use by any other application on this machine. Since the installer cannot validate the port, you must be certain that these conditions are met or else the Management Console will not start.
If there is insufficient disk space to complete the installation on the Management Console target machine, the installer displays an error message.
Click the Next button.
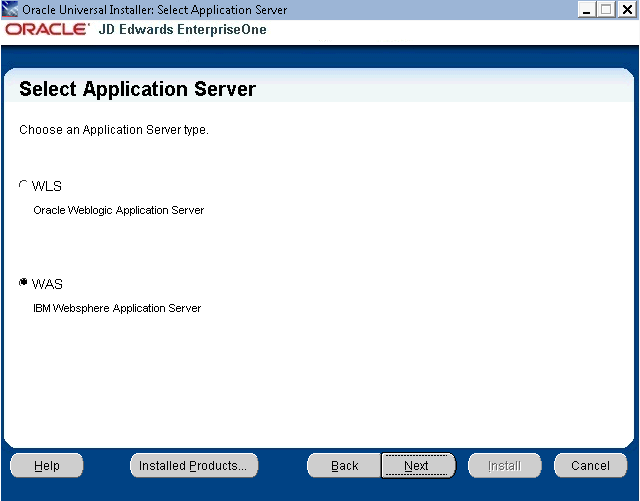
On Select Application Server, select the WAS radio button for the IBM WebSphere Application Server.
Click the Next button.
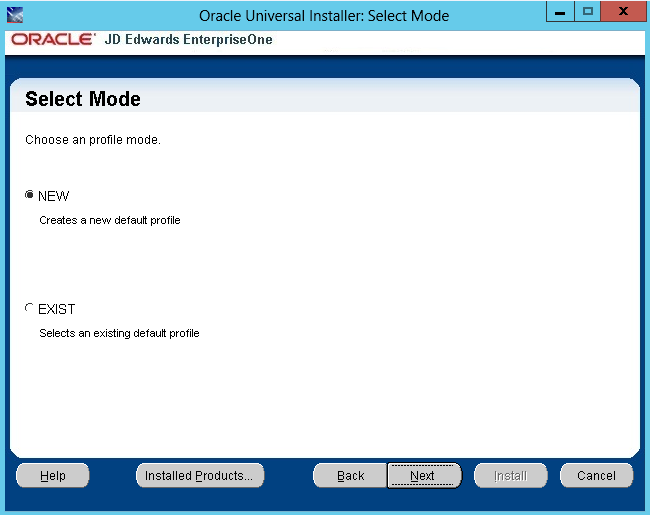
On Select Mode, select either:
NEW - to create a new default profile.
EXIST - to use an existing default profile.
Click the Next button.
The flow of screens will depend on which mode has been selected.
NEW
If New mode has been selected, you will first be prompted to select a Profile Type:

On Select Type, select either:
Standalone - creates a new Standalone profile which will have an administration server.
Dmgr - creates a new Dmgr and Node profile. Dmgr will have a dmgr and a node. Dmgr will manage the administration work of the node.
Click the Next button.
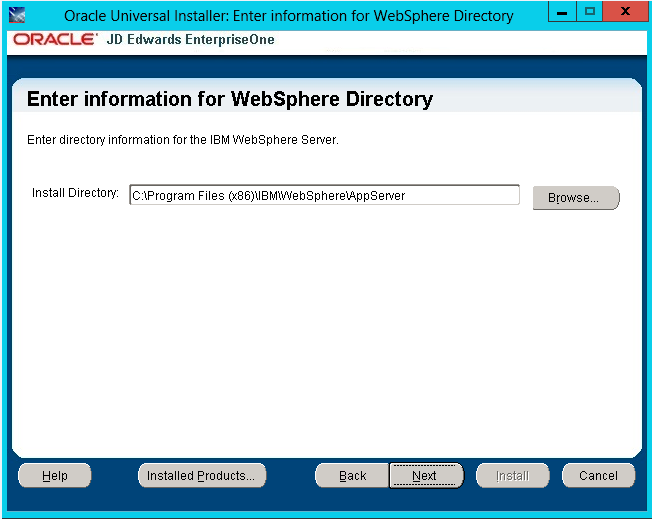
On “Enter information for WebSphere Directory", if the Install Directory field is not automatically populated with the WebSphere folder path, then enter the WebSphere folder path.
Click the Next button.
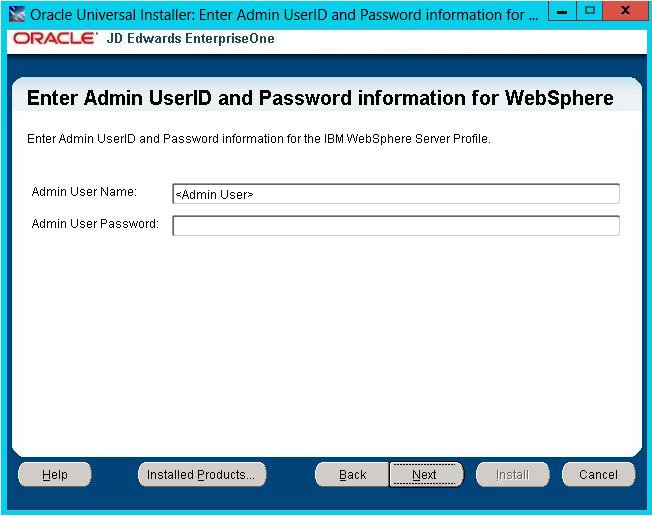
On the “Enter Admin UserID and Password Information for WebSphere" form, enter:
Admin User Name
Enter the user name of the WebSphere admin account.
Admin User Password
Enter the password for the WebSphere admin account.
Click the Next button.
A Summary screen will be displayed. Proceed to Step 18 to continue.
Note that any created profiles will appear in the WAS profile directory below:
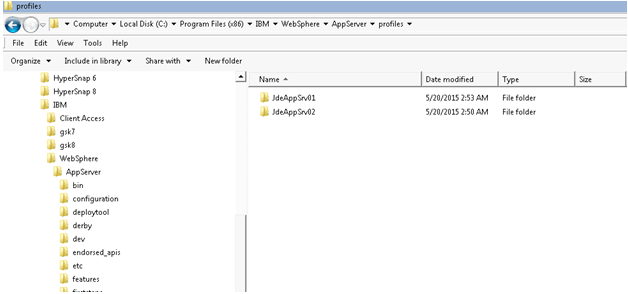
EXIST
If EXIST mode has been selected:
Click the Next button.
Proceed to step 16 to continue.
On Enter Information for WebLogic Server, complete the following fields:
Install Directory
Enter the path to the WebSphere installation directory (
AppServer). For example:C:\IBM\WebSphere\AppServerHost/IP
Enter the hostname or the IP Address at which the WebSphere server1 (or Deployment Manager) is listening for SOAP connections. This is usually the hostname/IP Address of the physical machine. For example:
<machine name>us.example.com
SOAP Port
Enter the port number on which the server1 (or Deployment Manager) is listening for SOAP Connections. For a particular profile, you can obtain this value from this location:
C:\IBM\WebSphere\AppServer\profiles\<profile_name>\logs\AboutThisProfile.txt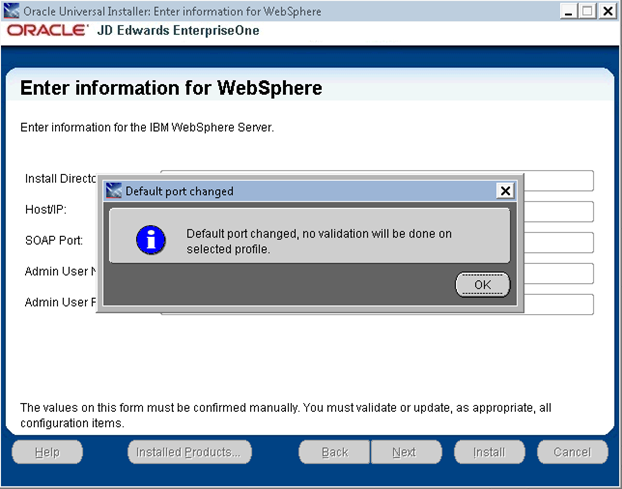
Sometimes, if the installer is not able to find the default profile path and the associated SOAP Port, it will display “<SOAP Port>", or if it finds a default soap port and the user changes it, the above error will be displayed. If “<SOAP Port>" is populated, that means that there is no default profile or that there is no profile based on
C:\Program Files
                                (x86)\IBM\WebSphere\AppServer\properties\profileRegistry.xml
file. A profile should be created in order to proceed.Admin User Name
Enter the user name of the WebSphere admin account.
Admin User Password
Enter the password for the WebSphere admin account.
Caution:The values on this form must be confirmed manually. You must validate or update, as appropriate, all configuration items. If you enter invalid values, you will have to re-run the installer with the correct values.
Click the Next button.
On Summary, verify your selections and click the Install button to begin the installation.
The Install progress screen is displayed. Note that this screen displays the location of the log of this installation. For example:
C:\Program Files
                        (x86)\Oracle\Inventory\logs\installActions2011-10-18-02-15-14PM.log
Important: When installing the Server Manager Console on WebSphere on the Microsoft Windows platform with a non default profile (that is a profile which is not configured as a default profile during the profile creation time), the wsadmin scripting interface will prompt the administrator to add the signer to the default trust store. In this case, the admin must select “y" option in order to proceed with the installation. If you select “n", all wsadmin activities will fail. If the preceding conditions in this note are true, the below applet, entitled: “SSL Signer Exchange Prompt", pops up during the installation process:
Troubleshooting Installations for WebSphere running on Microsoft Windows: If you do not select “y" on the above applet prompt entitled: “SSL Signer Exchange Prompt", the Server Manager Console installation will fail. Such failure is indicated by the logs as shown in this example:
CWPKI0022E: SSL HANDSHAKE FAILURE:  A signer with SubjectDN "CN=DENITSD62.mlab.jdedwards.com, OU=DENITSD62Node02Cell, OU=DENITSD62Node02, O=IBM, C=US" was sent from target host:port "10.139.163.123:8881".  The signer may need to be added to local trust store "Z:/WebSphere/wp_profile1/etc/trust.p12" located in SSL configuration alias "DefaultSSLSettings" loaded from SSL configuration file "file:Z:\WebSphere\wp_profile1/properties/ssl.client.props".  The extended error message from the SSL handshake exception is: "PKIX path building failed: java.security.cert.CertPathBuilderException: PKIXCertPathBuilderImpl could not build a valid CertPath.; internal cause is:

java.security.cert.CertPathValidatorException: The certificate issued by CN=DENITSD62.mlab.jdedwards.com, OU=Root Certificate, OU=DENITSD62Node02Cell, OU=DENITSD62Node02, O=IBM, C=US is not trusted; internal cause is:

java.security.cert.CertPathValidatorException: Certificate chaining error".
CWPKI0040I: An SSL handshake failure occurred from a secure client.  The server's SSL signer has to be added to the client's trust store.  A retrieveSigners utility is provided to download signers from the server but requires administrative permission.  Check with your administrator to have this utility run to setup the secure environment before running the client.  Alternatively, the com.ibm.ssl.enableSignerExchangePrompt can be enabled in ssl.client.props for "DefaultSSLSettings" in order to allow acceptance of the signer during the connection attempt.

WASX7023E: Error creating "SOAP" connection to host "DENITSD62.mlab.jdedwards.com"; exception information: com.ibm.websphere.management.exception.ConnectorNotAvailableException: [SOAPException: faultCode=SOAP-ENV:Client; msg=Error opening socket: javax.net.ssl.SSLHandshakeException: com.ibm.jsse2.util.g: PKIX path building failed: java.security.cert.CertPathBuilderException: PKIXCertPathBuilderImpl could not build a valid CertPath.; internal cause is:

java.security.cert.CertPathValidatorException: The certificate issued by CN=DENITSD62.mlab.jdedwards.com, OU=Root Certificate, OU=DENITSD62Node02Cell, OU=DENITSD62Node02, O=IBM, C=US is not trusted; internal cause is:

java.security.cert.CertPathValidatorException: Certificate chaining error; targetException=java.lang.IllegalArgumentException: Error opening socket: javax.net.ssl.SSLHandshakeException: com.ibm.jsse2.util.g: PKIX path building failed: java.security.cert.CertPathBuilderException: PKIXCertPathBuilderImpl could not build a valid CertPath.; internal cause is:

java.security.cert.CertPathValidatorException: The certificate issued by CN=DENITSD62.mlab.jdedwards.com, OU=Root Certificate, OU=DENITSD62Node02Cell, OU=DENITSD62Node02, O=IBM, C=US is not trusted; internal cause is:

java.security.cert.CertPathValidatorException: Certificate chaining error]
WASX7213I: This scripting client is not connected to a server process; please refer to the log file Z:\WebSphere\wp_profile1\logs\wsadmin.traceout for additional information.

WASX8011W: AdminTask object is not available.
For all other installations using WebSphere on platforms other than Microsoft Windows, the following End of Installation screen is displayed.
On End of Installation, verify the installation was successful. The “Please remember …" section also provides the installation log location.
Click Exit to exit the Oracle Universal Installer for the Server Manager Management Console.
On the Exit dialog, click the Yes button.
The Administrator should refer to the
readme.txtfile in the provided in this directory:$ORACLE_HOME\SCFMC\