Configuring Your Environments
Environment Workbench copies the F0094, F00941, and F00942 tables, as well as the F986101 table for each environment, from your Planner data source to your System - 920 data source. It then updates the F98403 table to indicate completion. Depending on the plan settings, it also runs a batch application to copy new generic text and to create and populate Object Management Workbench and version tables.
Environment Workbench can run multiple batch applications simultaneously, which enables Release 9.2 to load multiple environments at the same time. This reduces the amount of time it takes to load environments.
Use this procedure when running Workbench in attended mode or if a task break is set before Environment Workbench.
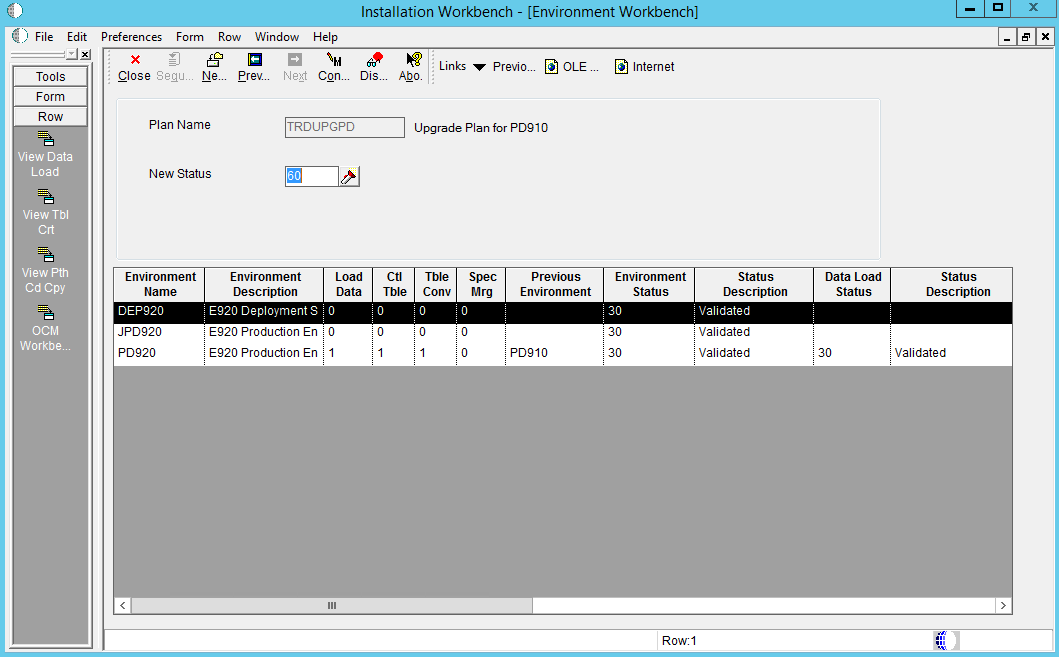
On Environment Workbench, review each environment and its associated parameters to make sure the values are correct.
After you review the environments, select Configure.
When Environment Workbench has completed, verify that the status of each environment has been updated to 60 and that the status description has changed from Validated to Installed.
Caution:DB2 for Linux, Windows, and UNIX only. The Table / Index Change (R98407) report may stop on errors with the following message in the jde.log:
SQL1477N Table
                            "schema.Fnnnnnnn" cannot be accessed. SQLSTATE=55019
Such errors occur when a table is created in a previous release or ESU, and it is not subsequently updated nor is it saved. When you run the upgrade process, it tries to change that table. For example, the upgrade process changes the primary key in this upgrade. At that point the table is marked as unusable. The original table is by definition empty at this point. To recover, you must regenerate each table marked in error through OMW.
Using Adobe Acrobat, review all XJDE reports, and confirm that all configuration statuses indicate Success.