1.9.1 Setting Up Installation Options
Oracle recommends that you update the product indicator check boxes on the Installation page on both your SYS and DMO databases to ensure that the licensed products are turned on and recognized.
To set up installation options:
-
Log in to the PeopleSoft application in a browser and select Set Up Common Objects, Install, Installation Table.
-
On the Products tab, select the product that you wish to activate.
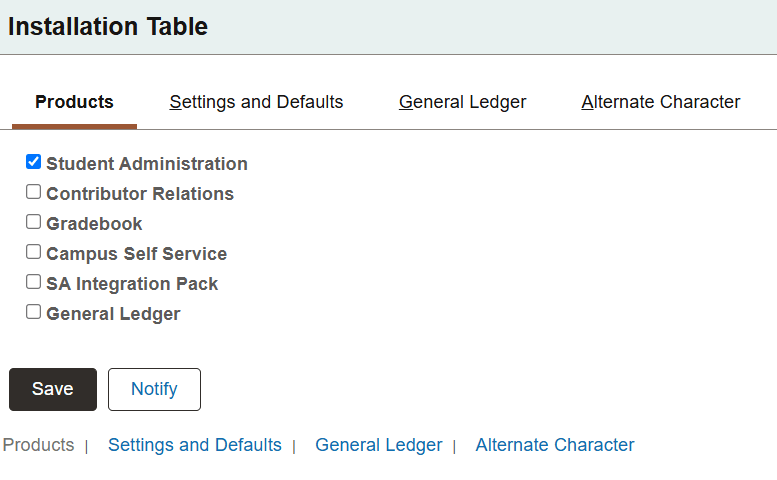
Select the Student Administration check box to activate the product Student Administration, as shown in the following example:
Figure 1-7 Setting Up Installation Options
-
If you wish to activate any one or all of the remaining licensed products, repeat step 2. The remaining licensed products are:
-
Contributor Relations
-
Gradebook
-
Campus Self Service
-
SA Integration Pack
-
General Ledger
-
-
Click Save.
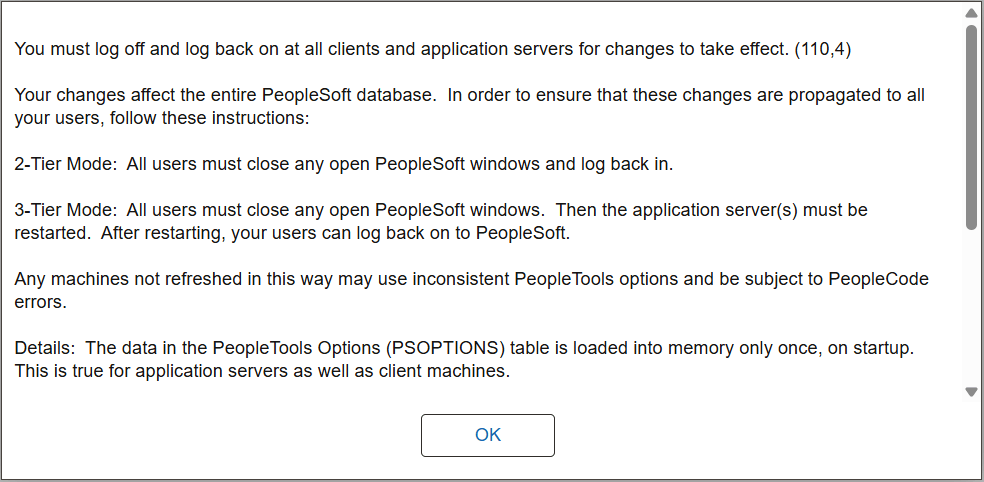
After making changes to the Installation table, you will receive the following informational message:
Figure 1-8 Informational message
-
Log off all clients, shut down and restart all application servers, and then log back on to PeopleSoft Campus Solutions for this change to take effect.
See PeopleSoft PeopleTools, Integration Broker for your database platform and for your current PeopleTools release.
Important:
The succeeding instructions, from “Running Conversion Programs Using PeopleSoft Application Engine” through “Activating PeopleSoft Student Administration Integration Pack Queues,” are applicable only if you have selected the product SA Integration Pack as per the instructions in this section.