Enabling PUM Automated Merge
To enable Object Merge in Change Assistant:
-
In Change Assistant, select Tools, Options.
-
Select the PUM Source tab.
-
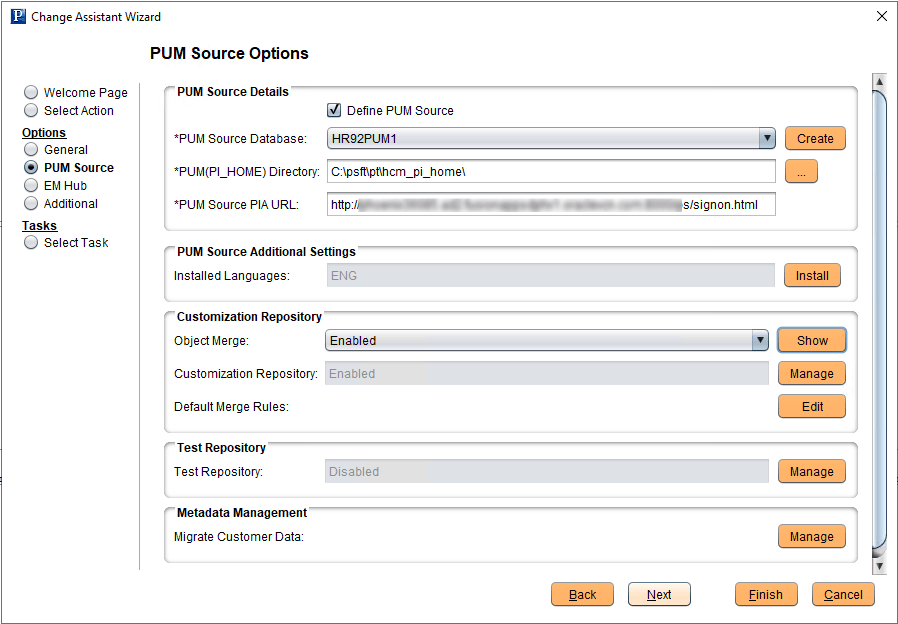
Select Enabled for Object Merge to enable object merge.
-
(Optional) Use the Show button for a list of mergeable objects.
-
Select Manage button for the Customization Repository to upload customization projects to the PUM Source. See Uploading Customer Data to Image
Note:
Only Select Existing Database Object and Create New Database Project options are available on Manage Customization Repository page if Object Merge is enabled.
-
Select Edit button for the Default Merge Rules to review or change the default merge rules.
This example illustrates the fields and controls on the PUM Source Options. You can find definitions for the fields and controls later on this page.
If you enable object merge, the following steps get enabled in Change Assistant. Run these in the order listed:
-
Running the Merge Analysis Process
-
Backing up Source Objects Prior to Merge Promotion
-
Running the Merge Promotion Process
-
Exporting Change Package MO Project from Source
-
Restoring Source Objects after completing Merge
After these five steps are run, the object merge is complete. Now, the modified Change Package is available that includes your customization.
Note:
If you do not enable the object merge, all the PeopleSoft-delivered changes will be applied to the Target database.