Customizing Windows
Access the Customization page using the following navigation path:
This example illustrates the fields and controls on the Customization page. You can find definitions for the fields and controls later on this page.
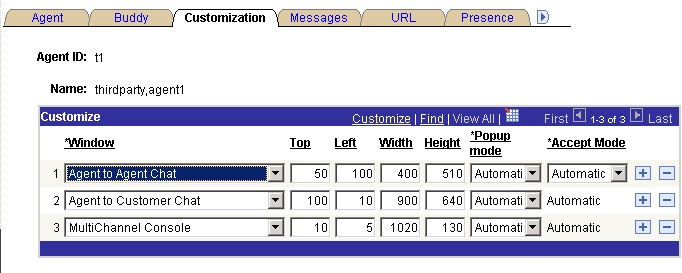
Set the initial agent window placement and size by specifying parameters on this page. An agent may resize and move the windows.
| Field or Control | Description |
|---|---|
|
Window |
Select the window to which the specified configuration applies. Select from:
|
|
Top and Left |
Enter the distance in pixels from the top and left edge of the screen when the window first appears. |
|
Width and Height |
Enter the width and height, in pixels, of the window when it first appears. |
|
Popup Mode |
Select from: Automatic: The window appears automatically. For customer-initiated chat or tasks initiated from the EnQueue built-in function, the task is automatically accepted as well. For agent-initiated chat, the agent can elect not to accept the task; in effect, the agent can preview the task. If this is the desired behavior, select Manual from the Accept Mode drop-down list box. If you want agent-to-agent tasks to function like customer-initiated tasks, select Automatic from the Accept Mode drop-down list box. Manual: The window does not appear until the agent clicks the task on the agent MultiChannel Console. For customer-initiated chat or tasks initiated from the EnQueue() built-in function, clicking the task means that the task is automatically accepted as well. For agent-initiated chat, the behavior depends on the setting for the Accept Mode field. |
|
Accept Mode |
Select from: Automatic: Agent-to-agent chats are automatically accepted without requiring the agent to click the icon. Manual: Agent-to-agent chats require the agent to click the icon. Accept mode affects only collaborative chat. |