Defining Authorized Sites for Single Signon
You can authorize the sites that users can access using single signon. The sites must be located on nodes/databases defined on the Single Signon page. To access the page select .
There are two ways to authorize sites for single signon:
-
Allow access to all sites configured on the domains of nodes defined on the Single Signon page.
-
Create an allowlist of sites of the domains defined on the Single Signon page.
Use the Authorized Sites page to define sites authorized for single signon. To access the page select
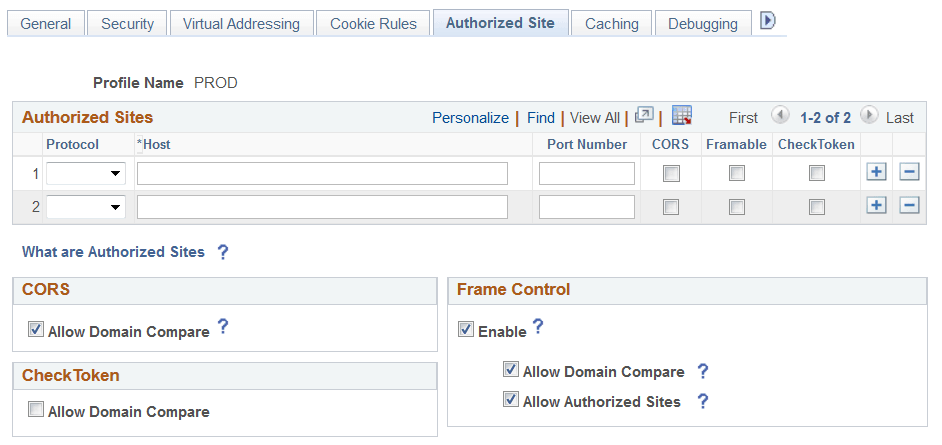
This example illustrates the fields and controls on the Authorized Sites page. The fields and controls related to defining authorized sites for single signon are described later in this section.
Authorizing Single Signon Sites Across All Defined Single Signon Domains
To authorize sites to use single signon across all of the domains listed on the Single Signon page, in the CheckToken section of the Authorized Sites page, select Allow Domain Compare, as shown in the following example:
This example illustrates the Authorized Sites page with the Allow Domain Compare option highlighted.
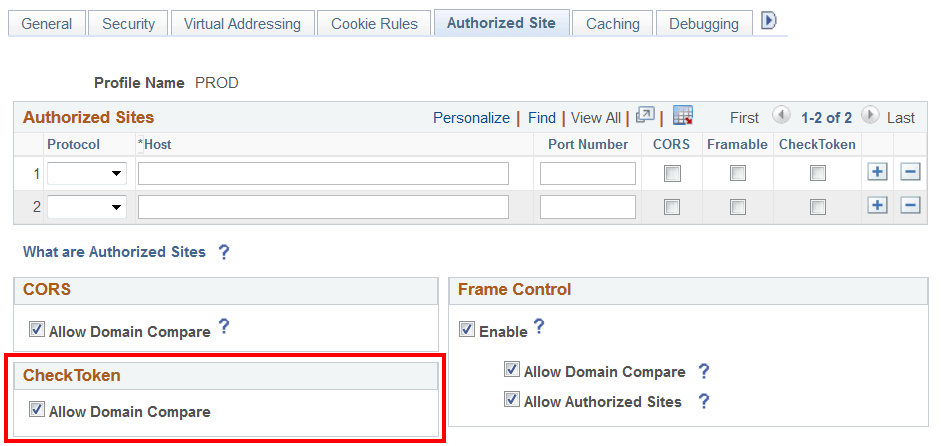
When you select the Allow Domain Compare option, the system allows single signon across all authentication domains and sub-domains of the nodes that you have listed on the Single Signon page.
Note:
You must reboot the application server and the web server after you enable or disable this option.
Creating an Allowlist of Sites Authorized for Single Signon
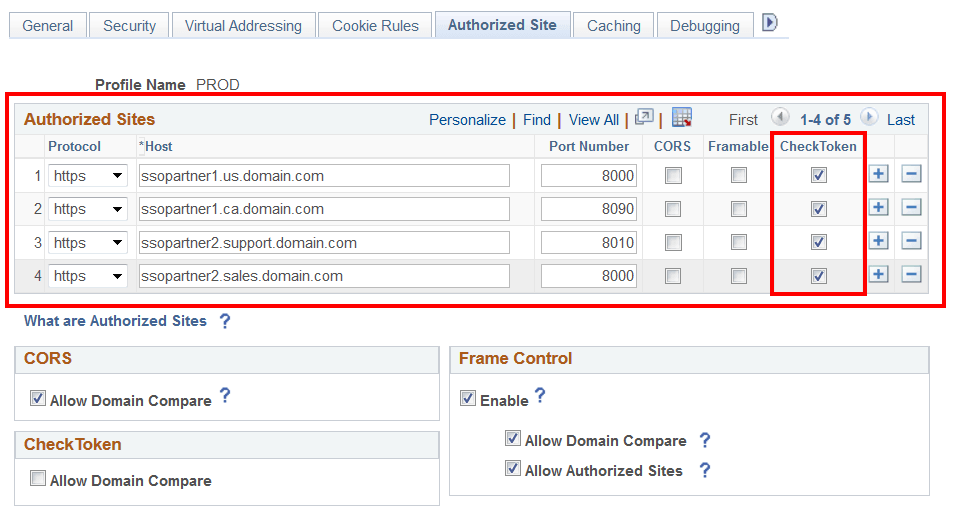
To create an allowlist of sites authorized for single signon, define the sites in the Authorized Sites grid on the Authorized Sites page. The Authorized Sites grid is shown in the following example:
This example illustrates the Authorized Sites page with the Authorized Sites grid highlighted.
To define an allowlist of sites authorized for single signon, in the Authorized Sites grid at the top of the page:
-
From the Protocol drop-down list, select the protocol used on the site. The options are:
-
http.
-
https.
-
-
In the Host field, enter the domain of the site.
-
In the Port Number field, enter the port number of the domain.
-
Select the Check Token box.
-
Repeat steps 1 to 5 to define additional sites.
-
Click the Save button.
-
Reboot the application server and the web server.
Note:
It’s important that you remember to select the Check Token option in the Authorized Sites grid for each site you want to allowlist for single signon. The Authorized Sites grid can contain site information for other PeopleTools functionality. Selecting the Check Token option enables the allowlist functionality for the site to be used during token validation.
Note:
You must reboot the application server and the web server after you add or remove a site from the list.