Integrate with Oracle Identity Governance
Preinstall
Certified Components
The target system can be any one of the following:
- Oracle Identity Governance 12.2.1.4 Bundle Patch Number 11 (12.2.1.4.220703) or later. If your current version of Oracle Identity Governance is not compatible then contact Oracle Support, who can arrange a patch for your Oracle Identity Governance system
- Oracle Identity Governance 14.1.2.1.0 or later.
Prerequisites
- Applications and Entitlements in Oracle Identity Governance must be marked as Certifiable in order to be ingested by Oracle Access Governance. Log in to the Oracle Identity Governance Self Service application and navigate to Request Access → Request for Self → [Search for Your App] and click the information icon, and select the Certifiable flag.
- For Roles, log in to the Oracle Identity Governance Self Service application and navigate to Manage → Roles → Open the Role. Under Catalog Attributes, select the Certifiable check box.
- Any access included in an Oracle Access Governance review must have been granted using one of the following grant types in
Oracle Identity Governance:
- Direct Provision accounts and Entitlements
- Request Provision accounts and Entitlements
- Reconciled accounts and Entitlements from the targets
- Bulkloaded accounts and Entitlements
- Request or Direct provision Role which are associated with access policy
Set Up Oracle Identity Governance Integration
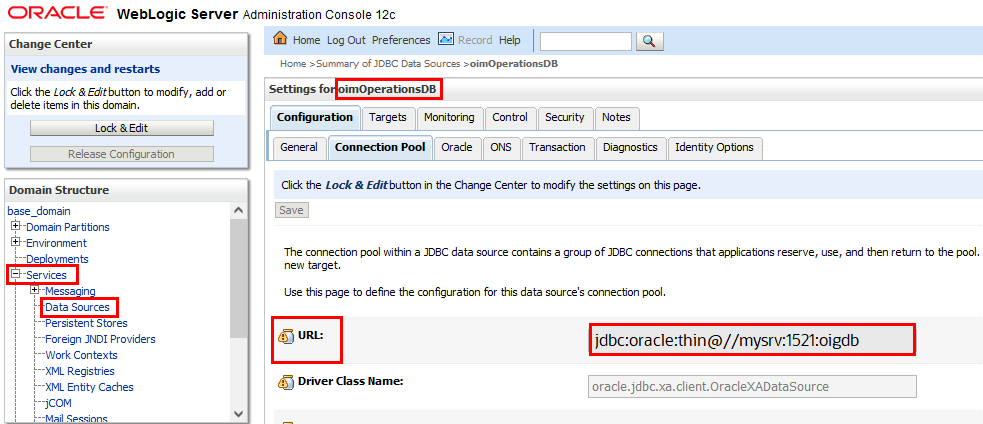
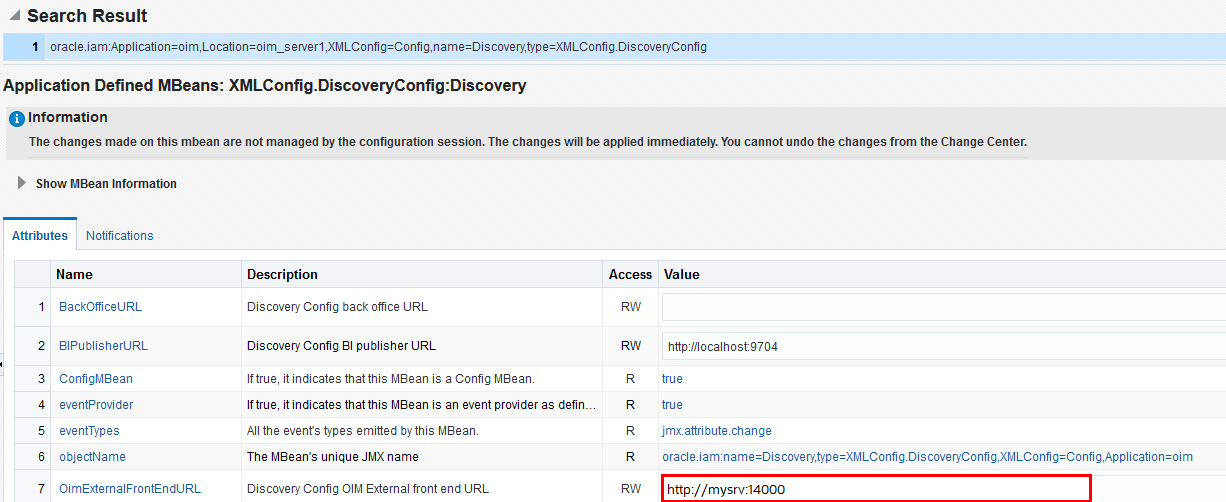
To enable the Oracle Identity Governance agent to connect to Oracle Access Governance, you need to enter connection details and credentials for the target system, and build an agent specific to your environment.
Supported Attributes for User Data Load Filtering
When configuring an Orchestrated System to on-board data from Oracle Identity Governance, it is possible to filter the user data you want to ingest in Oracle Access Governance. You can restrict which users are on-boarded by setting filters on identity attributes such as department, employee type, location, and others.
User Data Load Filtering Characteristics
You should be aware of the following characteristics of user data load filtering befire configuring filters in your Orchestrated System.
- Matching of user search filters and user data values filtering
is case sensitive. For example. a filter of
department = Human
                            Resources
would not return users with a value ofdepartment = HUMAN RESOURCES, orDepartment = Human Resources. - If no users or accounts match the user data load filter, then no data will be ingested from Oracle Identity Governance by Oracle Access Governance. In this case, however, the data load itself will be labelled as successful in the activity log, even though no identities or accounts are on-boarded.
- User data load filter values cannot exceed 1000 for any given filter attribute.
- If an agent is already installed, an agent upgrade is required to enable user data load filters. See Agent Example Usage for details on how to upgrade your agent.
List of Supported Attributes for User Data Load Filtering
You can filter users ingested from Oracle Identity Governance based on the following attributes.
Table - List of Supported Attributes for User Data Load Filtering
| Oracle Access Governance Attribute Name | Oracle Identity Governance Attribute Name |
|---|---|
| employeeType | usr_emp_type |
| jobCode | usr_job_code |
| department | usr_dept_no |
| location | usr_location |
| state | usr_state |
| postalCode | usr_postal_code |
| country | usr_country |
| managerUid | usr_manager_key |
| managerLogin | usr_login
(usr_login of manager) |
| organizationUid | act_key |
| organizationName | act_name
act_name of act table |
| territory | usr_territory |
Example User Data Load Filters
Table - Example User Data Load Filters
| Usecase | Configuration Parameters |
|---|---|
|
User with department=Product Development and jobCode=IC004 or M0003 |
|
|
User with state =Kent and organizationUid=1 or 4 |
|
|
User with postalCode = 78045 or 12204 with custom delimiter ## |
|
|
User with managerUid = 17981 or 17854 and managerLogin = DINORAH.PREWITT or JOELLA.SHANNON |
|
Note:
Filter value name and the value of the filter are both case sensitive. Using the example above, any of the following would be an invalid filter, and return no results:- Example 1:
- userFilter1Name=MANAGERUID
- userFilter1Value=17981~17854
- userFilter2Name=managerLogin
- userFilter2Value=DINORAH.PREWITT~SHIRLEY.THOMAS
- Example 2:
- userFilter1Name=managerUid
- userFilter1Value=17981~17854
- userFilter2Name=managerLogin
- userFilter2Value=Dinorah.Prewitt~SHIRLEY.THOMAS
- Example 3:
- USERFilter1Name=managerUid
- userFilter1Value=17981~17854
- userFilter2Name=managerLogin
- userFilter2Value=DINORAH.PREWITT~SHIRLEY.THOMAS
- Example 4:
- userFilter1Name=managerUid
- userFilter1Value=17981~17854
- userFilter2Name=managerLogin
- USERFILTER2VALUE=DINORAH.PREWITT~SHIRLEY.THOMAS
Database Setup Steps for Event-driven Data Load
When creating or updating an Oracle Access Governance orchestrated system you can enable the event-driven data load option. This option switches Day-N data load from the default snapshot-based model, to an event-driven one. A prerequisite for this option requires you to create a read-only user in the OIG database and grant required roles and system privileges.
For information about Oracle's commitment to accessibility, visit the Oracle Accessibility Program website at http://www.oracle.com/pls/topic/lookup?ctx=acc&id=docacc.
Access to Oracle Support
Oracle customers that have purchased support have access to electronic support through My Oracle Support. For information, visit http://www.oracle.com/pls/topic/lookup?ctx=acc&id=info or visit http://www.oracle.com/pls/topic/lookup?ctx=acc&id=trs if you are hearing impaired.

