Volumes
Volumes are containers to store data in its original form and can store semi-structured or unstructured data.
You can load new data into your volume or reference data in an existing location. You can define access control permissions on a volume by creating volume permissions.
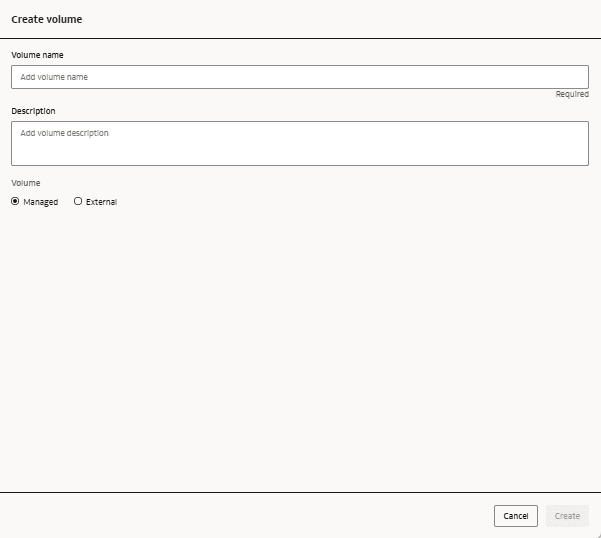
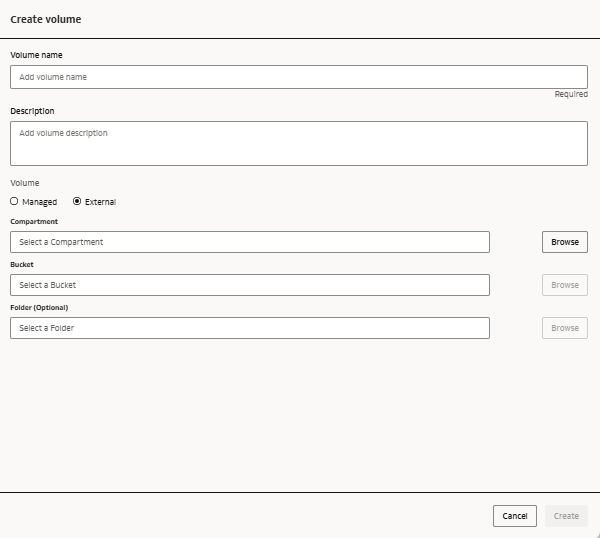
Volumes can either be external or managed.
External volumes
An external volume refers to an existing location in OCI Object Storage. When users create an external volume, AI Data Platform Workbench manages only the metadata of the volume, the data life cycle is managed by the customer.
When you delete an external volume, only the volume definition is deleted. The data referenced by the external volume isn't deleted.
Managed volumes
A managed volume creates a location in OCI Object Storage for storing the data. AI Data Platform Workbench manages both the metadata and data of the volume.
When you delete a managed volume, the volume definition and the volume data is deleted.
Limitations
You cannot define an external volume on a bucket and its directory if they are already used for another external table or external volume.
Edit a Volume
You can modify details of volumes you manage.
- Navigate to your schema.
- Select the Volumes tab.
- Next to the volume you want to edit click
 Actions.
- Click Rename to change your volume's name. Enter a new name and press Enter.
- Click Edit Description to change your volume's description. Provide the new description and click Save.

