Add a Logo to the Workbook Header
When you configure the presentation settings for a workbook, you can add a logo from a file or URL to the workbook header for consumers. The logo displays inline, before the workbook name.
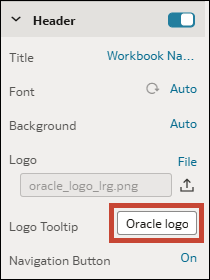
After you add a logo, you can enter tooltip text that consumers see when they hover over the logo. If you don't enter tooltip text, consumers see Logo.
- From the Preview menu
 , select Configure Presentation.
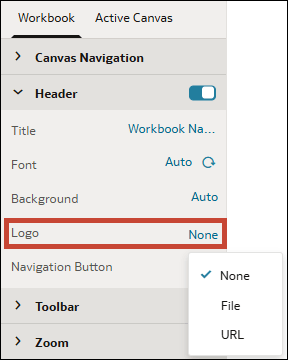
 - In the Header section, in the Logo row, click None, then select an image source.
- File – Click the file upload icon
 then browse for and select the logo file.
- URL – Paste the logo's URL into the text field.
- File – Click the file upload icon
- In the Logo Tooltip field, enter text to appear in the tooltip.