Add a Navigate To Flow Action
You use this action to navigate to a flow in the current application, and if necessary, to pass parameters to the flow.
For API information about this action, see Navigate To Flow in the Oracle Visual Builder Page Model Reference.
To use a Navigate To Flow action:
- Add the action in one of three ways, as explained at the end of Built-In Actions.
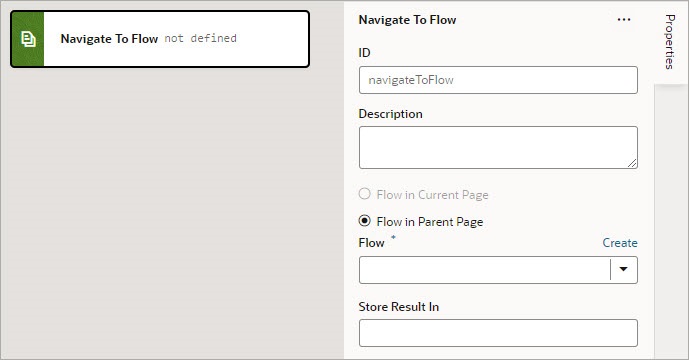
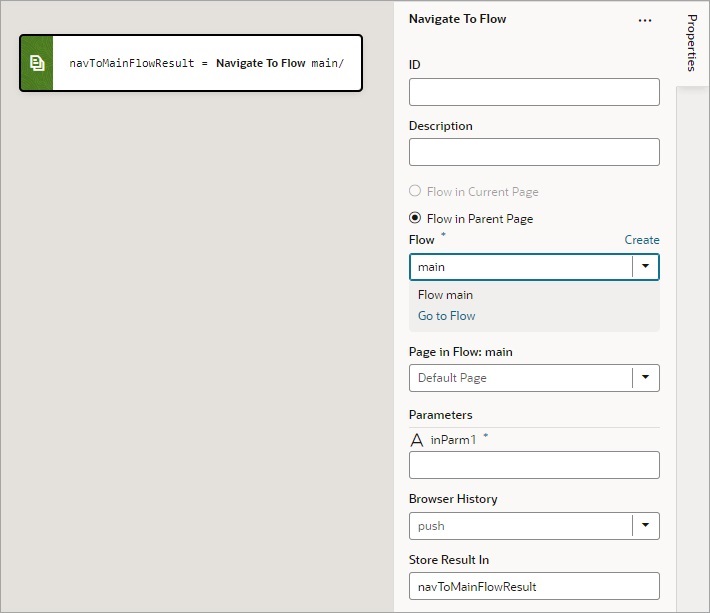
- For the flow options, the Flow in Current Page option is only available if the page includes a Flow Container component. Selecting it provides you with the options for navigating to a flow or page within the current page. Selecting Flow in Parent Page provides you with the options for navigating to a flow of the parent page.
- For the Flow property, select a flow or click the Create link to create a new flow to navigate to.
- If the selected flow has input parameters, enter them for the Input Parameters property that appears after selecting the flow.
- For Browser History, select either
push(default),skip, orreplaceto define the effect on browser history. This value is used only if the resource is used in the same window. If you chooseskip, the URL is not modified. If you choosereplace, the current browser history entry is replaced instead of pushed, meaning that the back button will not go back to that page.
If a value is returned by the flow, it is assigned to the auto-generated variable shown by the Store Result In property.

