Configure Resources in a Project
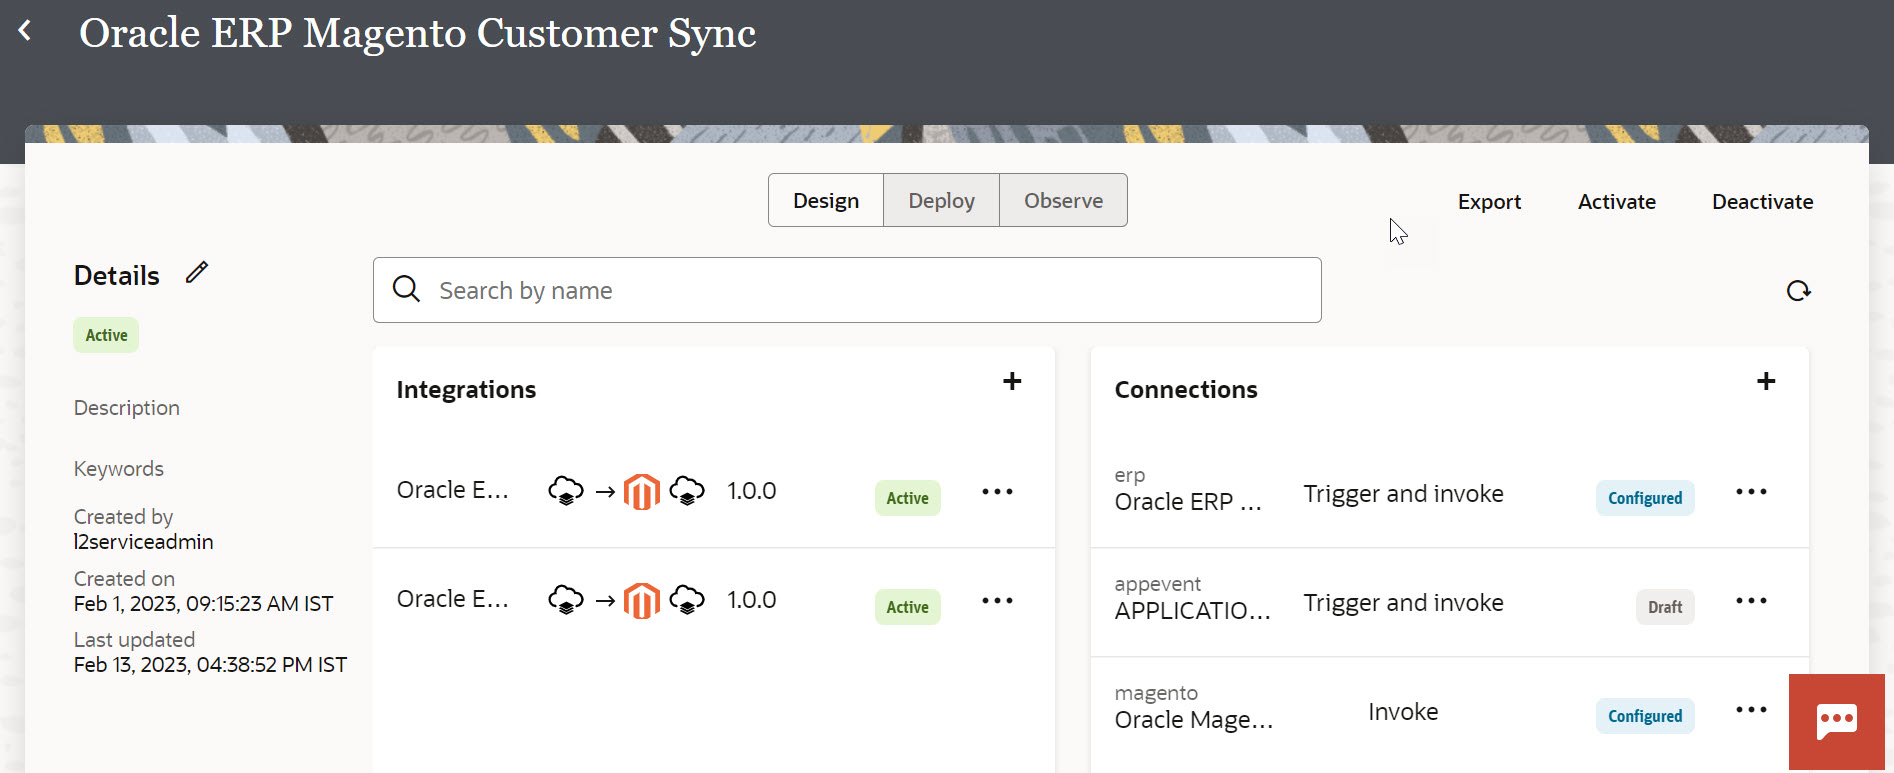
- View the details in the workspace.
The title bar includes the name of the recipe or accelerator. The Integrations, Connections, Lookups, and Libraries sections contain the respective resources of the recipe project.

- Within a section (for example, Connections), click Actions
 on a resource to reveal the options for editing, configuring, or deleting a resource.
Click... Valid for... Description Add schedule
Integrations
Define when the integration flow runs. This option is available only if the integration flow uses a Scheduled Orchestration style.
Update property values
Integrations
Update integration property values for any integration flow in which properties have been defined.
Edit
Integrations
Connections
Certificates
Lookups
Libraries
Access the corresponding page for editing the integration flow or any other resource.
For more information about editing these resources, see:
Refresh endpoints
Integrations
Refresh the endpoints of an integration flow in a project that includes endpoints that support refreshing artifacts. See Refresh Endpoints for Integrations.
Extend
Note:
Available in Accelerator projects only.Integrations
Extend an integration flow in an accelerator project to process predefined custom objects by adding and configuring an extension group. See Extend an Integration in an Accelerator Project.
Refresh metadata
Connections
Refresh the currently-cached metadata available to adapters that have implemented metadata caching. See Refresh Integration Metadata.
Delete
Connections
Certificates
Lookups
Libraries
Delete an existing resource. To add a new resource to a project, click Add in the respective section.
- Make the necessary edits to the resources and save your changes, then click Go back to return to the Project Workspace.
- Continue to edit each resource. When you are ready, you can activate the project from the workspace or the Integration Store.