Start and Pause an Integration Schedule
After you define a schedule, you must activate it. You can also pause (deactivate) a schedule, when needed. You can also submit schedules to run immediately.
- In the navigation pane, click Design, then Integrations.
- Hover over the row of the integration on which the scheduled run is defined.
- Click Actions
 , then select Schedule.
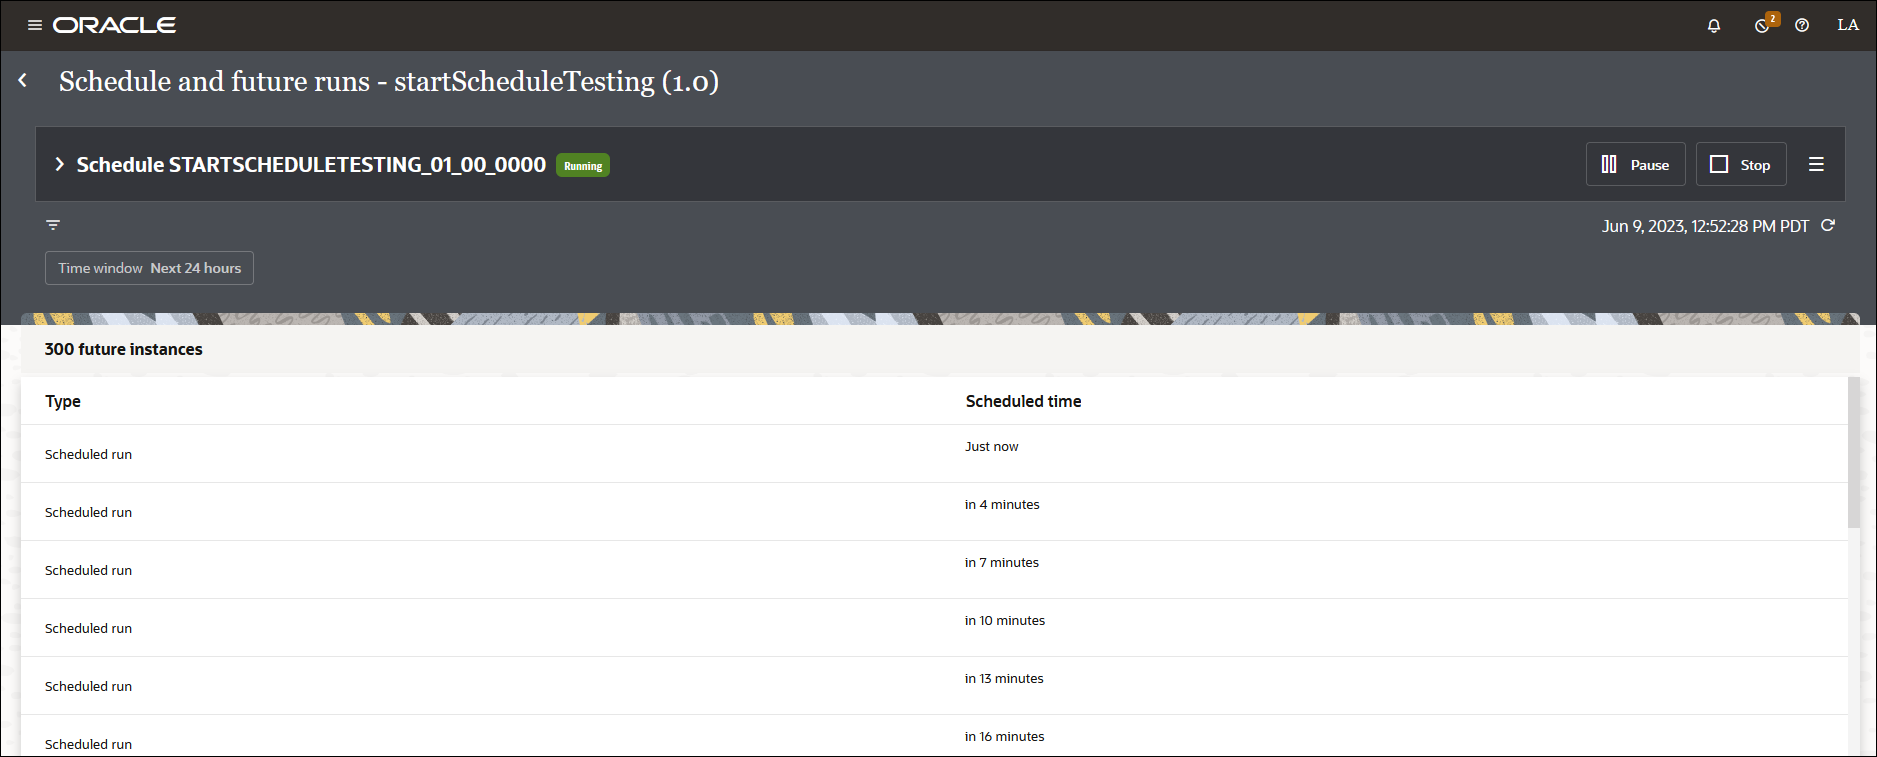
The Schedule and future runs page is displayed.
- Click Start

- If you are a user with the ServiceAdministrator role, you can change the user with which to submit the schedule.
- Click Confirm to start the schedule.
If you have defined scheduled parameters on this integration, the Schedule parameters page is displayed.
- Make any necessary parameter value updates in the New
value field, and click Start
Schedule.
The Start
 button is changed to Stop
 .
.
Note:
If you want to pause the schedule run, click Pause in the upper right corner, then click
Confirm when prompted.
- Click Refresh
 to refresh the status of the schedule integration.
The Pause and Stop buttons are replaced with Retry and Refresh buttons if the schedule operation doesn’t complete immediately after submission. In these cases, the status is displayed as Stopping, Starting, Pausing, or Resuming. The Retry option can be used to recover from these states. There must be a gap of 10 minutes between two retry attempts.
For example:

or

- Click Schedule menu
 , then select Track instances.
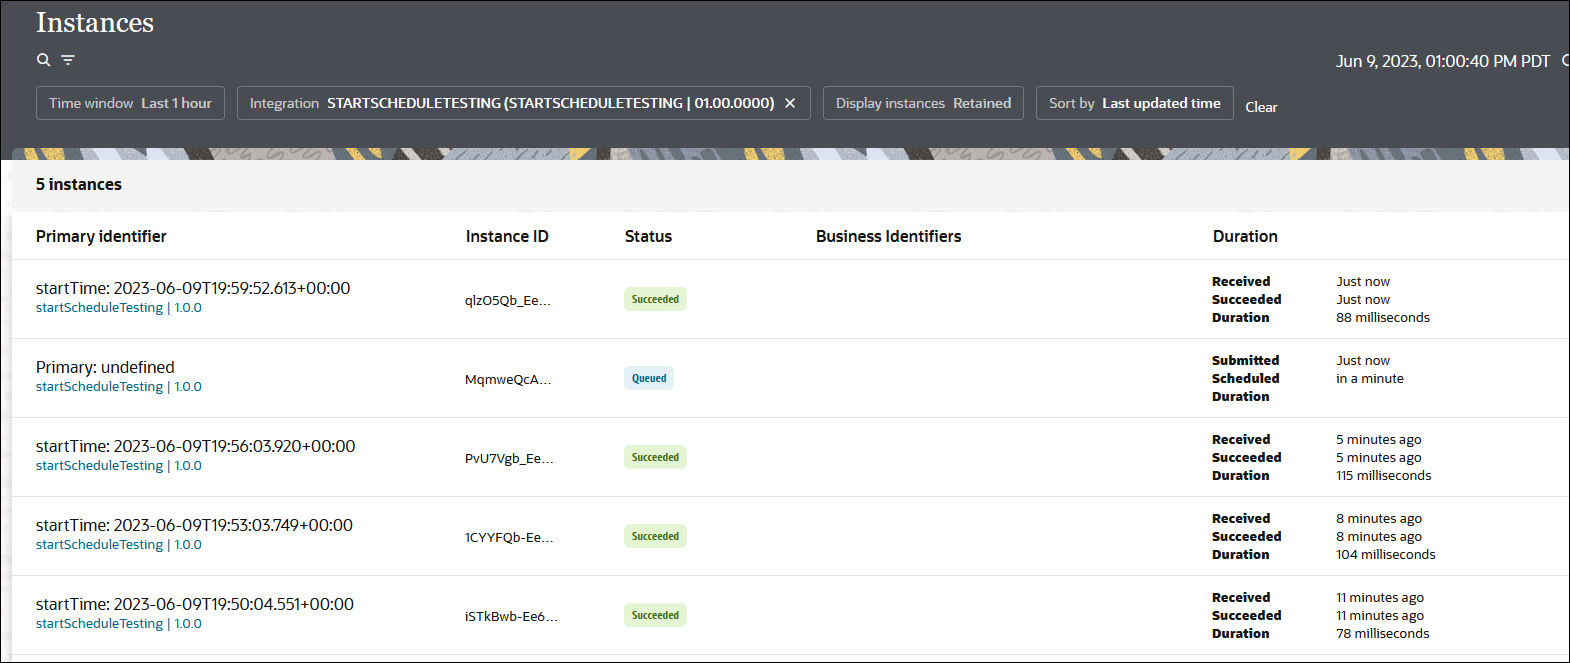
The Instances page shows details about the run of the scheduled instance.

The following status values are displayed during the course of the schedule integration life cycle:- Queued (Typically the state of an instance when it is scheduled to process sometime in the future.)
- Succeeded
- Errored
- Aborted
- In progress
- Queued
- Paused (The schedule has been paused, meaning the instance is also paused. Unpausing the schedule moves the instance back to the waiting state.)
- Blocked
- Resubmitted
- If necessary, schedule integration instances in the queued or paused state can
be canceled by selecting Abort.

The activity stream provides details about the cancellation.

This action moves the schedule integration instance to the aborted state. If this is a regularly schedule integration (for example, it is scheduled daily at the same time), another instance gets created immediately for the next day's schedule and moved to the queued state.
If the schedule integration run is successful, the status value is updated to Succeeded.
- Click View
 to view schedule milestones such as the following in the activity
stream.
to view schedule milestones such as the following in the activity
stream.- Scheduled run is triggered: Indicates the time at which the request to trigger the schedule integration was submitted.
- Scheduled run started processing: Indicates the time at which the submitted request started processing.
- Schedule paused: Indicates the time at which a schedule was paused.
- Schedule resumed: Indicates the time at which the schedule was resumed (from a paused state).
- Processing completed successfully: Indicates the time at which schedule processing completed successfully.