Fail Over to the Other Instance
You manually initiate a failover from the primary instance or from the secondary instance (if the primary instance is unreachable). You can perform failover during an actual disaster recovery occurrence or to test this functionality per your business or legal requirements.
Perform a Failover
Note:
No notification is sent by Oracle Integration when an instance fails. However, Oracle Cloud Infrastructure provides functionality for setting alarms when issues occur. See Managing Alarms.- Go to the Details tab of the primary instance in the
Oracle Cloud
Infrastructure Console. For this
example, failover is performed from the primary instance in one region to the secondary
instance in a different region. The steps are the same when performing a failover from the
secondary instance.

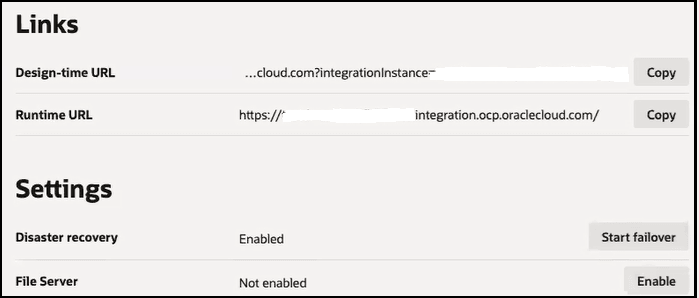
- In the lower right section of the page, click Start
failover.
A message appears indicating that during failover, synchronous transactions may fail or complete with an error and asynchronous transactions are canceled.
- Click Start failover to fail over to the secondary
instance in the other region.
The process to fail over to the instance in the other region begins.
Because data synchronization between the two instances has occurred in near real time since the completion of disaster recovery installation, the failover process takes approximately the same amount of time regardless of the amount of design-time metadata data in your instance.
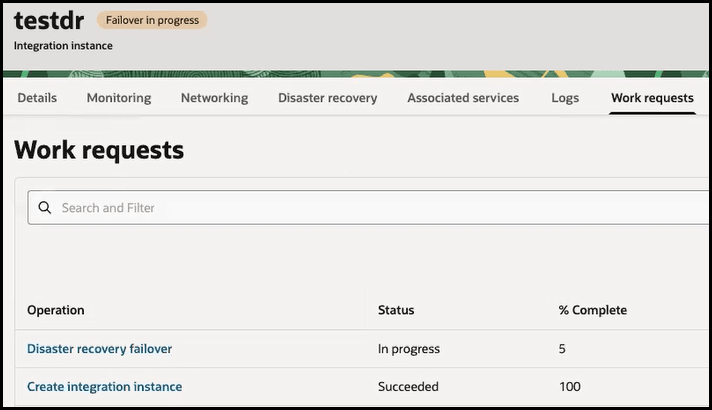
The message Failover in progress appears next to the name of the instance.

- Follow failover progress in the Work requests tab.
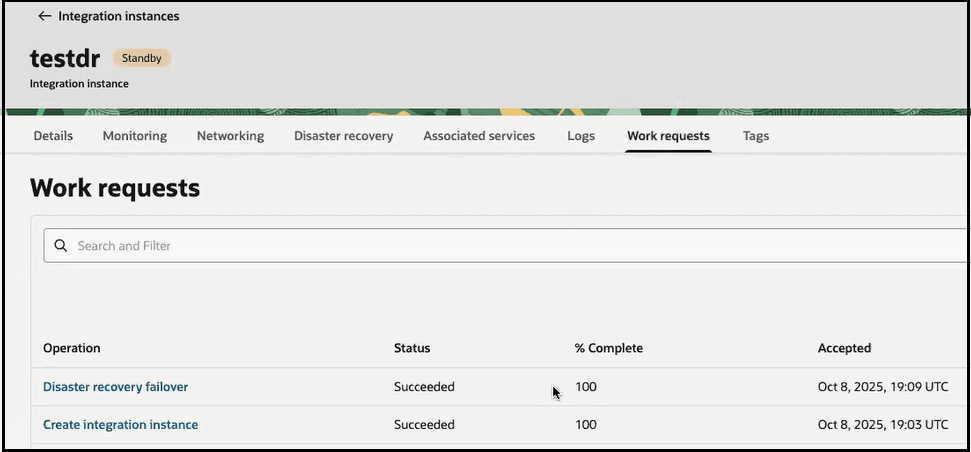
The word Standby appears next to the name of the previous primary instance during the failover. However, wait until the Work requests tab shows failover at 100% and the status as Succeeded. At that point, failover is complete.
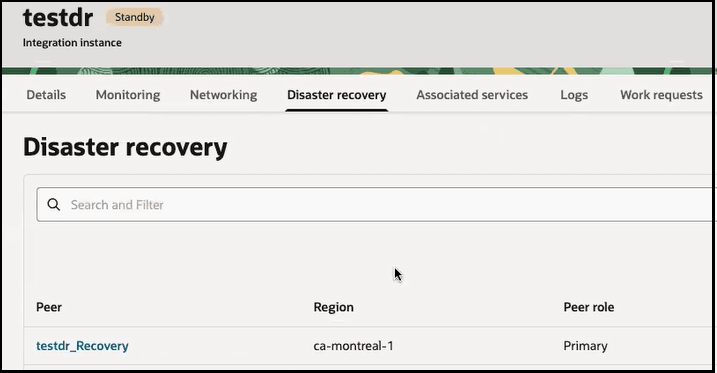
- Click the Disaster recovery tab.
- Click the recovery instance name (for this example, named
testdr_Recovery) to access the new primary instance.
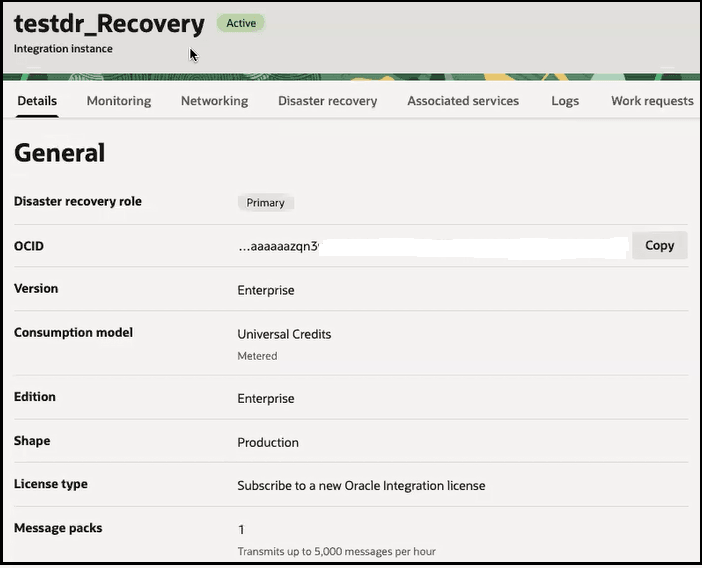
The status is shown as Active next to the instance name. The Disaster recovery role field shows a value of Primary. The word _Recovery remains appended to the end of the new primary name.
- Click the global design-time URL specified in the message to log in to the
new primary instance. The global URL does not mention any region name.
- Continue working as you were prior to failover. Activated integrations in the original primary instance are displayed as activated in the new primary instance. As you work in the new primary instance, your changes to data are synchronized with the original primary instance automatically.
- When the original primary instance is restored, click Start failover in either instance if you want to fail back to the original primary instance.
Reconfigure OCI Actions Used in Integrations
- OCI Object Storage action and OCI Function action. See Call Category in Using Integrations in Oracle Integration 3.
- Any of the OCI AI services. See OCI AI Services Category in Using Integrations in Oracle Integration 3.
Change the API Calls to Reflect the New Hostname and Integration Instance Name
If you use the Developer API for Oracle Integration 3, the hostname and integration instance name change in the API call after failover completes.
For example:
-
Pre-failover API call:
https://mydesign-pp-integration-prod-gen3.integration.us-ashburn-1.ocp.oraclecloud.com/ic/api/integration/v1/integrations/ ?integrationInstance=sysqa-drtest-cgs-inst2-bxffubagcv29-to-pp -
Post-failover API call:
https://mydesign-pp-integration-prod-gen3.integration.us-phoenix-1.ocp.oraclecloud.com/ic/api/integration/v1/integrations/
?integrationInstance=sysqa-drtest-cgs-inst2-remote-bxffubagcv29-yu-pp
This is expected behavior because the global (regionless) URL is used only for runtime. You must change the design-time hostname and integration instance name in the API call to reflect the post-failover values.