Create and Publish a Conda Environment
All administrative tasks for managing the Conda environment can be performed only by the ADMIN user.
The following example describes the steps to create a new Conda environment, install external Python packages, and persist the environment in internal storage. Note that these tasks can be performed only by the ADMIN user.
-
Navigate to the Notebooks page and open a new notebook.
-
Create a new Conda environment in a Conda paragraph.
Tip: You can hover over the bottom part of a notebook paragraph and click the
 Add Conda Paragraph icon to open a Conda paragraph instantly in the notebook.
The following describes a few choices for creating a new Conda environment. You can choose the option that applies to you:
-
To work with PyPGX APIs and other external Python packages, run the following command:
%conda
copy-local-env -n graphenv
The following example creates a Conda environment,
graphenv, by copying thebasegraphenvironment: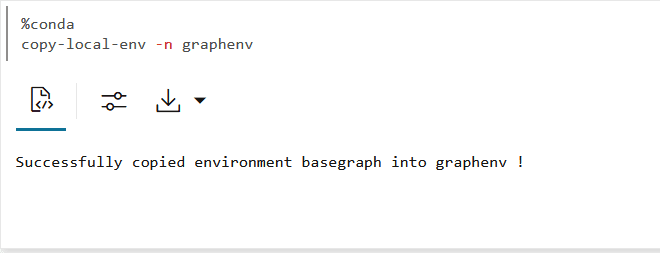
-
To work with external Python packages only, create a Conda environment by running the following command:
%conda
create -n graphenv python==3.6.8
The following example creates a Conda environment,
graphenv, with the specified Python version: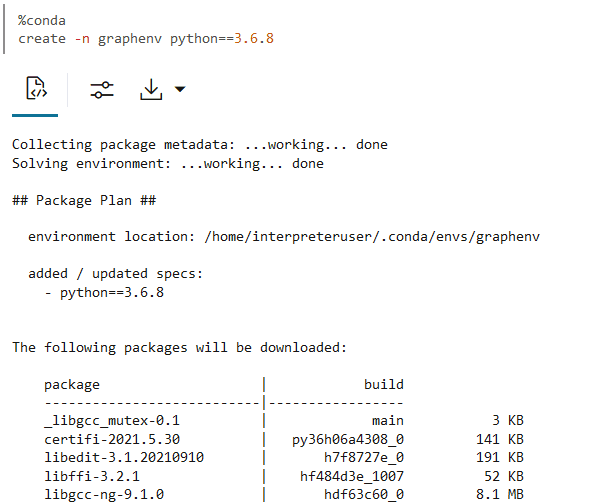
-
To create a Conda environment from a YAML file containing the environment specification, perform the following steps:
-
Prepare the YAML file manually (see the Conda Documentation for an example) or retrieve the metadata for an existing Conda environment.
To obtain the metadata for an existing environment, run the following command. Before you run the command, ensure that the Conda environment uses Python 3.11 or later.
get-env-metadata --yaml graphenv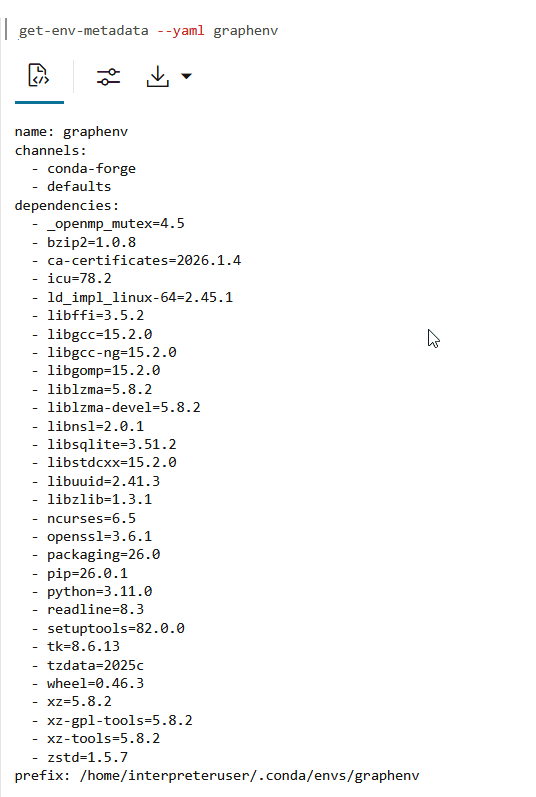
Description of the illustration conda_get_env_metadata_in_yaml.png
-
Upload the YAML file to a specified directory path using the Python interpreter.
The following example writes the YAML string obtained in the previous step to the file in
/home/interpreteruser/.conda/environment.yml.%python-pgx import os target_path = "/home/interpreteruser/.conda/environment.yml" os.makedirs(os.path.dirname(target_path), exist_ok=True) yaml_text = """\ name: graphenv channels: - conda-forge - defaults dependencies: - _openmp_mutex=4.5 - bzip2=1.0.8 <add_all_dependencies> ... ... - xz-tools=5.8.2 - zstd=1.5.7 prefix: /home/interpreteruser/.conda/envs/graphenv """ with open(target_path, "w", encoding="utf-8") as f: f.write(yaml_text) -
Create a new Conda environment using the YAML file saved in the previous step.
env create -f "/home/interpreteruser/.conda/environment.yml"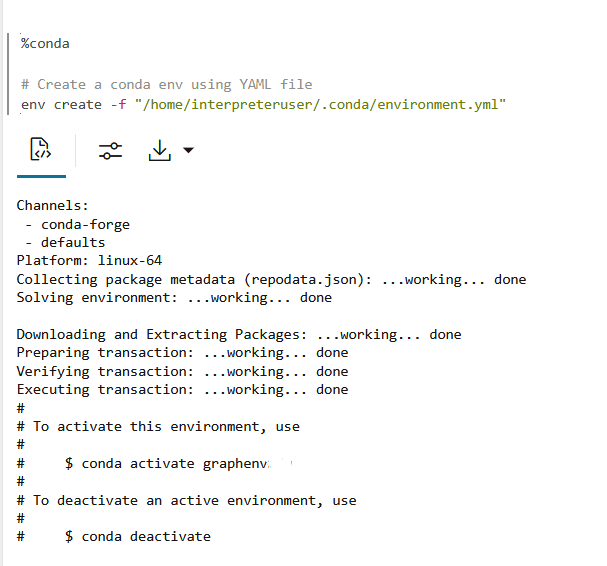
Description of the illustration conda_clone_env_with_yaml.png
-
-
-
Install any third-party Python package in the newly created
graphenv. For example, the following command installs thepandas 1.3.5package in thegraphenv.%conda install -n graphenv pandas=1.3.5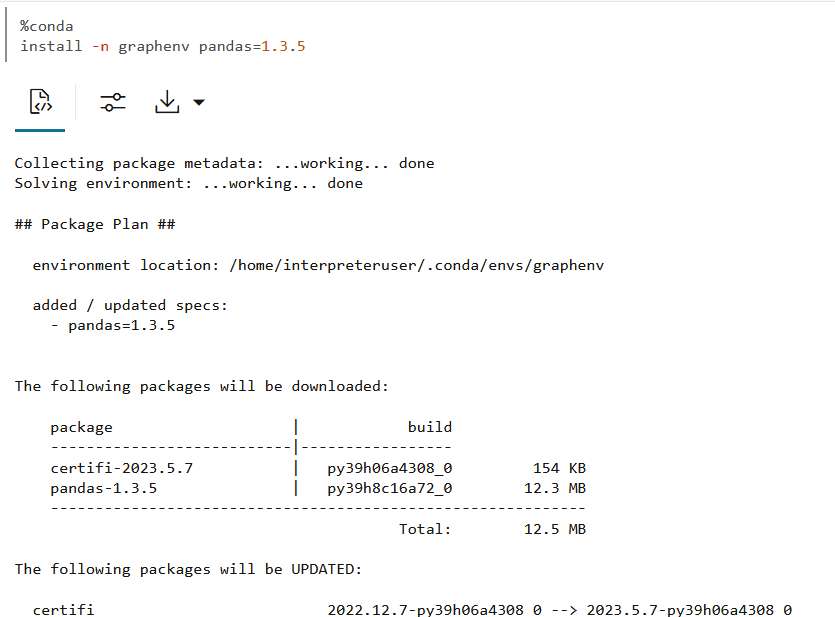
Description of the illustration cond_install_pkg.png
As an ADMIN user, you can also choose to install a different Python version other than the one provided in the
basegraphenvironment. For this, you must first activate the Conda environment created in the preceding step. Then you can uninstall the default Python library and install the required Python version as shown:activate <env_name> uninstall python install python=3.9 -
Upload the Conda environment as shown:
%conda
upload graphenv --overwrite --description 'Conda environment with Pandas'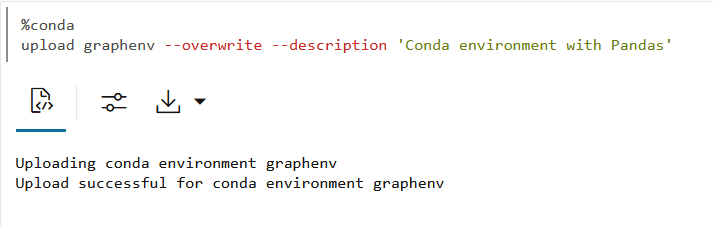
-
Optionally, verify by listing all the uploaded environments as shown:
%conda
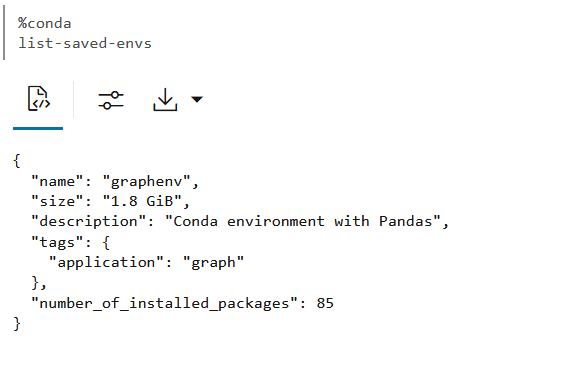
list-saved-envs