NetBeans IDE
NetBeans IDE is closely integrated with Oracle Developer Cloud Service (DevCS). You can create and open DevCS projects in NetBeans IDE, update files and commit them to the Git repository, create and update issues, and manage project builds.
Use the Team Server
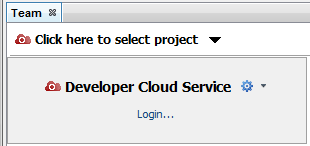
From the Team tab, you can access DevCS projects, create a project, search a project, access its Git repositories, issues, and builds.
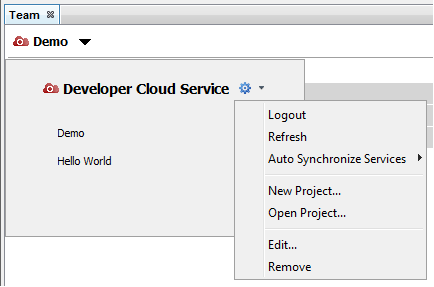
Using the Configure ![]() menu, you can create or open a project, or logout of DevCS.
menu, you can create or open a project, or logout of DevCS.
| Action | How To |
|---|---|
|
Open the project’s dashboard |
The project’s dashboard lists the recent activities and builds of the project. To open the Dashboard, in the Team tab, click Dashboard. |
|
Open the project in the web browser |
In the Team tab, click Project Web. |
|
Create a DevCS project |
Click Configure |
|
Open a project |
Click Configure |
Create a DevCS Project in NetBeans IDE
You can create a DevCS project in NetBeans IDE and then push it to Oracle Cloud. You can also push an existing NetBeans IDE project to an empty repository of a DevCS project Git repository.
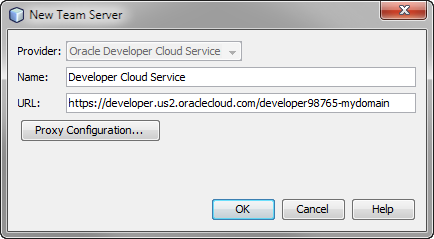
Open a DevCS Project in NetBeans IDE
Use Git in NetBeans IDE
Using the Team menu or the Git Repositories Browser, you can commit files, create and merge branches, and push changes to the hosted Git repository.
To know more information about the Git commands and actions in NetBeans IDE, refer to the NetBeans IDE Git documentation at https://netbeans.org/kb/docs/ide/git.html.
This table describes some common actions you can perform to manage Git repositories from the NetBeans IDE.
| Action | How To |
|---|---|
|
View Git repositories of a project |
In the Team tab, expand the Sources node. |
|
Access branches of a cloned project Git repository |
From the Team menu, select Repository, and then select Repository Browser. Expand the repository node and then the Branches node to see local and remote branches. |
|
Checkout a branch |
Expand the Branches node, right-click the branch, and select Checkout Revision. |
|
Create a branch |
Expand the Branches node, right-click the base branch, and select Create Branch. In the Create Branch dialog box, enter a branch name, configure other options, and click Create. |
|
Add a file to index |
In the Files tab, select the file. From the Team menu, select Add. |
|
Commit files |
Select the IDE project in the Files tab and then from the Team menu, select Commit. In the Commit dialog box, enter a message, verify the commit files, author and commiter, and then click Commit. |
|
Push commits to the project’s Git repository |
Select the IDE project in the Files tab. From the Team menu, select Remote, and then select Push. |
Manage DevCS Issues in the NetBeans IDE
In the NetBeans IDE, you can create and update DevCS issues and search queries.
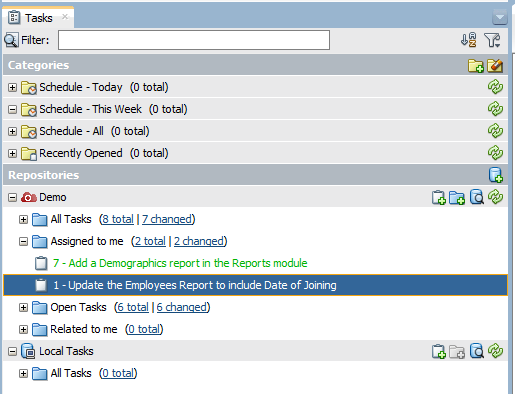
NetBeans IDE displays tasks in the Tasks tab. To open the tab, from the Window menu, select Tasks.
This table describes common actions you can perform to manage issues from the NetBeans IDE.
| Action | How To |
|---|---|
|
View issues of the project |
In the Tasks tab, expand Repositories. In the project name’s node, expand the filter to view its issues. By default, the Tasks tab displays issues of these filters:
|
|
Open and update an issue |
In the Tasks tab, double-click the issue. The issue’s details display in a new tab of the IDE. Update the issue’s properties and click Submit. |
|
Create an issue |
In the Tasks tab, select the project node, right-click, and select Create Task. Enter the details and click Submit. The issue is automatically synchronized with the DevCS project is available to other project members. |
|
Create a query |
In the Tasks tab, select the project node, right-click, and select Create Query. In the Find Tasks tab, enter the search criteria and click Save Query. |
Associate an Issue with a Commit
When you commit files, you can associate an issue with a commit.
- In the Tasks tab, open and update the issue that you want to associate with the commit.
- From the Team menu, select Commit.
- In the Commit dialog box, enter the commit’s message and verify the files.
- In the Update Task section, select the issue from the Task list.
- Select the desired resolution check boxes and the commit option.
- Click Commit.
Monitor a Project’s Builds in NetBeans IDE
You can view your project build jobs from the Build node in the Team tab. You can’t create, edit, or delete a job from the Team tab.
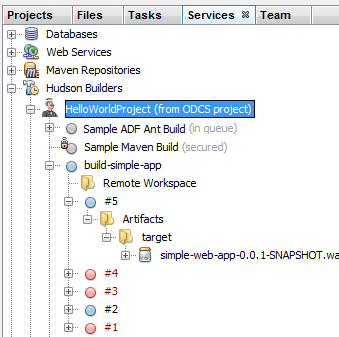
To view a particular build's details, double-click the job name in the Team tab to view its builds in the Services tab. You can also open the Services tab from the Window menu.
This table describes some common actions you can perform to manage builds from the Services tab of the NetBeans IDE.
| Action | How To |
|---|---|
|
View jobs of the project |
In the Services tab, expand the Hudson Builders node, and then expand the project node. |
|
View builds of a job |
Expand the job. The job node displays its builds along with their status. |
|
See a build’s artifacts and console log |
Expand the build node to view its artifacts. To view the console log, right-click the build node, and select Show Console. To see the SCM log, select Show Changes. |
|
Run a build of a job |
Select the job, right-click, and select Start Job. |
