Create an APEX Workspace in Autonomous Database
Follow the steps below to create an Oracle Application Express (APEX) workspace in your Oracle Autonomous Database. To ensure transparent workspace migration, the new workspace uses the same workspace ID as your existing Oracle Database Exadata Express Cloud Service workspace.
- Sign in to your Oracle APEX workspace in Exadata Express.
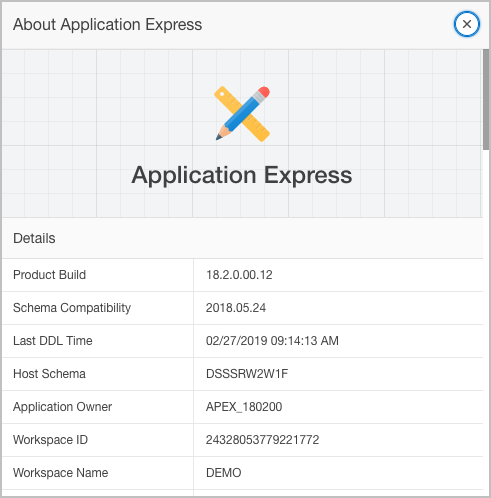
- Click the ? icon in the upper right. Choose About, and then copy your Workspace ID.
- Sign in to your Autonomous Database service console.
- Click Development on the left side, then click the
APEX link.
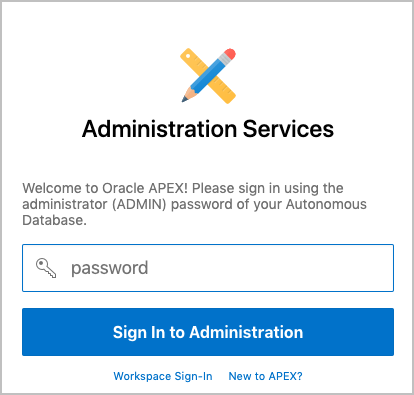
Oracle Application Express Administration Services sign-in page appears.
Note:
If you already created a workspace, the workspace sign-in page appears instead. In this case, to proceed, click the Administration Services link. - Enter the Autonomous Database administrator (ADMIN) password on the sign-in page and click Sign In to Administration.
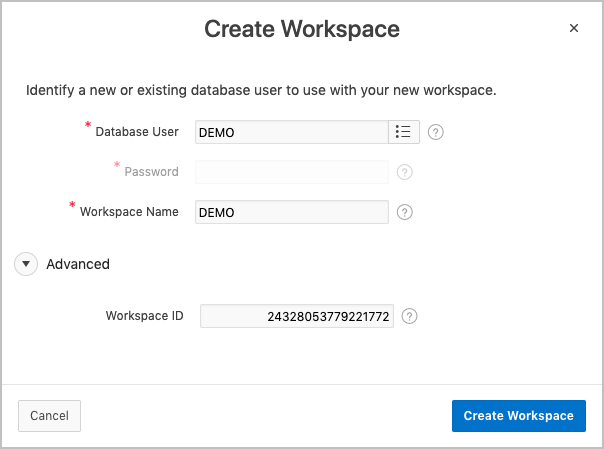
- In Administration Services, click Create Workspace and select the Database User that you imported. Ensure the Workspace Name matches your Exadata Express workspace. Expand the Advanced section and enter the same Workspace ID as you copied in an earlier step. Click Create Workspace.
- Click the link of the workspace name in the success message. The workspace sign-in page appears with Workspace and Username fields populated. Enter the password for the database user and click Sign In.
- Click Set APEX Account Password and enter the same password you just used to sign in to Oracle APEX.
For additional information, see:
- Creating Oracle Application Express Workspaces Autonomous Transaction Processing in Using Oracle Autonomous Transaction Processing
- Creating Oracle Application Express Workspaces in Autonomous Database Warehouse in Using Oracle Autonomous Data Warehouse


