Define the User Interface
Now create a web application and design its page by adding fields that will display the weather information. Also, create variables to store information and then map them to fields.
Create a Web Application
-
On the Welcome page of your application, click Web Apps.
This displays the Web Apps button in the Web Apps pane.
-
Click the Web Application button.
-
In the Create Web Application dialog, in the Id field, enter
WeatherWeband click Create.This displays the main-start page of your web application.
Define the Fields
Your application will comprise various fields to display weather information, and a button to invoke the integration. So, add Input Text elements and the button to the main-start page.
-
Add a field named Location.
-
From the Field section in Component Palette, drag Input Text to the canvas.
-
Click the Input Text label on the canvas.
-
Click Expand Property Inspector
 to display the Property Inspector pane.
-
In the Label pane in Property Inspector, in the Text field, enter
Location. -
Select the Show Required check box to mark the Location field as mandatory.
-
-
Add the Get Weather Information button that will be used to invoke the integration.
-
From the Common section in Component Palette, drag Button to the canvas.
-
In the Button pane in Property Inspector, in the Text field, enter
Get Weather Information.
-
-
From the Layout section in Component Palette, drag Horizontal Rule to the canvas to divide the page.
-
Next, add all the input fields listed in the table.
To add a field, drag the Input Text component to the canvas and select Readonly in the Input Text pane in Property Inspector. Then, select the Input Text label on the canvas and enter the label in the Text field in the Label pane in Property Inspector.
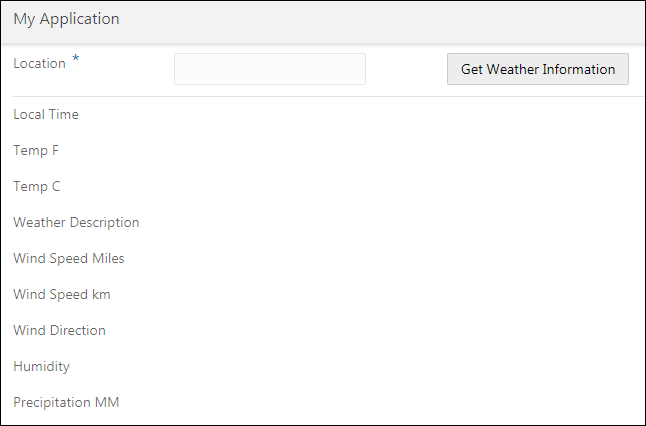
Component in Component Palette Label in Property Inspector Input Text Property in Property Inspector Input Text Local TimeReadonly Input Text Temp FReadonly Input Text Temp CReadonly Input Text Weather DescriptionReadonly Input Text Wind Speed MilesReadonly Input Text Wind Speed kmReadonly Input Text Wind DirectionReadonly Input Text HumidityReadonly Input Text Precipitation MMReadonly Your page would like the following sample page.
Define the Variables
Now, corresponding to each component you added, add variables to store weather information.
-
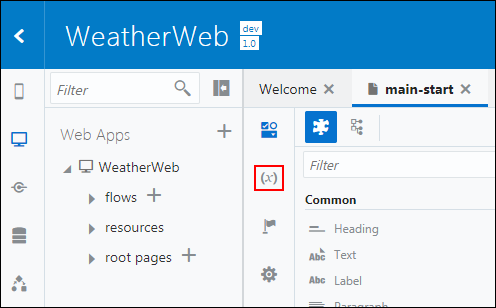
On the main-start page, click Variables
 .
.
-
Click the +Variable button.
-
In the New Variable dialog, select the Create Another check box.
-
In the Id field, enter the name of the variable and click Create. By default, the variable type String is selected.
Create the following variables:
-
humidity
-
localTime
-
location
-
precipitationMM
-
tempC
-
tempF
-
weatherDescription
-
windDirection
-
windSpeedKm
-
windSpeedMiles
-
-
When you are done, click Cancel in the New Variable dialog to close the dialog.
The newly created variables are listed on your application page.
Map Fields to Variables
Next, bind each field to the corresponding variable.
-
Click Designer
 to go back to the canvas.
-
Map the Location field to the location variable:
-
Click the Location field on the canvas. Ensure that you click the input text and not the label of the Location field.
- In the Input Text pane, click the Data tab.
-
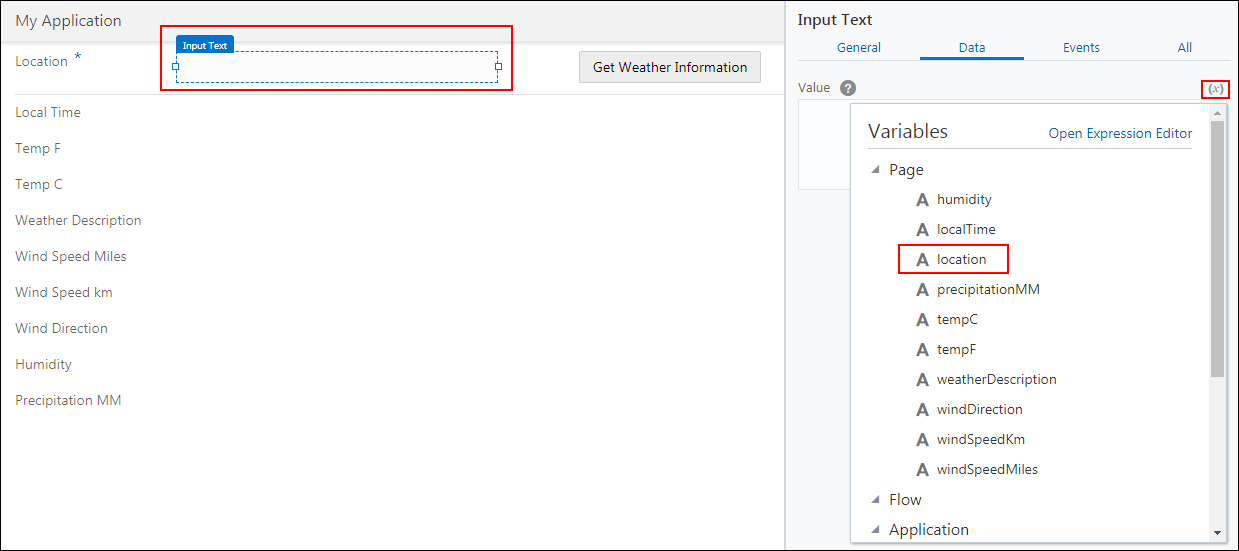
Move the mouse pointer to the Value box. This displays the Variables
 icon. Click Variables
  .
.
The list of variables is displayed.
-
From the Variables list, select the location variable to bind it to the Location input text field.
-
-
Similarly, bind the following fields to the corresponding variables. Ensure that you select the Input Text, and not Label of a field.
Field Variable Local TimelocalTimeTemp FtempFTemp CtempCWeather DescriptionweatherDescriptionWind Speed MileswindSpeedMilesWind Speed kmwindSpeedKmWind DirectionwindDirectionHumidityhumidityPrecipitation MMprecipitationMM


