Create a Custom B2B Document Definition
You can create customized document definitions to use in your B2B integrations. Custom document definitions are useful for scenarios in which your trading partner requires specific customizations to meet certain business requirements.
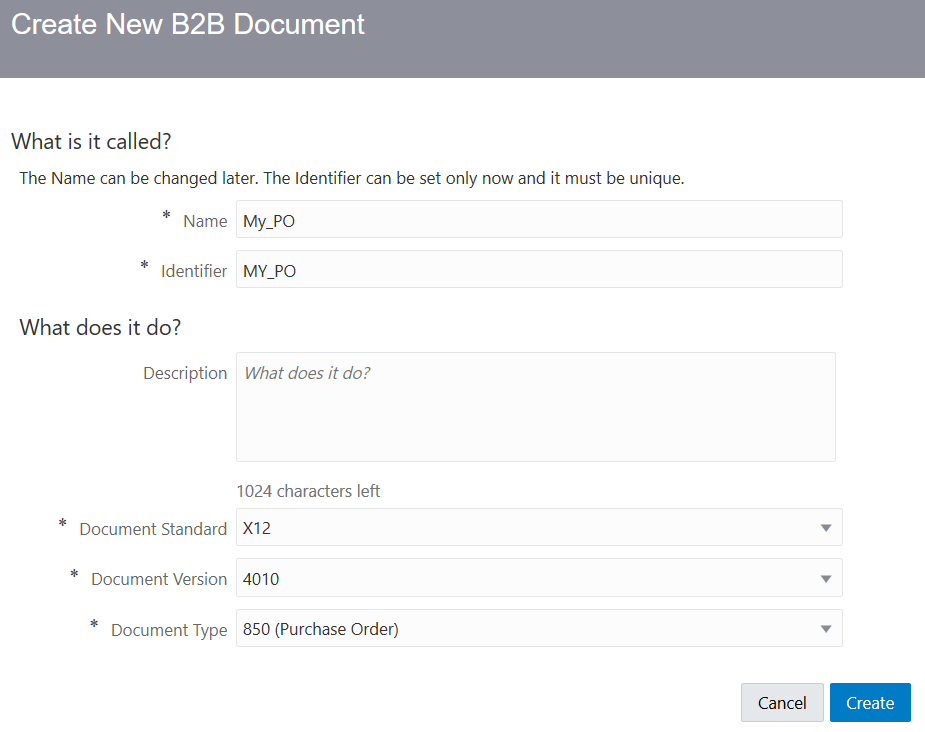
- On the B2B Documents page, click Create.
- Enter the following details to create a new B2B document definition.
Element Description Name Enter a document name. Identifier This field is automatically populated with the document name. You can manually change this value. Description Enter an optional description of the customization details for this document. Document Standard - EDIFACT
- X12
Document Version Select the document version. The versions shown are based on the document standard you selected. Document Type Select the document type. For example:
- Click Create.
The details page for your new B2B document is displayed. The Document Schema field shows Standard as the schema type by default.

- Click Customize to customize the standard schema to satisfy your business requirements. If you had previously created custom schemas, they are also displayed for selection in the dropdown list. If you want, you can select those schemas to create further customizations.
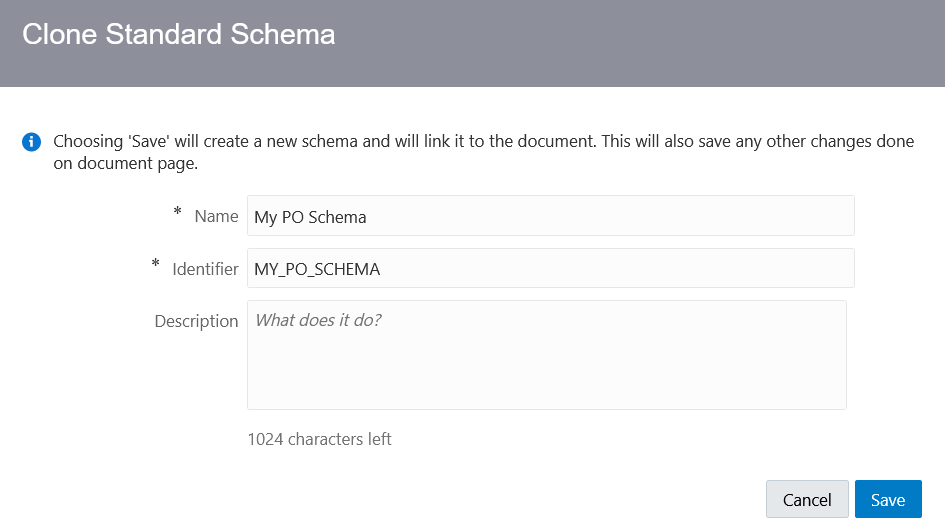
The Clone Standard Schema dialog is displayed.
- Enter a name and optional description for your custom schema.
- Click Save.
This action creates a copy of the standard EDI X12 or EDIFACT schema for you to use as a baseline to customize. For this example, the EDI X12 schema is shown.
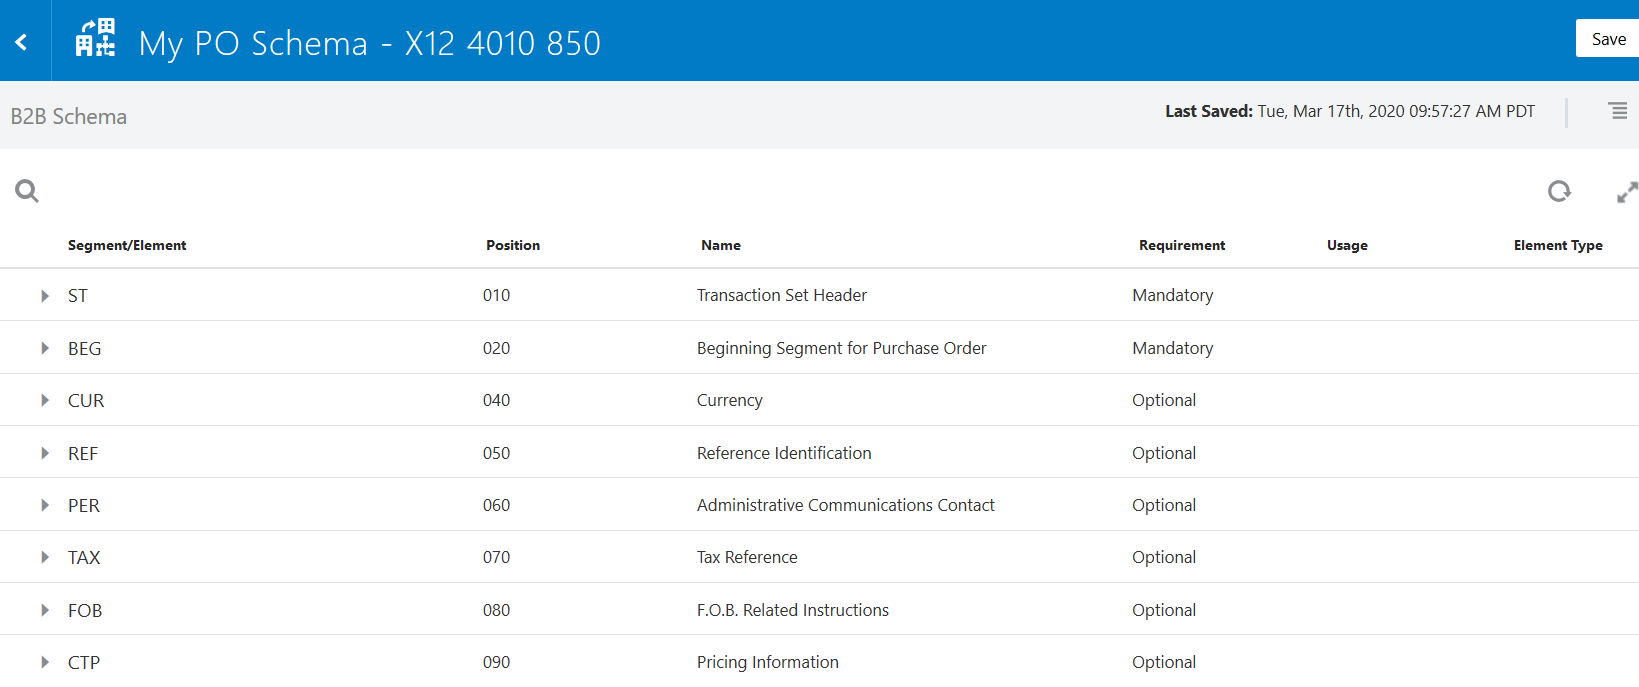
Description of the illustration b2b_my_po_schema.png - On the schema page, find the element you want to customize, and select Edit Details. As an example, select the CUR02 currency code element (part of the CUR segment) to edit it. You can also add new constructs to the schema. See Edit Properties of Segments and Other Schema Constructs.

Description of the illustration edi_edit_details.pngThe Details pane is displayed with the Properties tab selected.
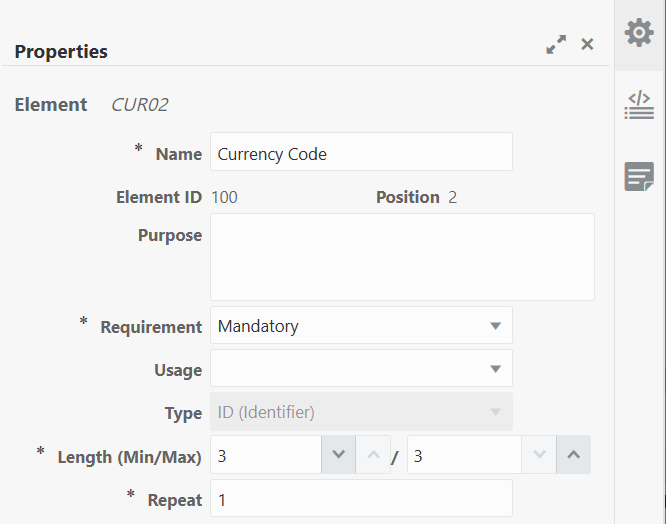
Description of the illustration b2b_my_po_props.pngThe three tabs on the Details pane enable you to perform customizations.Tab Description Properties 
Displayed by default when you initially access the Details pane. You can modify the following standard EDI X12 properties for the selected segment or element: - Purpose of element
- Requirement (mandatory, optional, or conditional)
- Usage (must use, do not use, recommended, or not recommended)
- Minimum and maximum number of characters
- Number of times to repeat the element
Code List 
Click to view the code list for the element. A code list defines an enumeration of allowed values for the element. Notes 
Click to add notes to the element. - Edit the element details as necessary for your business environment. For this example, select Code List
 to add new code.
- Click Add a New Code List (if the element does not already have a code list defined).
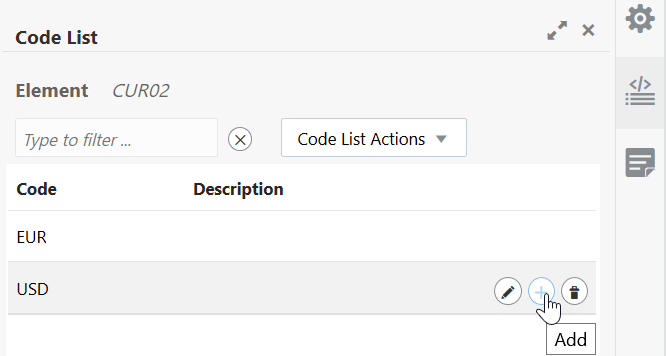
- A placeholder code is created for you. Hover over it and select Edit. Add a currency code name and optional description, and click x to save your updates.
- Click Add to add more codes and edit them as necessary for your business requirements. For this example, add
EUR(for the Euro currency) andUSD(for US dollars). - When complete, click X in the upper right corner to close the dialog. Click Save.
The segment (CUR) and the element (CUR02) that you customized to deviate from the standard schema are identified by a dot.
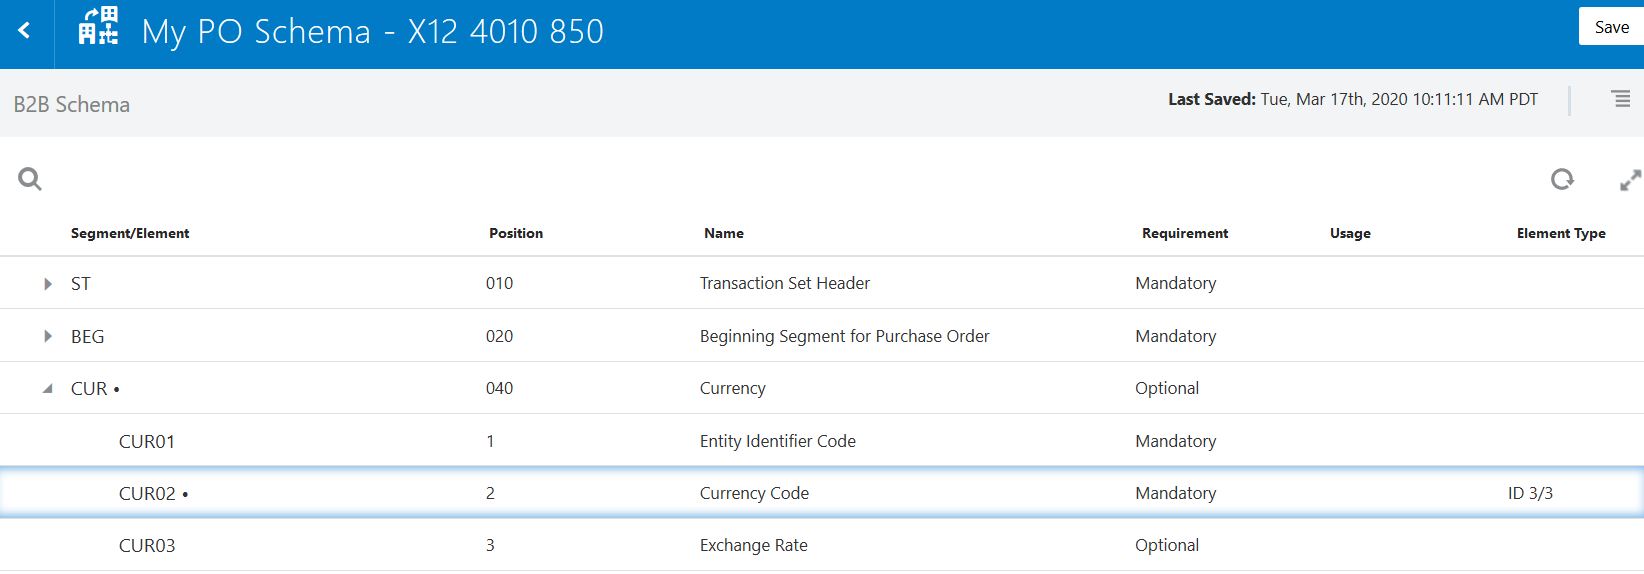
Description of the illustration b2b_currency_custom.png - Return to the B2B document's details page and click Save to associate the customized schema to the document.
- Go to an orchestrated integration either to add a new B2B action or edit an already configured B2B action that is not part of an activated integration. See Use the B2B Action in Standalone Mode.
- Note that the customized document definition is now available to use from the Document Definition list in the wizard.

