Prerequisites for Creating a Connection
You must satisfy the following prerequisites to create a connection with the SAP Commerce Cloud (Hybris) Adapter:
Create an OAuth Client
- Log in to your SAP Commerce Cloud Backoffice and go to
System > OAuth > OAuth
Clients.
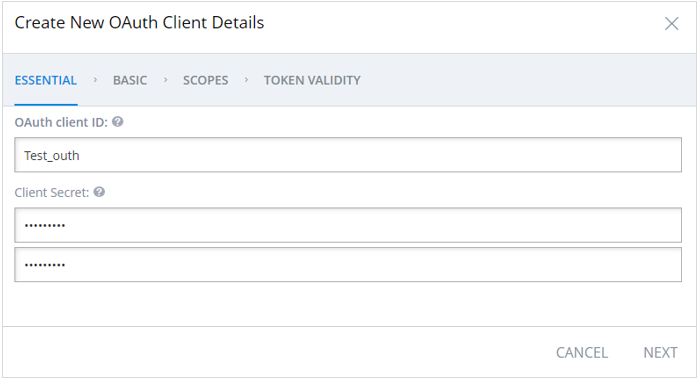
- Click the add (+) icon. The Create New OAuth Client
Details dialog box is displayed.
- Set the OAuth client ID and client secret, and click
NEXT.
Note:
You use the client ID and client secret later when configuring security for your SAP Commerce Cloud (Hybris) Adapter connection. See Configure Connection Security. - Enter the following details in the respective fields, and click
NEXT.
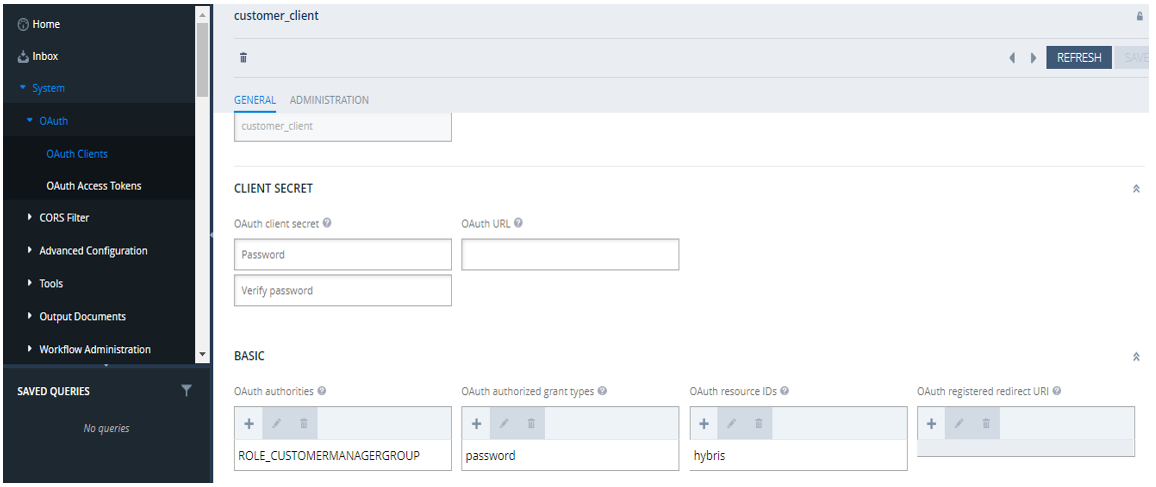
Element Description Authorities ROLE_TRUSTED_CLIENT Client Grant Types refresh_token, client_credentials, password OAuth resource IDs hybris If you need to access Customer Groups services, you must only enter the details described in the following table.Note:
- If you need to access the Customer Groups services, authorization for ROLE_CUSTOMERMANAGERGROUP is required.
- Customer Groups is a secured service and is secured with ROLE_CUSTOMERMANAGERGROUP. To access the Customer Groups services, you must be a member of the Customer Manager Group. Therefore, you must assign the Customer Manager Group to the integration user. See Create and Assign a User to the Customer Manager Group.
- Configure Resource Owner Password Credentials (ROPC) security for the SAP Commerce Cloud (Hybris) Adapter connection to access the customer group services.
Element Description Authorities ROLE_CUSTOMERMANAGERGROUP Client Grant Types password OAuth resource IDs hybris - Enter
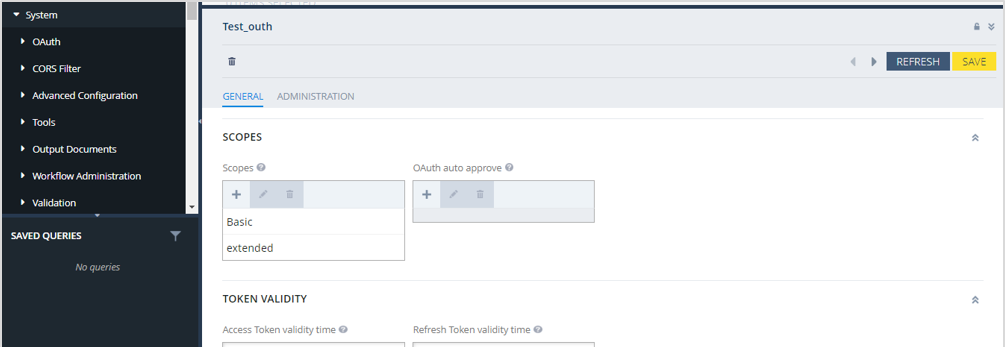
basicandextendedin the Scopes field, and click NEXT. - In the Access Token validity time field, enter the
required time (in seconds) that depends on the frequency of integration execution (for
example,
28800). In the Refresh Token validity time field, enter a value greater than Access Token validity time (for example,32400). - Click DONE.
Create and Assign a User to the Customer Manager Group
Perform the following steps to create and assign a user to the Customer Manager Group.
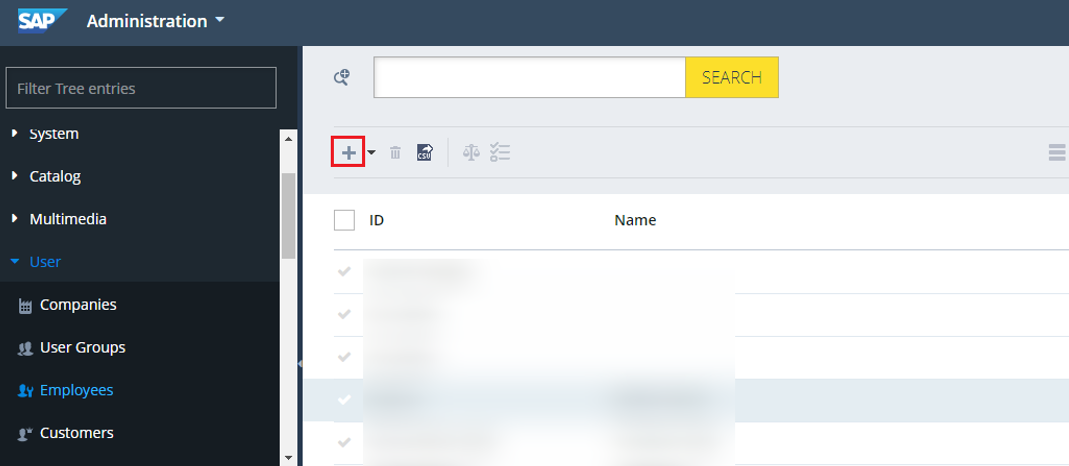
- Log in to your SAP Commerce Cloud Backoffice and go to User > Employees.
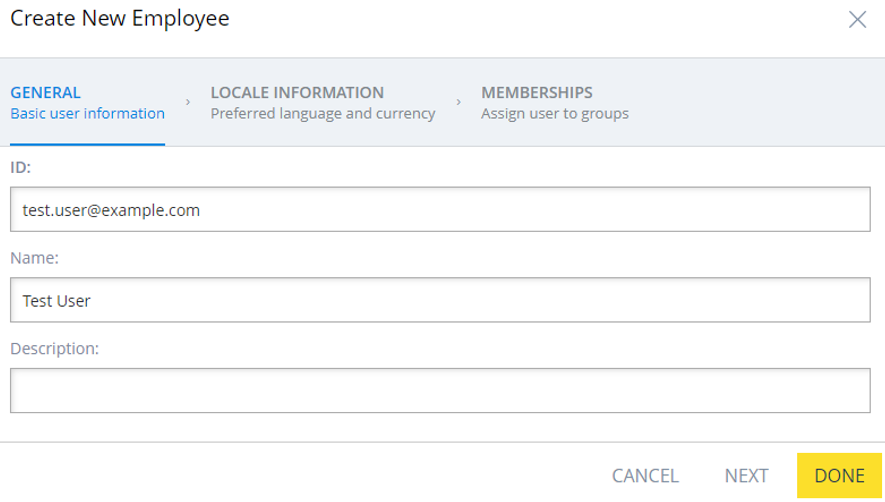
- Click the add (+) icon. The Create New Employee
dialog box is displayed.
- Enter the ID in the following format:
firstname.lastname@domain.comFor example:
c.smith@example.com - Enter the additional required details in the respective fields, and click
NEXT.
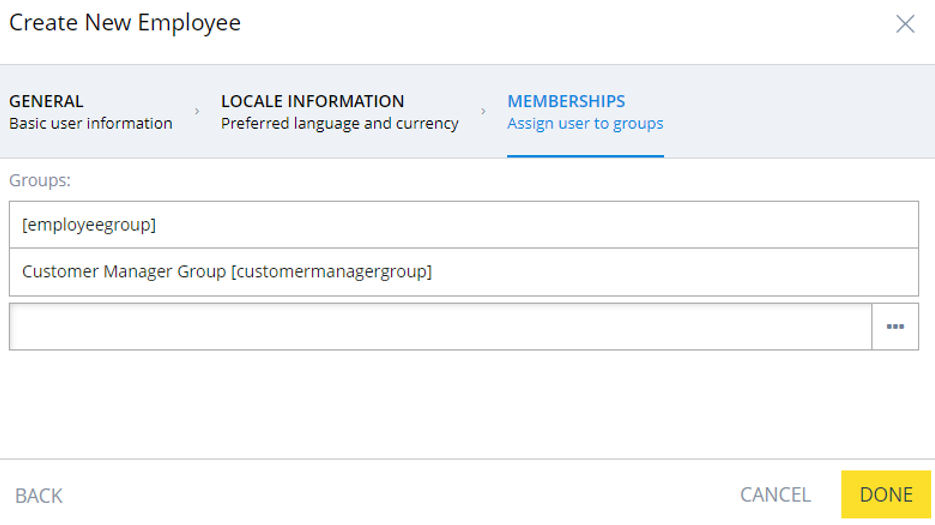
- Under MEMBERSHIPS, search for
customermanagergroup, assign the user to the Customer Manager
Group, and click DONE.
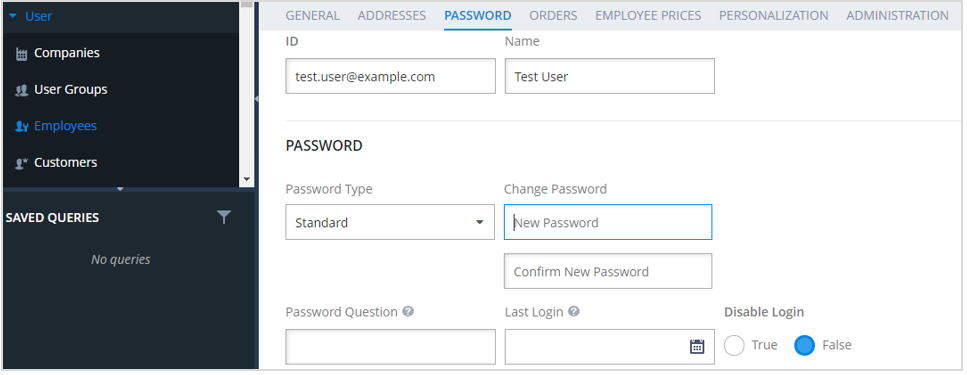
- Once the user is created and assigned to Customer Manager Group, click Employees under User on the home page.
- Click the respective customer ID, and click the
PASSWORD tab.
- Enter a new password for the customer user, re-enter the password for confirmation, and click SAVE.
Common Customization Scenarios
You must perform specific annotations to ensure that SAP Commerce Cloud reflects customizations in the SAP Commerce Cloud (Hybris) Adapter.
Add New Custom Fields in the Standard Operation/API
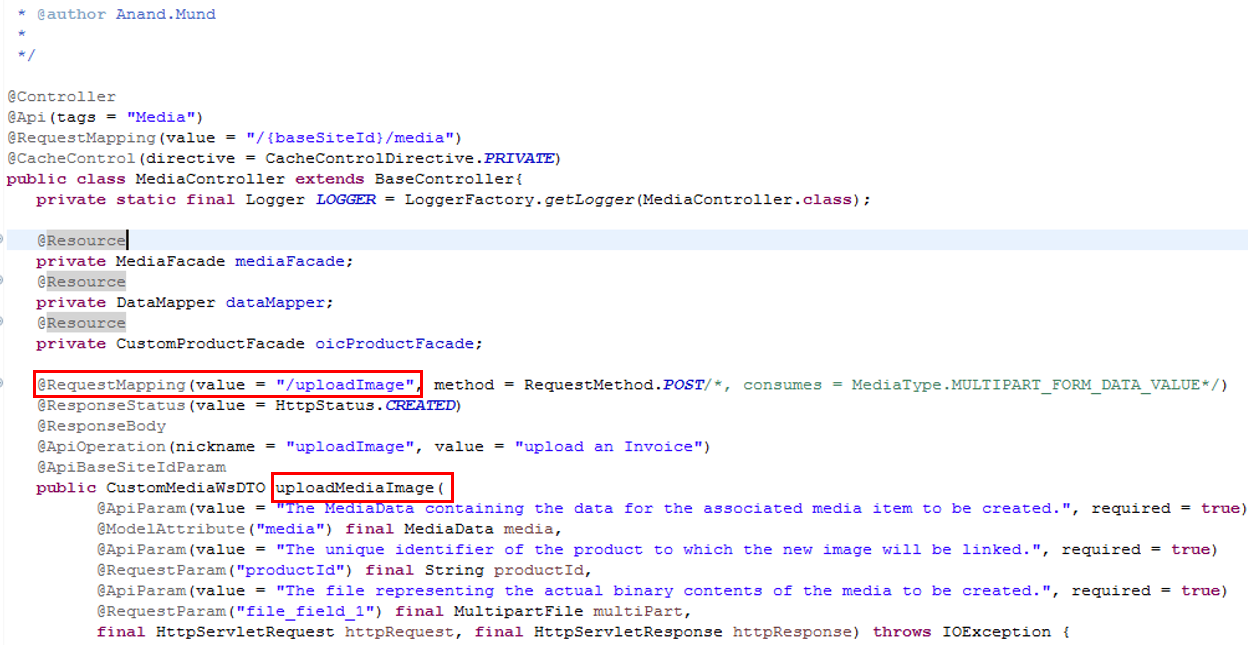
Ensure that the custom fields are annotated with
@ApiParam so that the fields can be discovered in the Swagger
metadata document.
Add a New Custom API/Operation Under a Standard Object
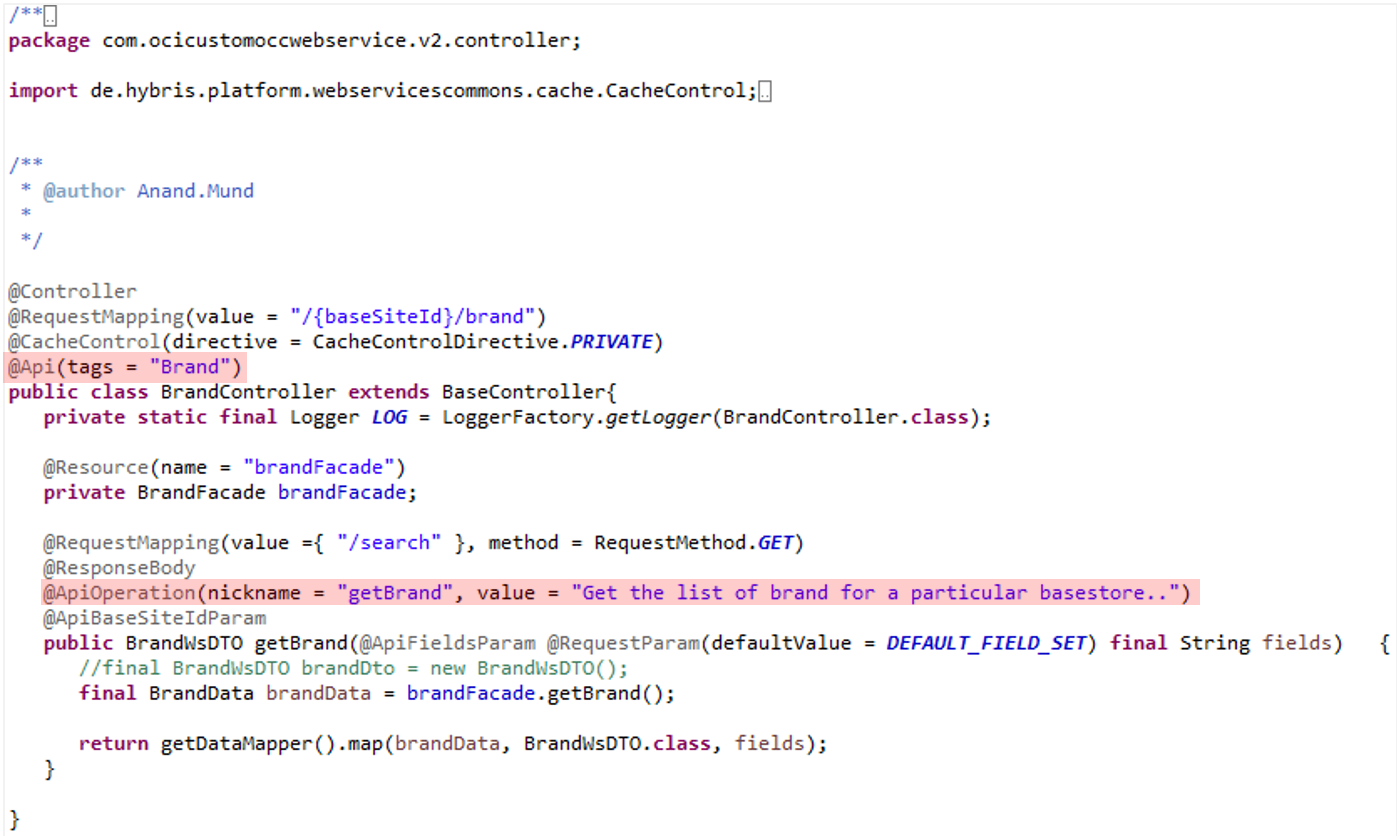
Ensure that the operation (method) is annotated with
@ApiOperation and @ApiBaseSiteIdParam so that
the operation can be discovered in the Swagger metadata document.
Add a New Custom Object
Ensure that the new object (controller class) is annotated with @Api(tags =
“<<Object Name>>”) so that the object can be discovered in
the Swagger metadata document. You can follow the above-mentioned information to add
the operations and fields.
Note:
Replace<<Object
Name>> with the actual name of the object that you need to add.
Upload an Image
You can upload an image for a product in SAP Commerce Cloud using customizations in the Omni Commerce Connect (OCC) services of SAP Commerce Cloud.
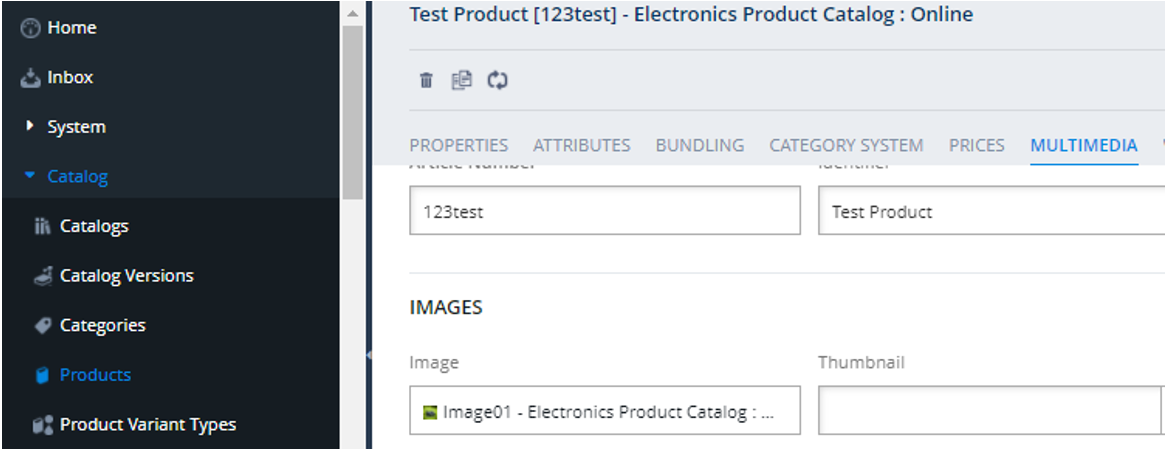
- Log in to your SAP Commerce Cloud Backoffice application.
- Navigate to Catalog > Product.
- Select the respective product and click the
MULTIMEDIA tab.
- Click the uploaded image. The image is displayed.


