Prerequisites for Creating a Connection
You must satisfy the following prerequisites to create a connection with the Oracle Cloud Infrastructure Streaming Service Adapter.
This information is required when configuring the Oracle Cloud Infrastructure Streaming Service Adapter on the Connections page.
Assign the Correct Permissions
Assign the correct permissions to the Oracle Cloud Infrastructure Streaming Service group in the Oracle Cloud Interface Console. This group must contain the SASL user that you enter when creating a connection on the Connections page.
Allow group StreamUsers to manage streams in tenancy/compartment
Allow group StreamUsers to manage stream-pull in tenancy/compartment
Allow group StreamUsers to manage stream-push in tenancy/compartmentPolicy details about letting users publish messages to and a specific stream and consume messages from streams are described in the Oracle Cloud Infrastructure documentation. See Common Policies and Details for the Streaming Service.
Know the Bootstrap Server Host Name and Port
Know the host and port of the bootstrap server to use to connect to a list of Oracle Cloud Infrastructure Streaming Services.
Know the SASL Username and Password
/).
For example:xxxtenant/abcuser/yyystreampoolocid- Obtain the tenancy name in the Oracle Cloud
Infrastructure Console.
- From the Profile icon in the upper right corner of the page, select Tenancy. The name is displayed in the title and the Name field.
- Know the stream user name. This is a user with authorization to publish or consume messages from the stream.
- Obtain the stream pool OCID by navigating to the streaming instance you are
using in the left navigation pane of the Oracle Cloud
Infrastructure Console.
- Select Analytics & AI > Streaming > Stream Pools > Default Pool (or the specific pool name you are using).
- Copy the OCID value.
- Generate the SASL password to access the Oracle Cloud Infrastructure Streaming
Service. This is an authorization token generated for the streams user. The password can be
generated from the streaming instance.
- Select Identity & Security, then select Users.
- In the Name column, click the specific user and select Auth Tokens.
- Click Generate Token.
- Use this token as the password.
Know the Trust Store (Optional)
- Create the certificate from the command prompt.
- Obtain the certificate from the browser. The steps vary from browser to browser.
- From the command prompt:
- Enter the following
command:
echo -n | openssl s_client -connect HOST:PORT | sed -ne  '/-BEGIN CERTIFICATE-/,/-END CERTIFICATE-/p' > cert_file_name
keytool -keystore jks_file_name -alias alias_name -import -file cert_file_name
For example:echo -n | openssl s_client -connect streaming.region-1.oci.oraclecloud.com:9092 | sed -ne '/-BEGIN CERTIFICATE-/,/-END CERTIFICATE-/p' > ociStreaming.cert keytool -keystore Streaming_truststore.jks -alias OSSStream -import -file ociStreaming.certWhere
regionis your instance's region.This creates the
jksfile that you upload on the Connections page.
- Enter the following
command:
- From the browser:
- Log in to the Oracle Cloud Infrastructure Console:
- From the navigation pane, select Analytics & AI, and then Streaming.
- In the Name column, click the stream instance.
- Copy the URL in the Messages Endpoint field.
You are now ready to export the certificate from your browser of choice. Two examples are provided below:- Export the certificate from Chrome:
- Export the certificate from Firefox:
Note:
Only the root certificate should be exported, and not the chain or intermediate certificate. - Export the certificate from Chrome:
- Enter the messages endpoint URL in the browser, and press Enter.
- Click the lock icon in the URL.

- Select Connection is secure, then Certificate is valid.
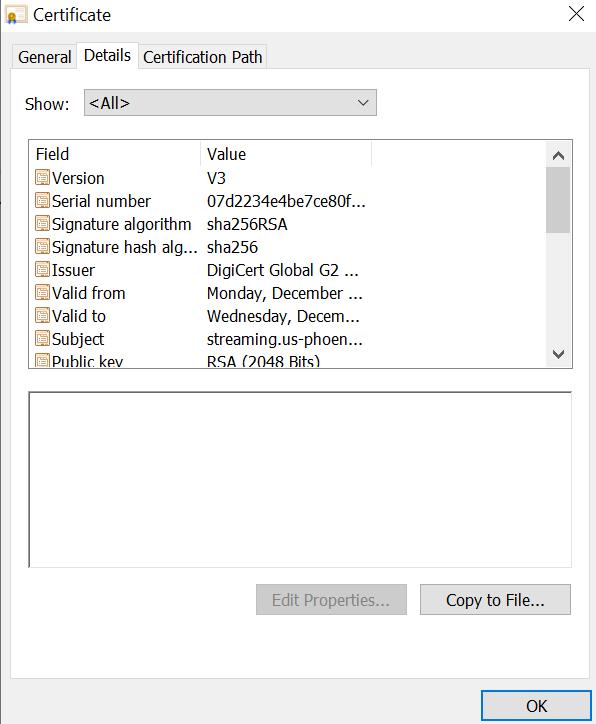
- Click the Details tab.
- Click Copy to File.

- Follow the steps in the Certificate Export Wizard to export the root certificate.
- Export the certificate from Mozilla Firefox:
- Enter the messages endpoint URL in the browser, and press Enter.
- Click the lock icon in the URL.

- Select Connection Secure > More Information.
- Click View Certificate.
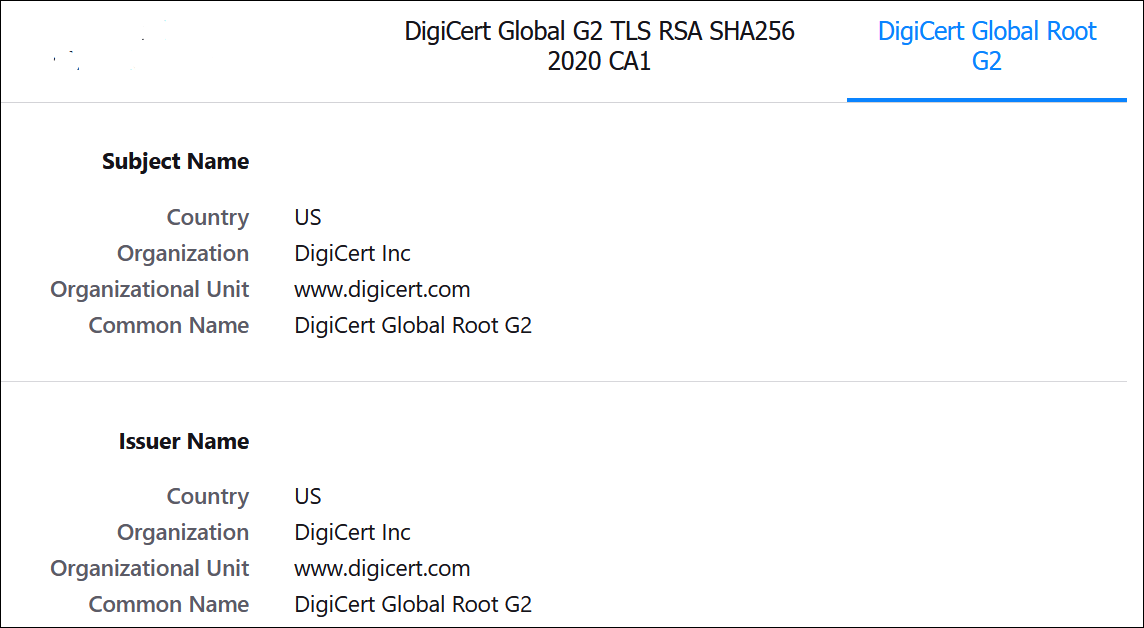
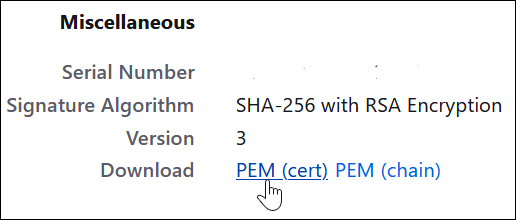
- Select the top level root certificate, then scroll to the
Miscellaneous section to download.

- Download the root certificate.

- Use the certificate to generate the trust store using the
keytoolutility found in the/oracle/jdk/bindirectory of your host. You must have Oracle Java installed on your host. You cannot use OpenJDK.For example, you can generate the trust store with the following command:
keytool -keystore oss_server_truststore2.jks -alias CARoot1 -import -file D:\temp\DigiCertGlobalRootCA1.crtWhere:filename.jksis any name you want to use.CARoot1is anything you want to use.filename.crtis the file you exported earlier from the security link in your browser.
This creates the
jksfile that you upload on the Connections page.
