Synchronize Candidate Data from SAP SuccessFactors Employee Central
The SAP SuccessFactors Adapter supports the Candidate application programming interface (API). The SAP SuccessFactors Candidate API service is an ODATA web service used to extract employee data from SAP SuccessFactors Employee Central.
This use case describes how to extract candidate data from SAP SuccessFactors Employee Central. In this use case, a Marketo Adapter is used to synchronize the data that you receive from SAP SuccessFactors to create new records, but you can also use other applications.
- Create a scheduled orchestration integration.
- Drag an SAP SuccessFactors Adapter into the integration canvas as an invoke connection.
- Configure the SAP SuccessFactors Adapter as follows:
- On the Basic Info page, provide a name.
- On the Operations page, select OData, select the Candidate entity, and then select Get from the Select an Operation Type list.
- On the System Query Options page, select the Configure $expand query option. This allows to expand navigation properties in the response checkbox.
- Select the required navigation property from the Configure expand parameters list (for this example, user is selected).
- Select the Configure $select option. This allows to select only the required properties in the response checkbox to limit the properties to receive in the response.
- Select the field that you selected in the navigation property (that is, user) and select other required fields (for this example, cellPhone, lastName, and primaryEmail are selected).
- On the Summary page, review your selections.
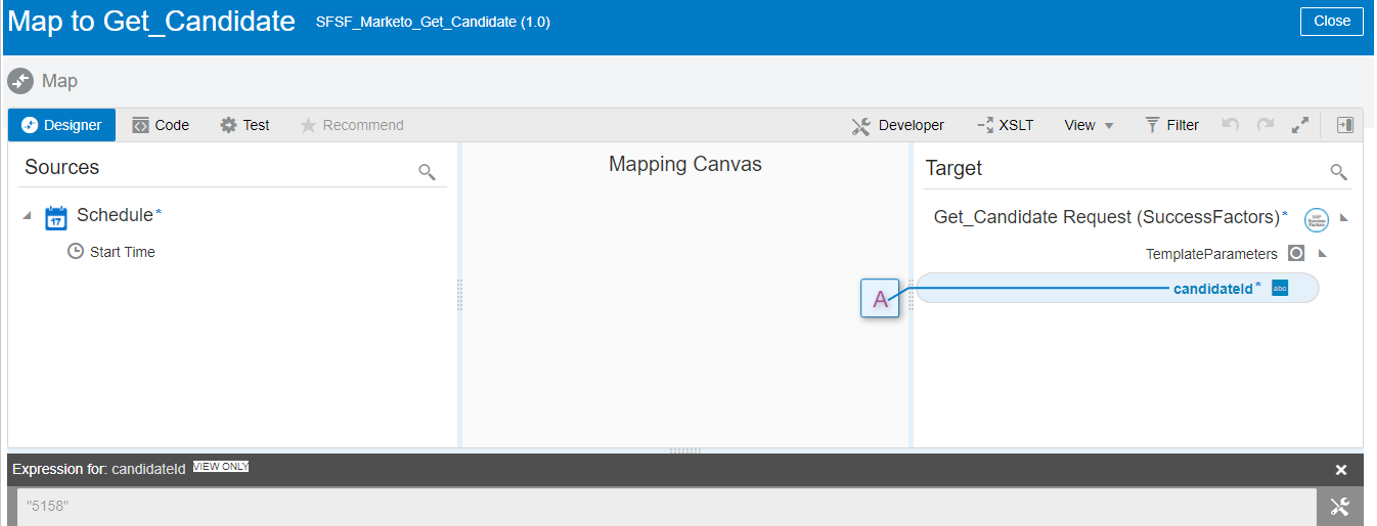
- In the mapper, provide the required input value for the
candidateId.

- Drag the Marketo Adapter into the integration canvas and configure it as
follows:
- On the Basic Info page, provide a name.
- On the Action page, select Create or Update Information.
- On the Operations page, select the following details:
- Leads object.
- Sync Lead operation.
- Create Only as sync action.
- On the Summary page, review your selections.
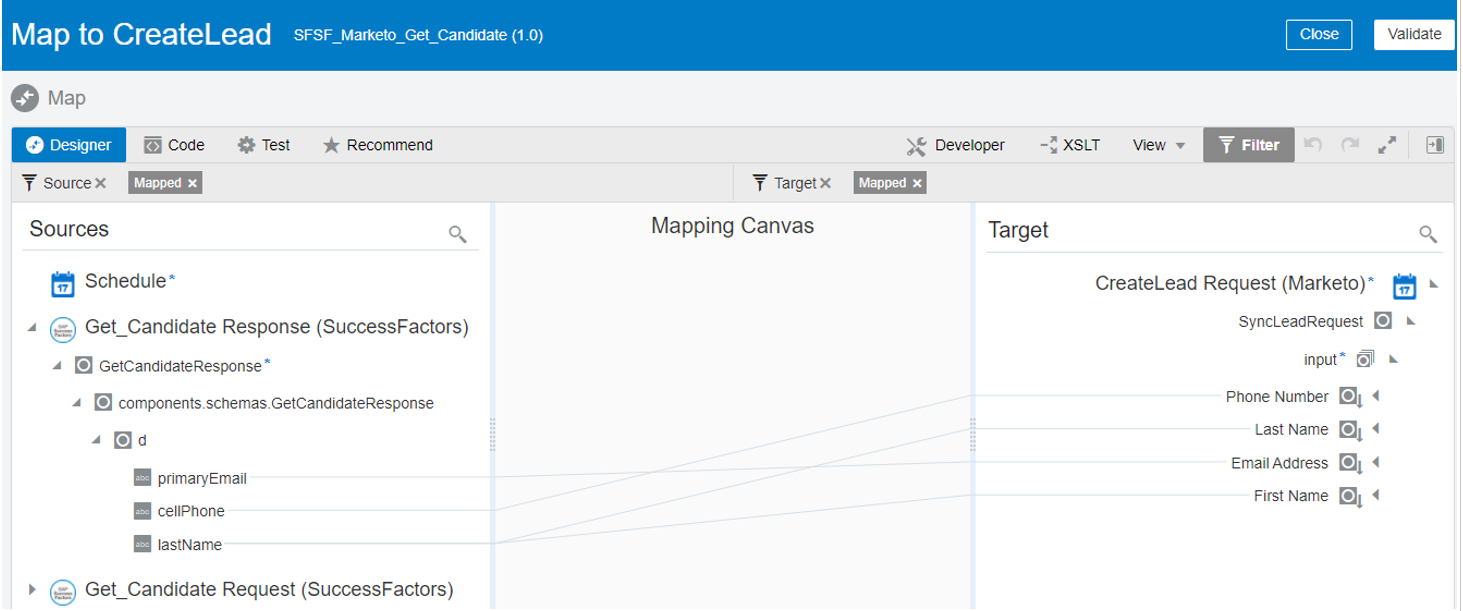
- In the mapper, map the SAP SuccessFactors response to the CreateLead request.

The complete integration looks as follows:

- Specify the tracking variable.
- Click Tracking.
- Drag the required variable to use for the tracking reference (for this example, startTime is selected).
- Activate the integration.
- After successful activation, you can submit the integration and monitor the runtime in Oracle Integration.