Use a Structured Process in a Dynamic Process
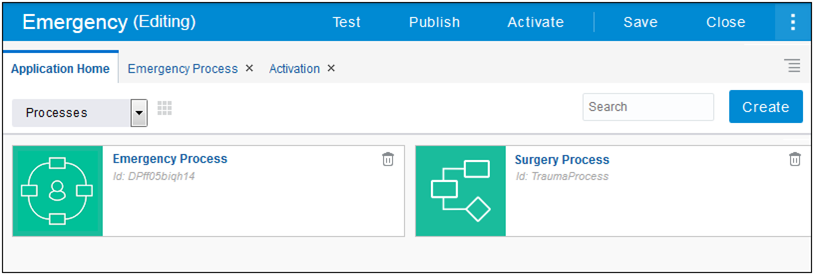
What if parts of your business process follow a predictable and sequential path? Model them as structured processes that your dynamic process calls. Structured processes also provide some functionality not currently available in dynamic processes, such as decision models, integrations, and service calls.
Edit the Process’ Swimlane
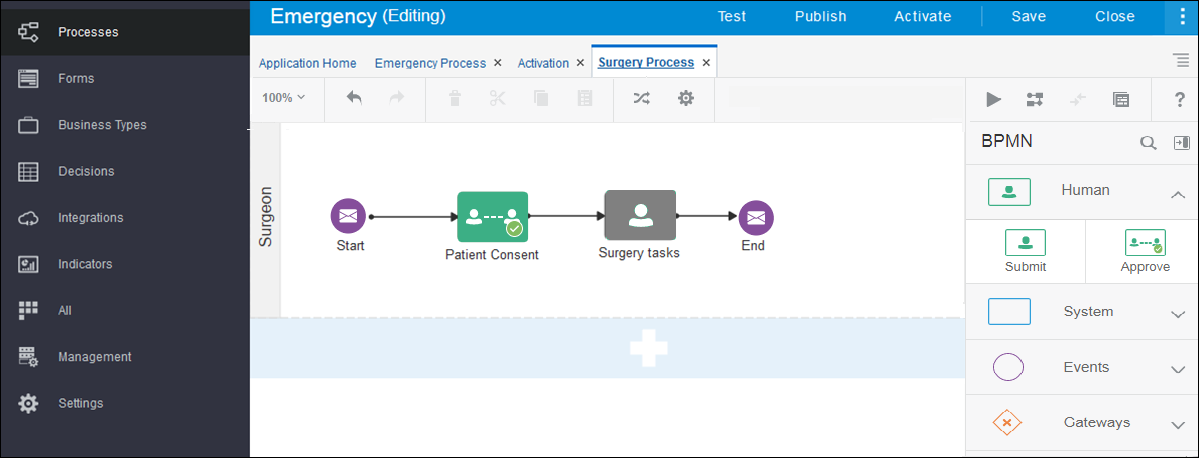
Edit the process’ swimlane to assign a role responsible for performing each tasks within the process. In the Surgery Process, let us change the process’ swimlane to a surgeon role.
- Select Process Owner and click Edit.
- In the implementation pane, click Add Role
 to add a role and enter Surgeon.
 - Click Collapse Pane
 to collapse the implementation pane.
Associate a Web Form with the Approve Human Task
Let’s associate a web form with the Patient Consent human task.
- Select the Patient Consent human task, click Menu
 and choose Open Properties.
 - Click the browse icon next to the Form field to search for PatientForm.
- Select PatientForm and click OK.
- In the Presentation field, select Surgery. Collapse the implementation pane to save your changes.
Define the Process Start and End Events
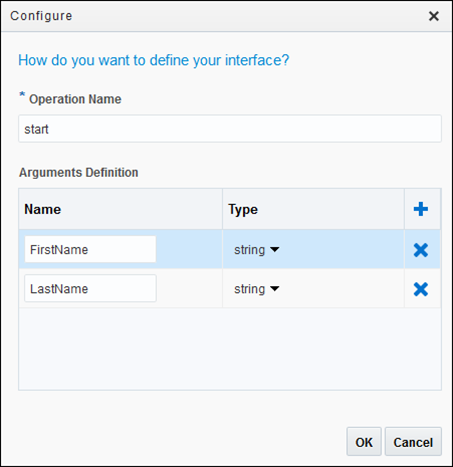
Implement the process start and end events to input and output the name fields.
Configure Data Associations for Process Start and End Events
Define data associations for the Surgery Process’ start and end events to define what payload passes onto the process start event and what data passes out of the process end event.
- Select the Start Message event. Click Menu
 and choose Open Data Association to open the Data Association editor.
 - Map
FirstNametopatientFormDataObject.firstName, andLastNametopatientFormDataObject.lastName. Click Apply. - Select the End Message event, open the Data Association editor, and repeat step 2.
Call the Structured Process in the Dynamic Process
Let’s configure the dynamic process to call the structured process.
Test Activate to Validate the Application
Test activate the Emergency application to validate and make it available in runtime.
Try the Structured Process in Runtime
Now that you’ve created a structured process in a dynamic process, and test activated the application, let’s try out the Surgery process in runtime to see how it works.
- Click My Apps, then create and open a dynamic process instance. Notice that the Surgery activity shows a structured process icon in the Activities list.
- Select Inbox in the navigation pane. Typically, the surgeon would be accessing an assigned task from a structured process like the Surgery process from the Inbox rather than from within the dynamic process, although knowledge workers can open structured process tasks from either the Inbox or Dynamic Process.
- Open the Emergency task whose process is SurgeryProcess. Click Approve and the task is completed. Notice that this Approval human task displayed Reject and Approve buttons rather than a Submit button.
- Select Dynamic Processes in the navigation pane and reopen the topmost instance. The Surgery task no longer appears, since you completed it through the Inbox. Click the Audit tab and you can see (and open) the just completed Surgery process activity.


