Scale Out an Oracle SOA Suite on Marketplace Instance Cluster

Scaling out an Oracle SOA Suite on Marketplace instance cluster adds one node to the cluster.

Notes:

  • Adding a node to a cluster increases the billing of the Oracle SOA Suite on Marketplace instance.
  • If an attempt to scale out a cluster fails, you will need to complete a scale in operation to revert the Oracle SOA Suite on Marketplace instance to its original state.
  • Ensure that the WebLogic Server and Node Manager passwords are the same.
  • If you have configured your WebLogic Server domain with custom certificates, ensure that they are not self-signed certificates.
  • If any patches were applied after provisioning the Oracle SOA Suite on Marketplace instance, the new node will not include those patches. You will need to apply the patches to the newly added Managed Server. See About Managing Patches for Instances Provisioned With Earlier Releases.

To scale out an Oracle SOA Suite on Marketplace instance cluster:

  1. Go to the Stack Details page of the instance you want to scale out, as described in View Oracle SOA Suite on Marketplace Instance Details.
  2. Click Edit Stack.
  3. In the Edit Stack wizard, click Next to go to Configure Variables.
  4. Increment the Cluster Node Count value by 1.

    Note:

    Add only one node at a time.
  5. (Optional) To copy Middleware Home and Oracle Home from the Administration Server VM to the newly added node, select Copy Middleware Home and Oracle Home from Admin VM.

    When selected, the newly added node automatically receives all the patches that are manually applied post-provisioning on the Administration Server VM. However, the copy operation takes time, so the scale out operation may take a while to complete. Additionally, you must make sure that there is enough storage in the boot volume of the Administration Server to create the binaries ZIP.

  6. Click Next to navigate to the Review page showing the new cluster node count value.
  7. Click Save Changes.
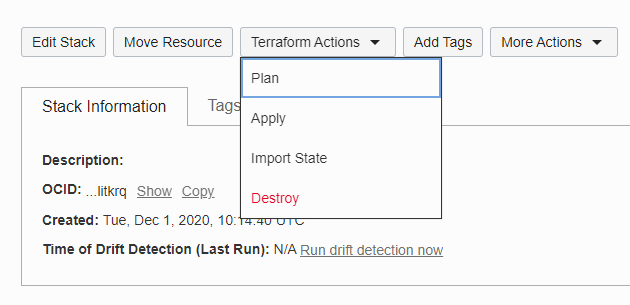
  8. On the Stack Details page, click Terraform Actions and select Plan.
    Stack Details page Terraform Actions menu
  9. In the Plan dialog, click Plan.
  10. When the Terraform plan job completes successfully, click Terraform Actions and select Apply.
  11. In the Apply dialog, click Apply.
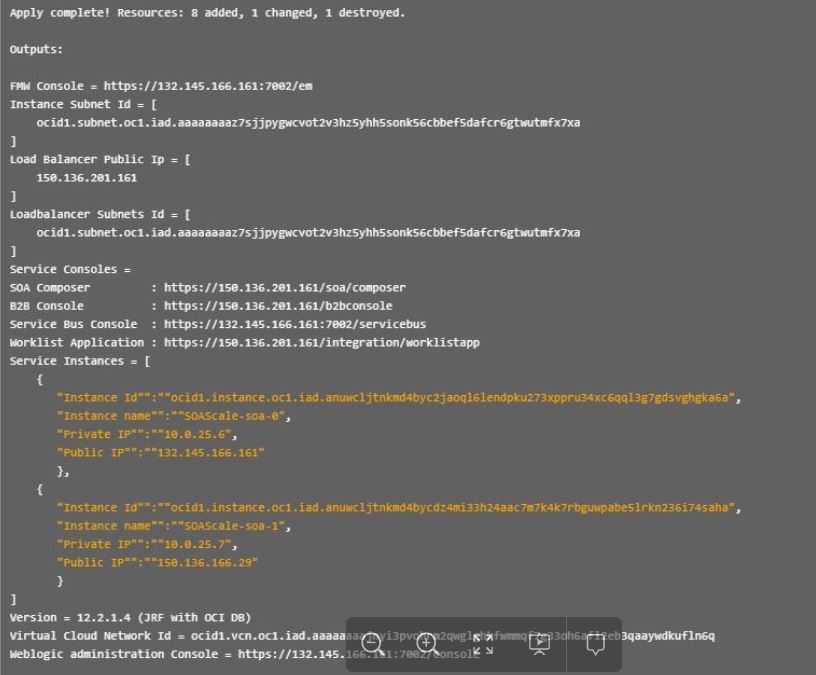
  12. After the Terraform Apply operation completes successfully, open the log to review the updated instance summary with the new node details:
    1. Go to the Stack Details page of the instance, as described in View Oracle SOA Suite on Marketplace Instance Details.
    2. In the Jobs section, click the job name to display the Job Details page.
    3. Under Resources in the left pane, click Outputs to view the log. For example:Terraform Apply log
  13. If you previously configured custom certificates for the instance, the scale out operation resets the load balancer to use the default certificate. To reconfigure the load balancer to use a custom certificate:
    1. Open the navigation menu, click Networking, and then click Virtual Cloud Networks.
    2. In the left pane, click Load Balancers.
    3. Scroll down in the left pane and select the compartment where the load balancer exists.
    4. Click the name of the load balancer you want to configure.
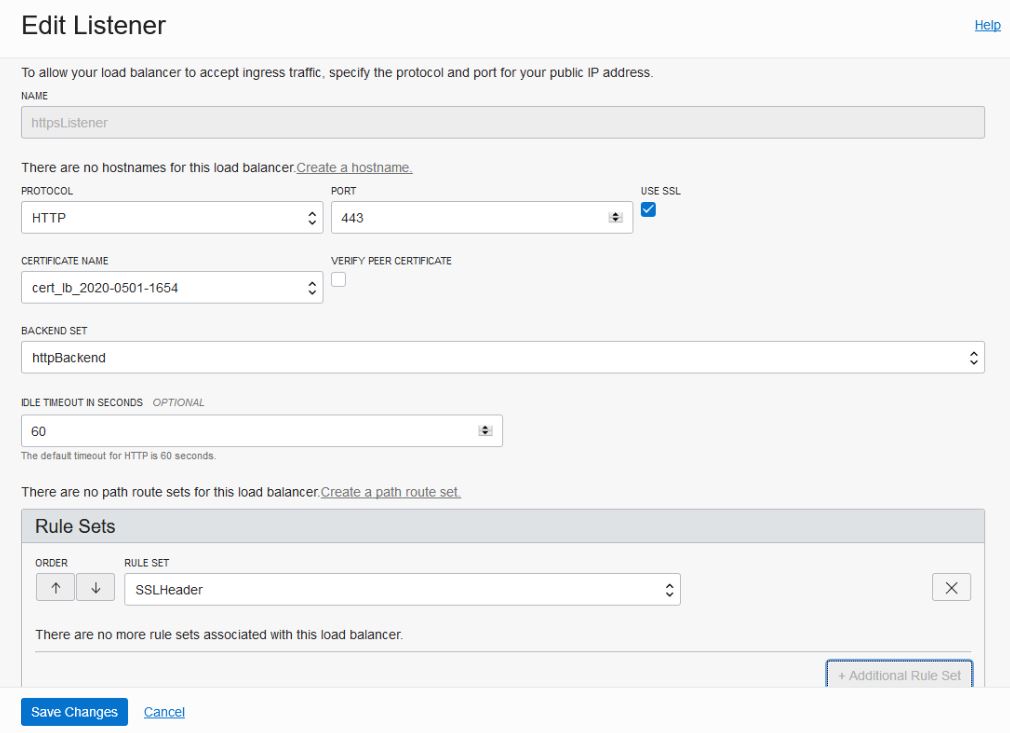
    5. In the left pane of the Load Balancer Details screen, click Listeners, then click the actions icon icon at the far right of the row for the listener you created, and select Edit.
    6. In the Edit Listener dialog, select the custom certificate name.

      Create Rule Set dialog
    7. Click Save Changes.

If the scale out operation fails, you will need to complete a scale in operation to revert the Oracle SOA Suite on Marketplace instance to its original state.