Use Row Variables for a Business Object
A row variable is a custom field you can add to a layout that allows business users to capture details for a row, such as a range start date for a date effective object. The row variable feature is intended to provide improved support for date effective objects.
When creating an integrated workbook for a date effective business object, you'll need to configure additional REST request headers of type Effective-Of. These headers may include a range attribute, such as RangeStartDate, that requires a date. See Support for Date Effective Objects.
The row variable feature provides a way for the business user to capture an appropriate date for a row that can be used in the header during upload.
Configure a Row Variable for a Layout
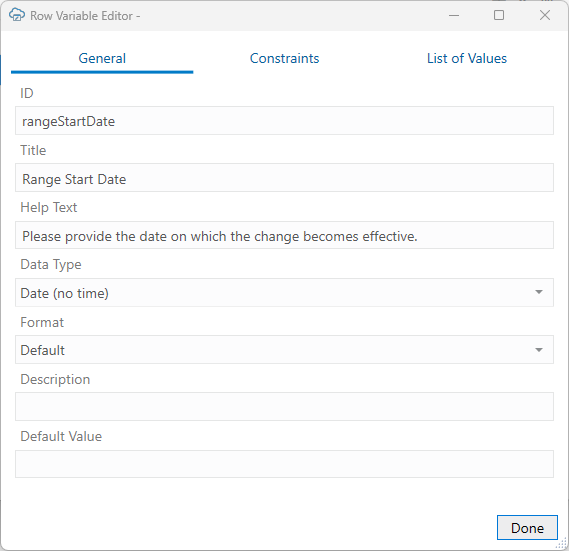
Unlike a business object field, a row variable is not defined in the service metadata and the value of a row variable isn’t included in upload request payloads.
This feature is intended to provide support for workbooks with date effective objects. If you create a layout for a date effective object, you may need to create a REST request header of type Effective-Of that includes a range start date. This header can use an expression to reference a date value stored in the row variable you create.
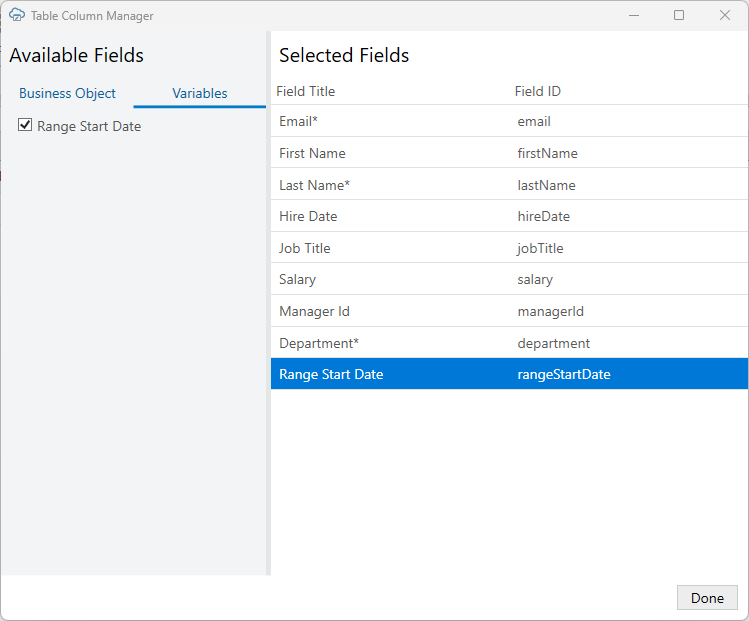
This task uses the example of a row variable to capture the RangeStartDate range attribute that will be referenced in an Effective-Of REST request header. See EffectiveOf Headers in Multi-Row Requests for more information.
To configure a row variable for a layout:
Now that you've created a row variable and added it to your layout, your business users can use this row variable to select a range start date for an updated row.
If you've created the row variable for a date effective object, go ahead and configure a REST request header that references this row variable. See Configure a Request Header

