Import Data into a Deployed Visual Application
You can import data to your deployed visual application if the application was deployed without any data or to replace existing data.
- If your visual application was deployed to a Visual Builder instance in the same identity domain as your VB Studio instance, you can manually import data from your environment's list of deployments:
- If your visual application is deployed to a Visual Builder instance in a different identity domain (say, a production instance) or the instance was added to an environment through credentials, you'll need to add and configure steps in a build job to import data into the application:
- In the VB Studio left navigator, click Builds
 .
. - Click + Create Job. Give the job a new name and a description, select the build executor template, then click Create.
- On the Job Configuration page, click Steps.
- Click Add Step, select Visual Application, then select Import Data.
- In Instance, select the Visual Builder instance where you want to import business object data.
- In Username and Password, enter the user's credentials who can connect to the Visual Builder instance.
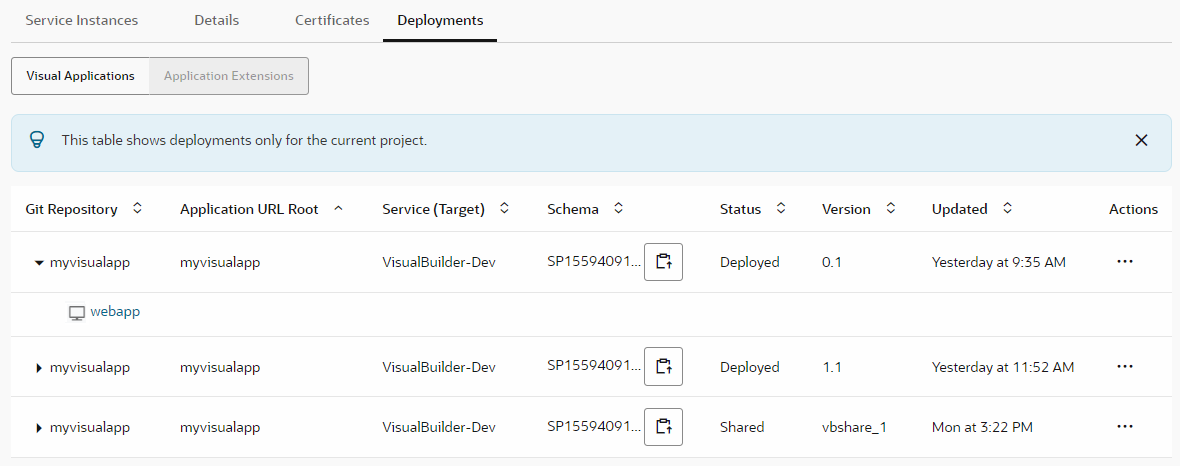
- In Application URL Root and Application Version, enter the visual application's root URL and its version. You can find this information from the Deployments tab of the environment where the visual application is deployed.

Description of the illustration visualapp_deployment.png - In Artifact, enter the name of a ZIP file that will contain the business object data to import or export; for example, enter
bodata.zip. - Add other steps to the build job to complete the import. For example, you may need to copy an artifact from another job to import business object data. See Copy Artifacts from Another Job in Using Visual Builder Studio.
- Click Save.
- To run the build, click Build Now.
- In the VB Studio left navigator, click Builds