Undeploy a Visual Application
You can undeploy a visual application that's deployed to your environment's Visual Builder instance when it's no longer required. Undeploying an application is a permanent action that completely removes application metadata and data stored in its database. This action can't be undone. Before you undeploy, consider the impact of removing your application, especially if the version is live, because once a version has been removed from the system, it can't be recovered.
- If your visual application was deployed to a Visual Builder instance in the same identity domain as your VB Studio instance, you can manually undeploy the application from your environment's list of deployments:
- In the VB Studio left navigator, click Environments
 .
. - If necessary, select the environment where the visual application was deployed to, then click Deployments.
- For the visual application you want to undeploy, click Actions
 and select Undeploy.
 - In the confirmation dialog box, click Undeploy. If your application was deployed without the version in the URL (indicating a live application), you'll need to select Yes, I'm sure to confirm your selection, then click Undeploy.
- In the VB Studio left navigator, click Environments
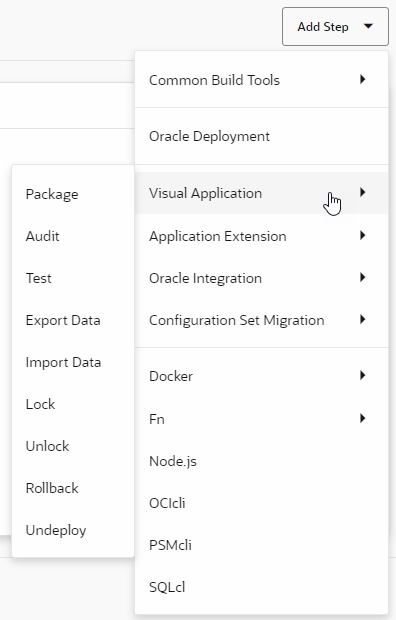
- If your visual application is deployed to a Visual Builder instance in a different identity domain (say, a production instance) or the instance was added to an environment through credentials, you'll need to add and configure steps in a build job to undeploy the application:
