Create and Manage Pages
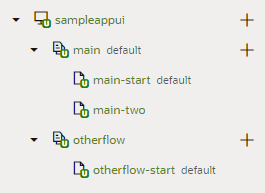
When you first create an App UI, a starter page called main-start is created for you within the main flow. You can create more pages under the main flow, or create a new flow and add pages to that flow. Every flow you create, by default, has its own starter page.
Tip:
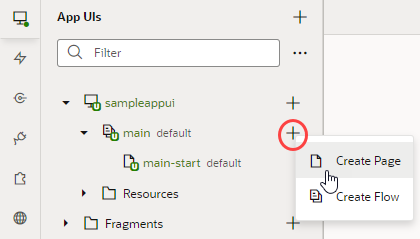
New pages are by default empty. Instead of empty pages that you must design and develop, you can create pages with some initial content. These pages can be based on prebuilt Redwood patterns as well as fragments in your extension.To create an empty page:
After the page is created, you can customize it as needed in the Page Designer. You can also duplicate, rename, even delete the page needed. Right-click the newly created page in the Navigator and select an action.
By default, the main-start page in the main flow is set as the default page in the flow, and the main flow is set as the default flow for your App UI. This means that when the App UI is run, the main-start page is rendered. If you want any other page to be rendered, change the Default Page setting in the flow's Settings editor.
Tip:
The default page and flow in your App UI are badged asdefault to help you quickly identify the default page in the default flow. Default pages in all flows are also badged for easier identification.
