Download and Upload Translation Bundles
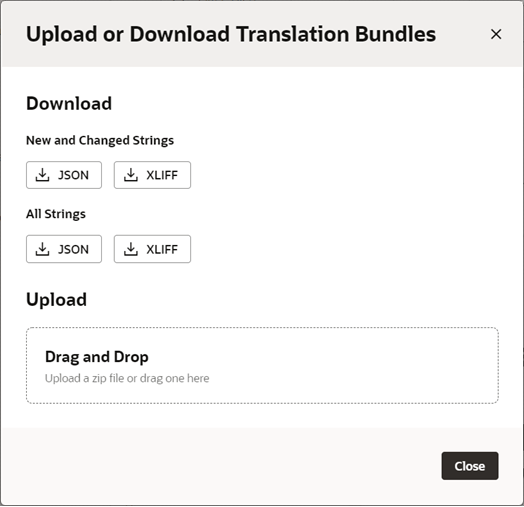
If you plan to translate your App UI into one or more languages, now is the time to send your translation resources for translation. VB Studio can provide your translation files in either the JSON or the industry standard XLIFF (XML Localization Interchange File Format) format.
To translate your App UI, download the translation bundles, translate the strings into the desired languages, and then update the locale for each translation file. You can choose to download the full set of translatable strings, or just download the strings you've added or changed since the last time you downloaded.
When you prepare your translation files for upload, save the translation files for each language in a separate folder using the locale code for the folder name. For example, if you translate the extensionBundle-i18n.json bundle into Icelandic, save it to a folder named is for the Icelandic locale code, like this:
is\extensionBundle-i18n.json
When you’re ready to upload your new files, add them to a zip file, taking care to use the same folder structure as the downloaded zip file. Suppose the downloaded zip included two translation bundles for your root locale, extensionBundle1 and extensionBundle2, with translation files for the Arabic and Korean languages. The structure will look like this:
.
.\extensionBundle1-i18n.json
.\extensionBundle2-i18n.json
.\ar
.\ar\extensionBundle1-i18n.json
.\ar\extensionBundle2-i18n.json
.\ko
.\ko\extensionBundle1-i18n.json
.\ko\extensionBundle2-i18n.json
If you translate each root translation file into German, you would create a folder (de) at the top-level of the zip and save the new translation files in this folder, like this:
.\de
.\de\extensionBundle1-i18n.json
.\de\extensionBundle2-i18n.json
Note:
The XLIFF files you download from VB Studio use the XLIFF file structure but include message strings in the ICU format. This is because XLIFF messages don’t support the full feature set provided by ICU.