Example: Working on Reconciliations Using the Worklist and Reconciliation Summary
Let's walk through an example using the Worklist to identify the reconciliation to work on and how to use the Reconciliation summary dialog to work on reconciliations.
- From Home, click Worklist.
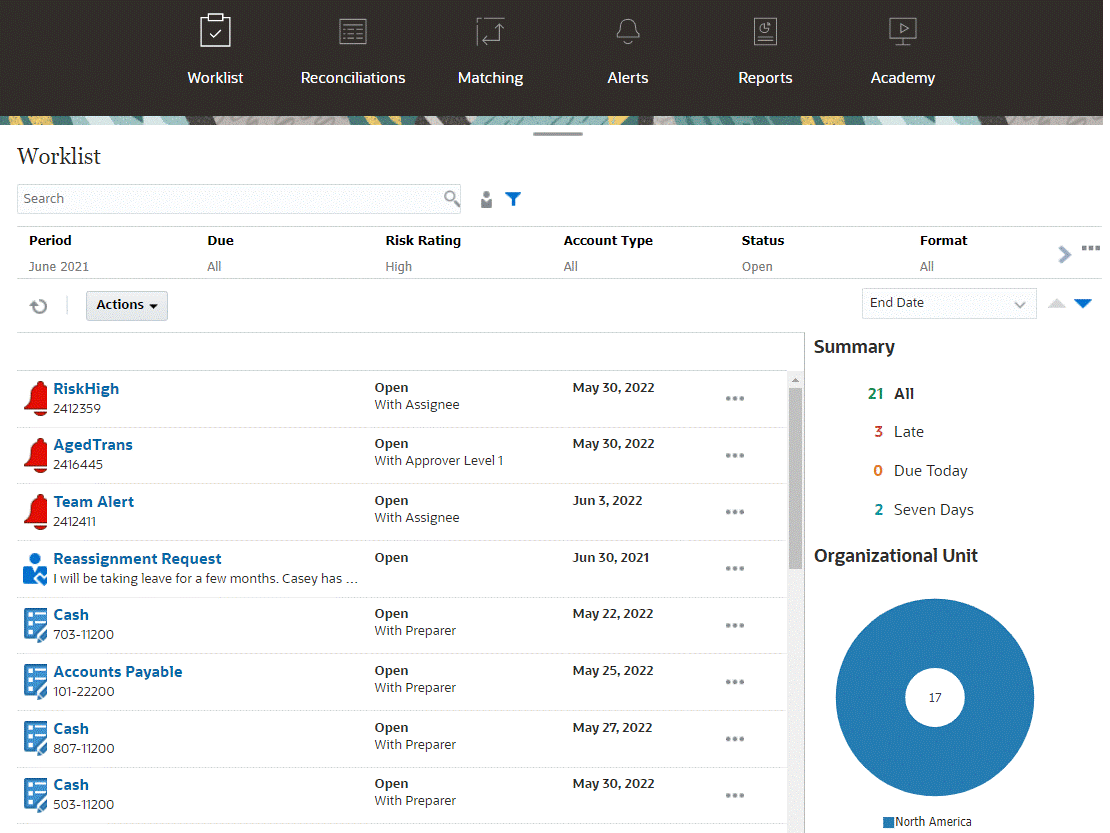
Here's some ways you can easily get information about reconciliation work that is ongoing:
-
You can see a summary of the status by All, Late, Due Today, or Seven Days .
-
You can toggle the view to look at the reconciliations for yourself or another user.
- You can use the Filter bar to filter by attributes such as name or account type.
-
-
Open a reconciliation on the list by clicking the Actions icon next to the reconciliation and selecting Open Reconciliation. For example:

- The Reconciliations Summary dialog displays. You can easily do all your work from
this dialog. Let's take a short tour.
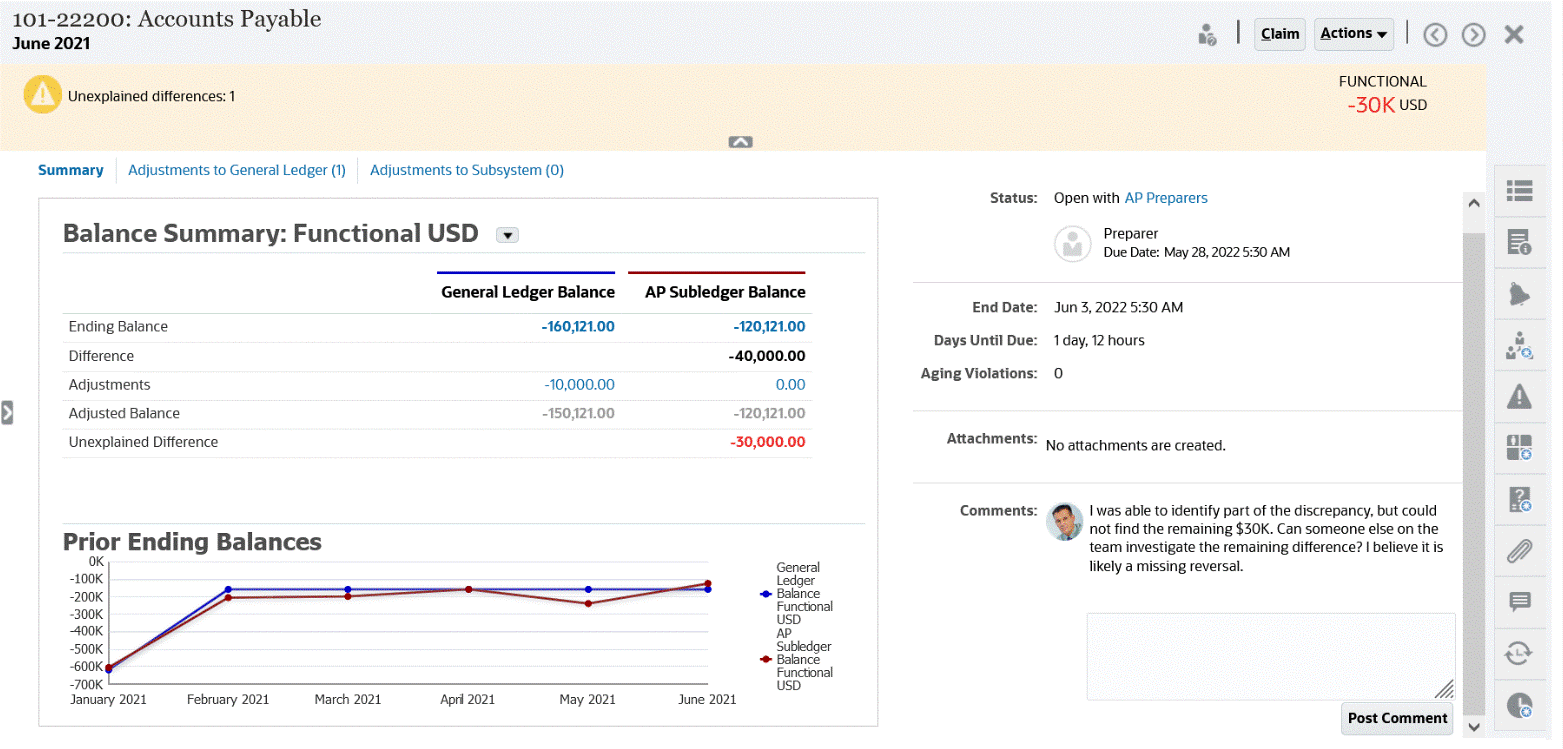
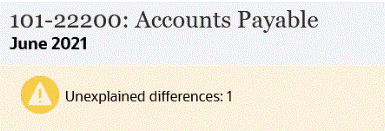
- There is a toggle on the upper left that allows you to access the list of
reconciliations. There is also a caution that there are unexplained
differences and how many.
- Note that on the upper right the Unexplained
Difference shows up and also is automatically updated as you
reconcile transactions.

The unexplained difference is displayed in Red color only if the difference is greater than or less than zero, as per the decimal precision of the reconciliation's currency.
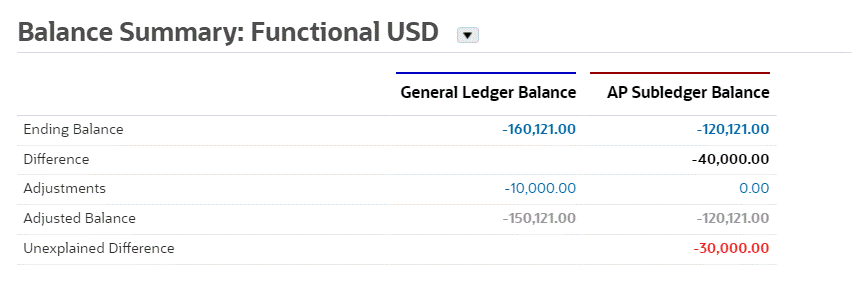
- Balance Summary numbers panels showing columns for GL Balance and the AP
Subledger Balance. If you click on the adjustments number or the tab, you
can see a detailed list of transactions.
-
The graph panel displays the trend over time of the previous reconciliations. New reconcilers can see if they are in the range that was previously achieved. Existing users can see trends and figure out if there are new issues to address based on those trends.

-
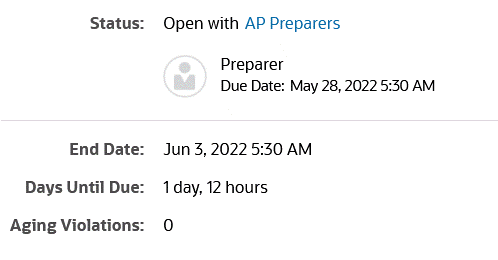
The right hand side contains key metrics for the reconciliation: who owns it, when it’s due, any violations, and the most recent comments and attachments. When the reconciliation is due in less than a day, the Days Until Due is displayed in terms of hours and minutes. For example: 10 hours, 45 minutes. When the reconciliation's due date is between one and two days, the Days Until Due is displayed in terms of days and hours. For example: 1 day, 17 hours.
Note:
You can upload a file as an attachment or comment only if the Prevent File Upload option is not selected in the format that is associated with the reconciliation. However, even if this option is selected in the format, you can attach a file as a link.The following image shows the reconciliation's statistics when logged in as a preparer. The statistics are adjusted depending on your role. Notice that the Days Until Due is 1 day, 12 hours.
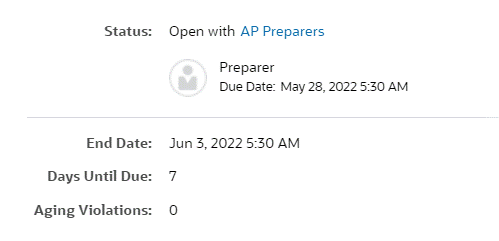
The following image shows the statistics for the same reconciliation, but when logged in as a Service Administrator. Notice that the Days Until Due is 7 days, which is the overall due date for the reconciliation.
- There are drawers on the right hand side that allow you to view or enter
additional information. When you click once on the icon, the drawer opens,
and when you click again, it closes.

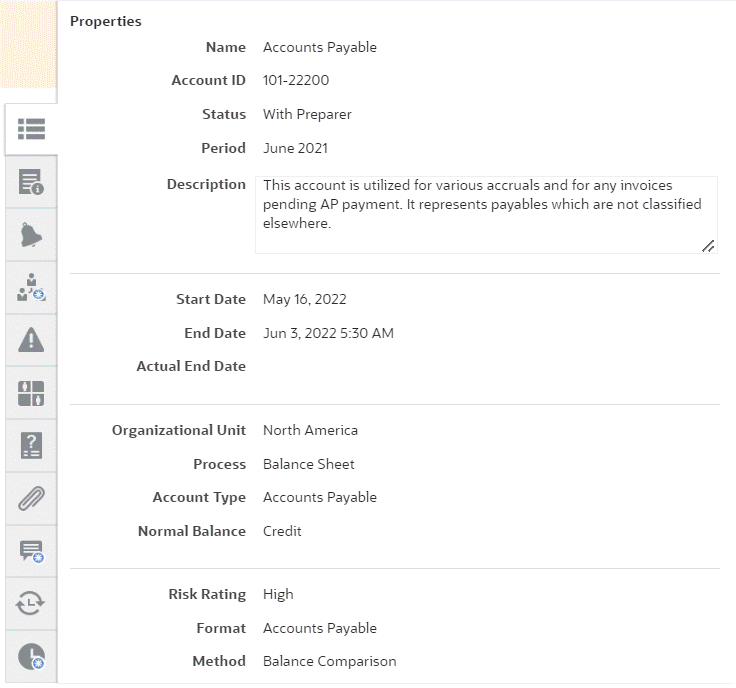
- Properties
- Instructions. These are instructions that
provide help on reconciliation.

- Alerts. Displays alerts and their status on reconciliations and transactions. For Transaction Matching alerts, the displayed alerts are grouped by source system and subsystem. See Creating Alerts
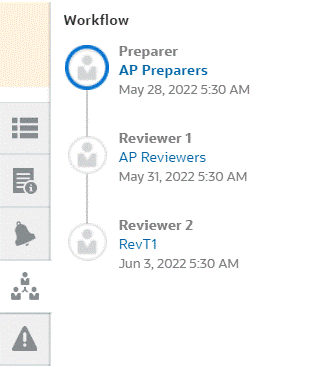
- Workflow. Displays the deadlines and workflow
users and their status.
Note:
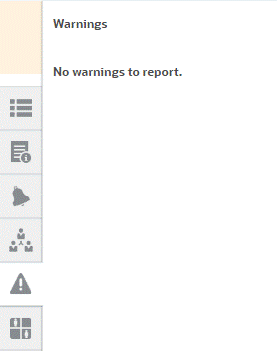
The system stores who did the initial work on the reconciliation as a preparer (Preparer Actual) or reviewer (Reviewer Actual). This is helpful in case the reconciliation is reassigned or a member is deleted from a team. See Submitting, Approving, and Rejecting Reconciliations - Warnings
- Attributes
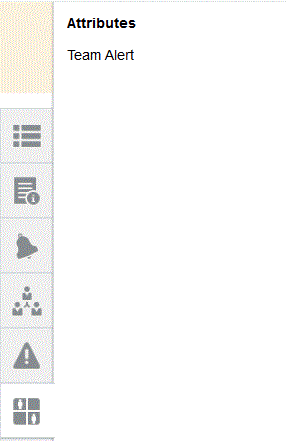
If the Service Administrator allows the editing of attributes, for group attributes, click the icon below the attribute to display the Select Value dialog. This dialog contains all the values of this group attribute and you can select the required group attribute. The values of members used in the reconciliation are updated based on your selection.
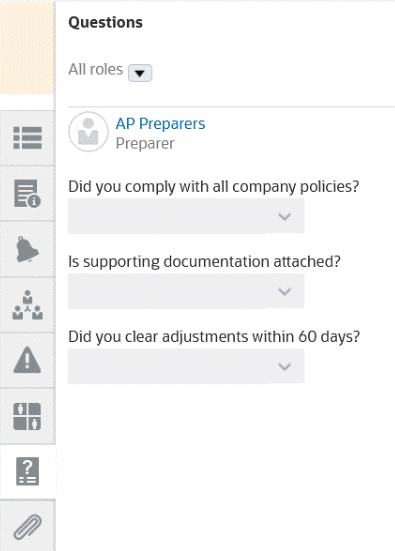
- Questions. These are questions that must be
answered by preparers before submitting the reconciliation for
review.
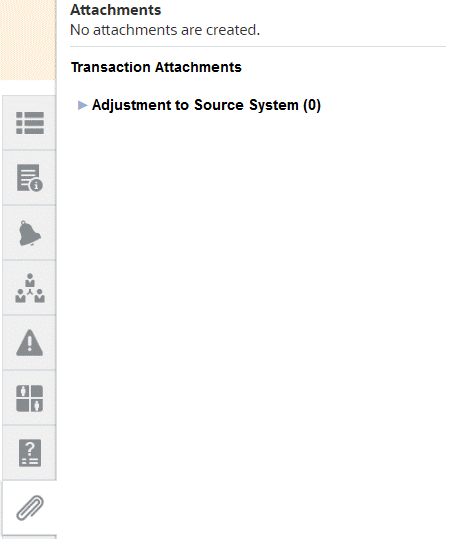
- Attachments
- Comments
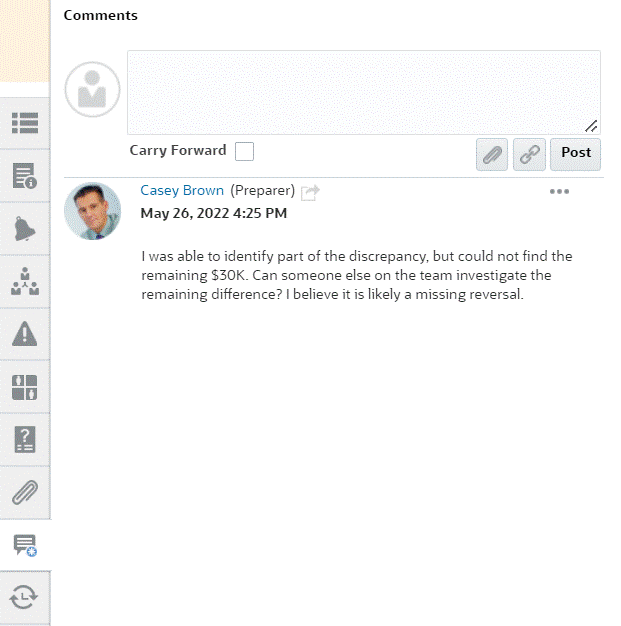
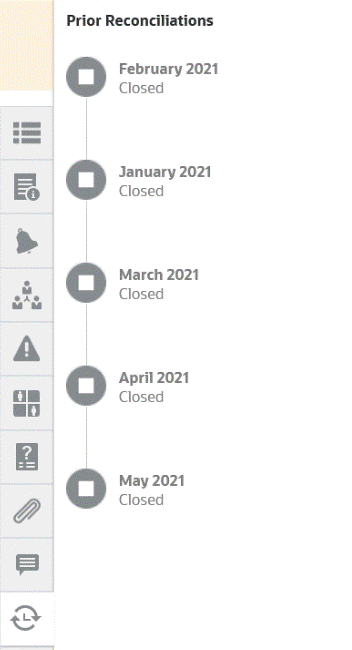
- Prior Reconciliations shows status for prior
periods.
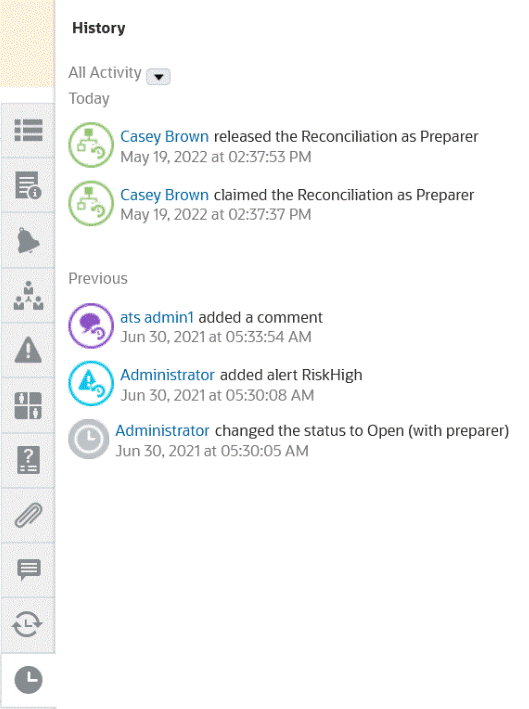
- History
- Properties
- There is a toggle on the upper left that allows you to access the list of
reconciliations. There is also a caution that there are unexplained
differences and how many.
- If you are part of a team that is assigned a reconciliation, you can click Claim to claim the reconciliation so that you can start working on it. If someone else on the team has already claimed the reconciliation, you will receive a warning message to confirm that you wish to take over the claim.
- Now you work on reconciling the account by adding transactions to get the unexplained difference down to zero which is the goal of reconciling accounts. See the Preparing Reconciliations video to follow this example through to adding transactions as well as Adding Transactions
-
If needed, you can add comments and attachments to the individual transactions.
- Answer any required questions on the reconciliation.
-
Click the Summary tab to view the updated totals. The unexplained difference is now zero, so you can click Submit to send the reconciliation for review.