Activating Data
You can activate your private first-party data, second-party data purchased from Oracle Data Cloud's second-party data marketplace, and third-party data purchased from Oracle Data Marketplace across multiple media execution platforms for targeting, optimization, analysis, and modeling.
To activate your data:
Installing an app
- Log on to partner.bluekai.com, and then select Apps > Install Apps.
- Click App Catalog. The Install Apps page is displayed.
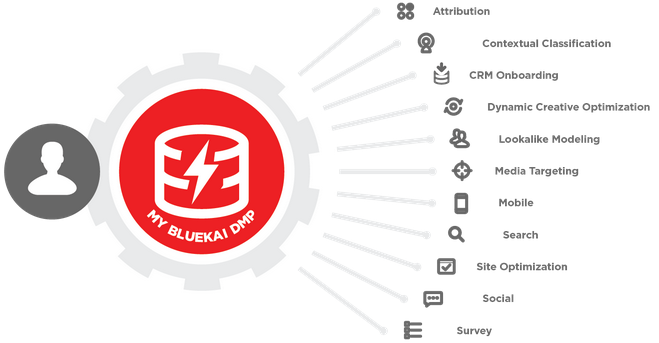
- In the App Selection section, click a solution type, such as Media Targeting or Search.
- In the Pricing Model section, select a pricing model if the selected vendor has multiple pricing models.
- In the App Specific Settings section, enter the information required to connect the Oracle Data Cloud platform with the app, such as your email address, account ID, or credentials.
- In the Basic Information section, enter a unique, descriptive name for the app.
- Click Save. Your app is added to the Install Apps page.
Learn more: Installing an app
Creating an audience
- Click New Audience. The Audiences window displays a new audience in edit mode.
- Provide a unique name to identify the audience.
- Build audience segments by selecting a combination of first- and third-party data that you want to use for targeting.
- Set ID sources that represent the way in which a user was identified, such as from a mobile browser session or a third-party desktop cookie.
- Save the audience by doing one of the following:
- Click Save to save your audience and exit the audience builder.
- Click Save and Create Audience to save your audience and create a new target audience in the Audience Builder.
- Click Save and Create Campaign to save your audience and then directly open the Create Campaign tool.
Learn more: Creating an audience
Creating a campaign
- Select Manage > Campaigns, and then click Create.
- In the Campaign Name box, enter a unique, descriptive name for your campaign.
- Select the audience on which the campaign is to be run.
- In the Delivery Method section, click Select Apps, select the check box for the app configuration you created in install an app, and then click Add Apps.
- (Optional) Insert macros to pass additional metadata about the data campaign or the user. For details, see pixel URL macros.
-
Under Flight Options, do the following:
- In the Start Date box, enter the date when your campaign is to begin. Enter the date in MM/DD/YYYY format or click the box and select the date from the calendar. The default start date is today's date.
- In the End Date box, enter the date when your campaign is to stop. By default, there is no end date, which means that your campaign will run continuously.
- In the Campaign Status box, select the Active status. If you are starting your campaign on today's date, it will begin running in approximately 60 to 90 minutes after you click Save. By default, this option is set to Idle, which means that your campaign will not start running until you activate it.
Learn more: Creating a campaign


