Creating targets
You can create targets to fire tags on your site based on the first-party categories in the user's anonymous profile or on a page.
To create a target:
- Select Manage > Targets. The Targets page opens.
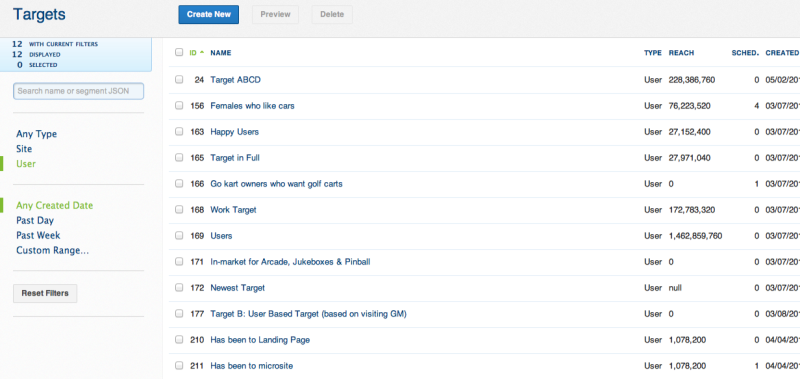
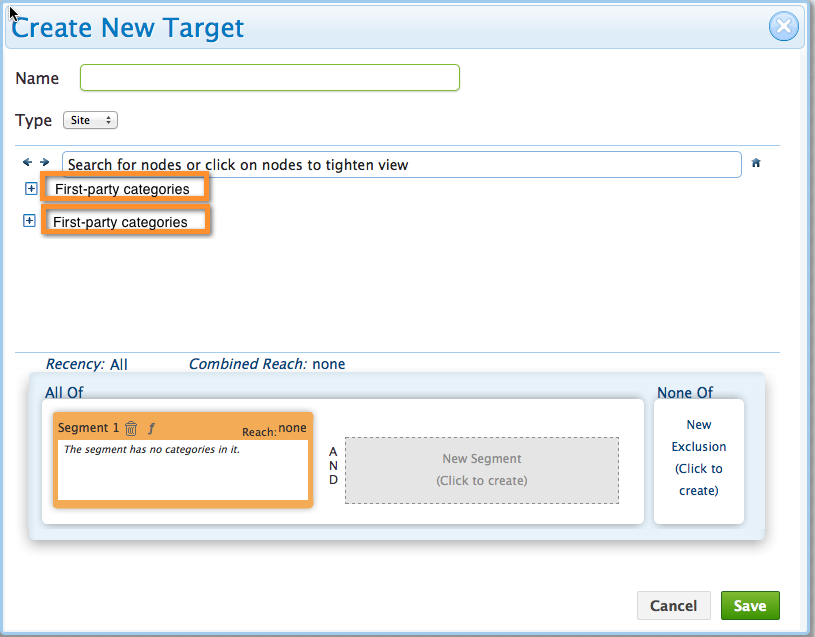
- Click Create New. The Create New Target dialog appears.
- In the Target Name box, enter a unique name for the target.
- In the Type list, select the type of target:
- Site for site-based actions. This setting indicates the target condition will be satisfied if the current site page contains the category specified in the target
- User for user-based action. This setting indicates the target condition will be satisfied if the user's cookie contains the category specified in the target.
-
Use the search bar to search for first-party nodes in your company's private taxonomy, or use the taxonomy tree to navigate to the categories you want to target.
Warning: If third-party categories are listed in the taxonomy, you should only select those categories in the private, first-party section of the taxonomy tree. If you select a third-party category, the target and schedule will never qualify to fire a tag.
- To add a segment to your audience:
- In the All Of section, click a New Segment box.
- Select the category check box in the category tree to add the category to the segment. The category is added to Segment 1 in the My Audience section.
- To OR the segment, click the segment box in the All Of section. Select a category check box in the tree. The category is added to the segment list in the My Audience section.
- To AND the segment, click a New Segment box in the All Of section. Select the segments from the category tree.
- To edit a segment in the My Audience section, point your cursor over the segment and click to edit. You can edit segments in both the All Of and None Of sections.
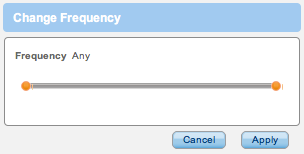
- To set the frequency targeting for a segment, click the frequency
 icon. The Change Frequency dialog appears.
 - Use the slider:
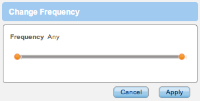
- To set a minimum number of times a user should be tagged with any of the categories in your segment to be included in your audience, drag the left side of the slider to the specific number. If you do not set up a maximum number, the frequency would be 3+, for example.
- To set a minimum and a maximum a user should be tagged with any of the categories in your segment to be included in your audience, drag the left side of the slider to set the minimum number and the right side of the slider to set the maximum number.
- To set an exact number, move both sliders to the number you want to set.
- To exclude/NOT a segment from your audience:
- In the None Of section, click the New Exclusion box.
- Select the check box in the category tree to add the category to the excluded segment. The category appears in the exclusion segment in the None Of section.
Warning: If you use the exclude segment option, you must also select an include option. If you only exclude a segment and do not include one, you will not target any users.
- Choose one of the following to edit your segments.
- To OR the segment, click the segment box in the All Of section. Select a category check box in the tree. The category is added to the segment list in the My Audience section.
- To AND the segment, click the New Segment box in the All Of section. Select the segments from the category tree.
- To edit a segment in the My Audience section, point your cursor over the segment and click to edit. You can edit segments in both the All Of and None Of sections.
- Observe the Combined Reach value, which represents a 30-day projection of the number of de-duped unique users that match your audience. You do not want this number to be too small to reach any impression goals you may have. For example, a combined reach of 10,000 unique users will not allow you to deliver 1,000,000 impressions over a 30-day period on any media source.
- Click Save. The Targets page is displayed and the target you created is added to the list of targets.