Corporate GL Data Associate Steps
- Log into the service as Betty Anderson, and click Views.
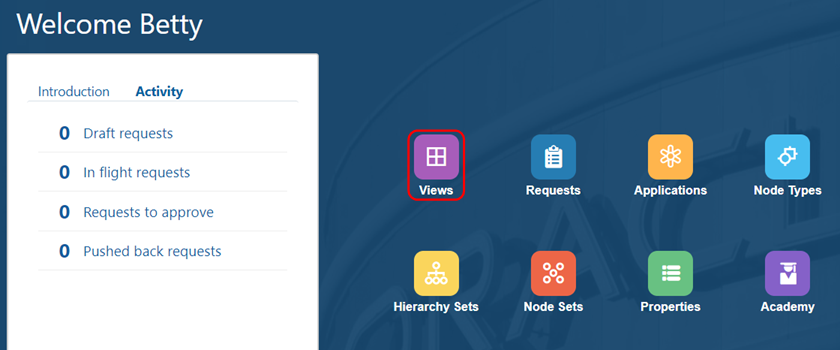
- Click the Product Maintenance view.

The Product Maintenance view is displayed. Because Betty does not have permissions to the Corporate Planning or Financial Close applications, she is only able to see the Corporate GL viewpoint.
- Click New Request.

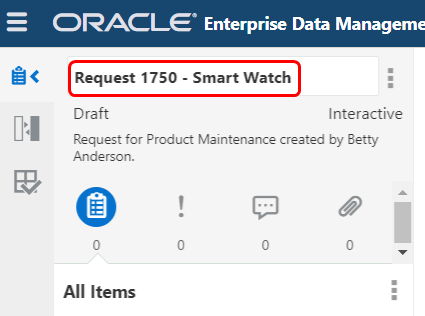
- In the left panel, click the request name and append - Smart Watch.
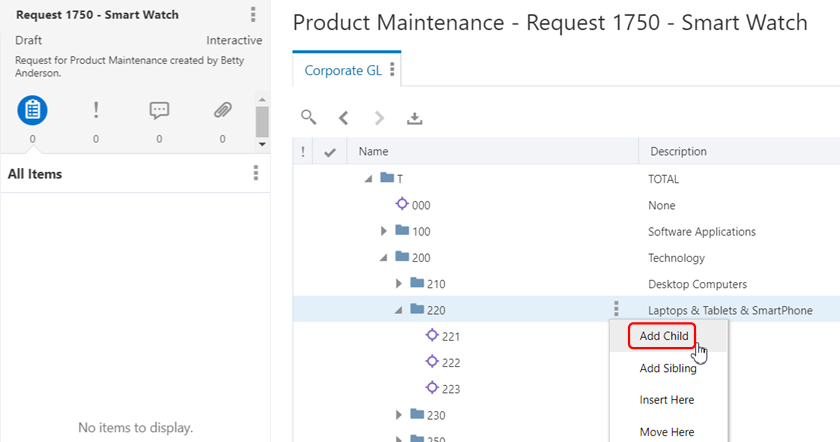
- Expand the product hierarchy and select node 220, then click
 and select Add Child.
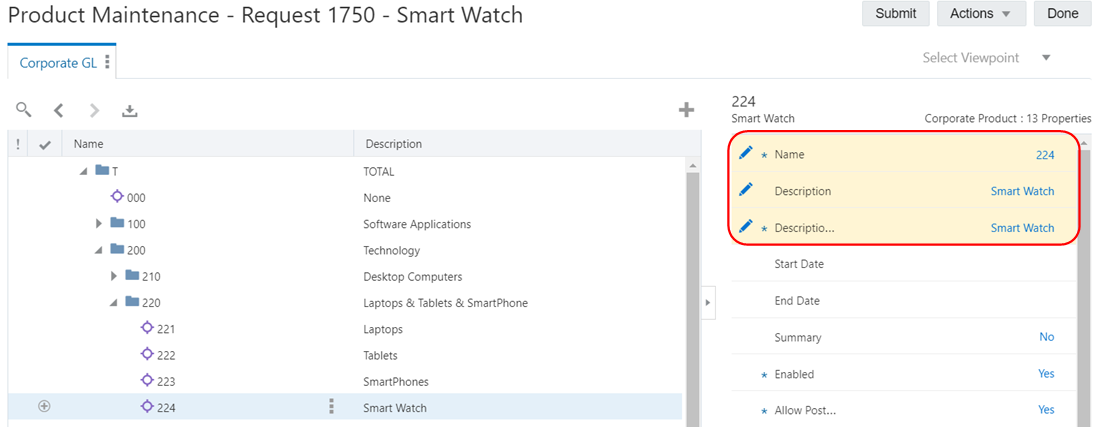
- In the properties panel, set these properties:
- Name: 224
- Description: Smart Watch
- Description US: Smart Watch
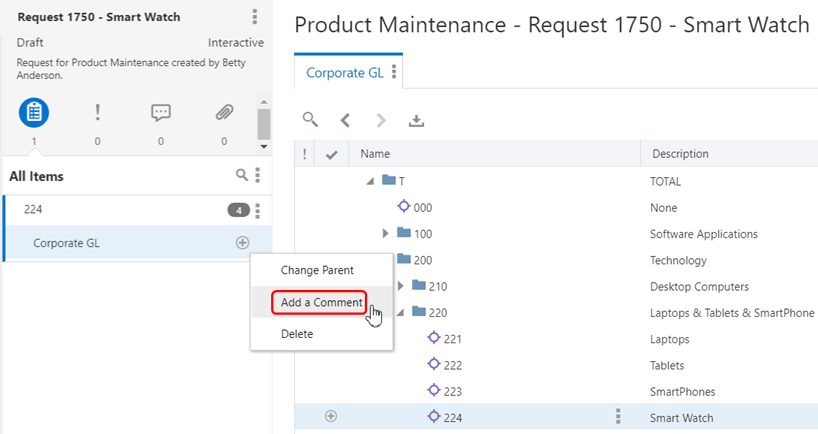
- In the request panel, click
 next to Corporate GL, and select Add a Comment.
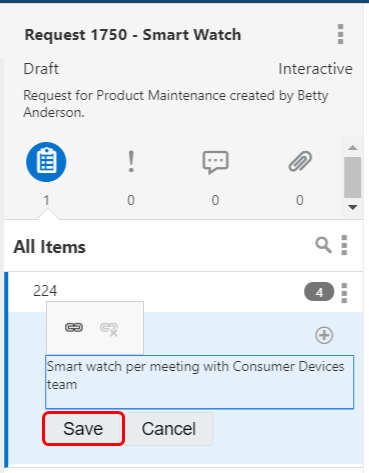
- Enter a comment, and click Save. In this scenario, we entered Smart watch per meeting with Consumer Devices team.
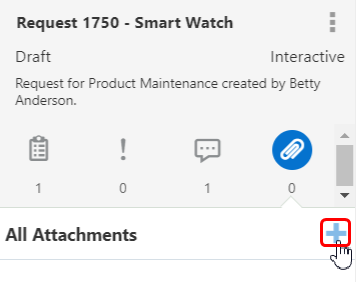
- Click the attachments icon, and then click
 .
.
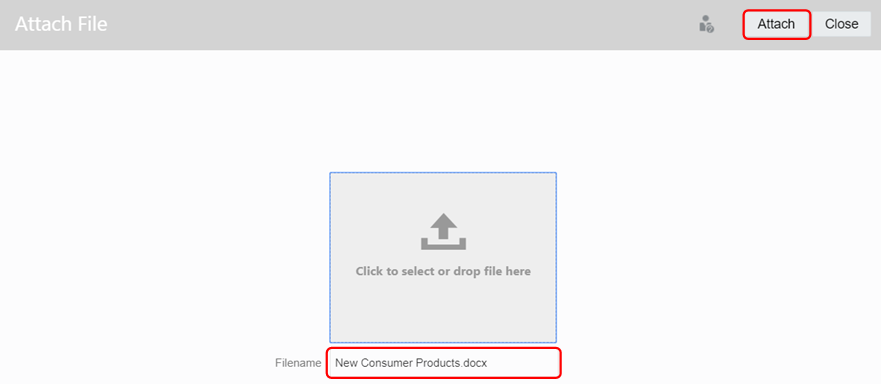
- Select a file to attach, and then click Attach. In this scenario, we attached New Consumer Products.docx.
- Click Submit.
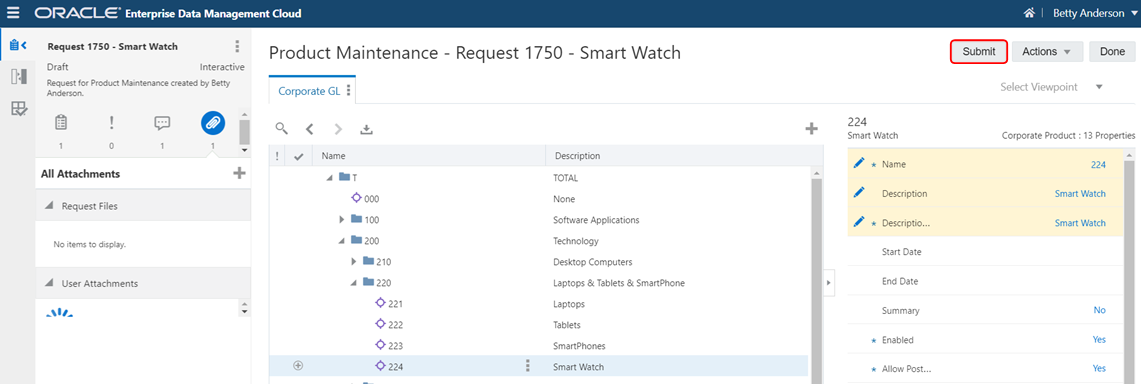
When the request is submitted, a workflow policy alerts Alex, the Corporate GL data manager, of the change request waiting for approval.