Step 1: Create a Maintenance View
- From Views, click Create.

- Enter a name and description for the maintenance view, and then click Create.

The maintenance view is displayed in the view inspector.
- On the Definition tab of the view inspector, click Create to define the viewpoints in the maintenance view.

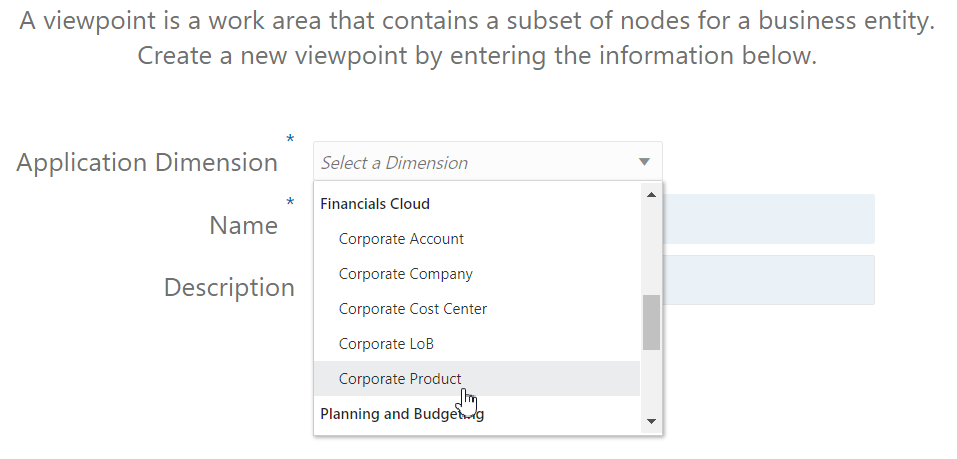
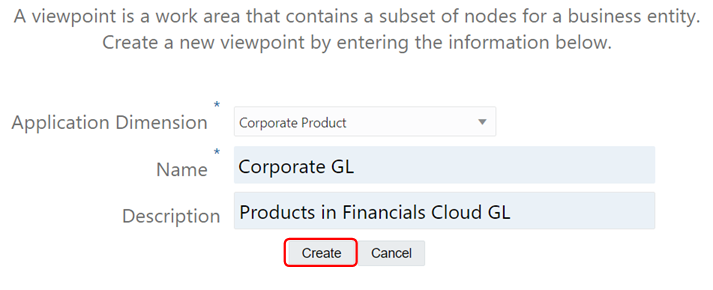
- In Application Dimension, use the drop down list to select the dimension for which you want to create the viewpoint. In this scenario, we will choose the Corporate Product dimension in the Financials Cloud application.

- Enter a name and, optionally, a description for the viewpoint, and then click Create.

The viewpoint is displayed in draft mode in the viewpoint inspector.
- From the viewpoint inspector, click Edit.

- In Node Set, select the drop down menu and then select the node set for the viewpoint. In this scenario, we will choose ALL CORPORATE PRODUCTS | V1.

When you select the node set, the hierarchy set is automatically populated.
- Click Save.

The Binding Status field is updated to display Node Set Bound, which indicates that the viewpoint contains a node set that is bound to the Products dimension. See Understanding Binding Rules.
- From the view inspector, repeat steps 3-8 to create viewpoints for these dimensions:
Viewpoint Name Viewpoint Description Application Dimension Node Set Plan Plan Corporate Planning Product Product Close Close Financial Consolidation and Close Product Product 