Step 2: Create Subscriptions
After you create the maintenance view with the viewpoints for Corporate GL, Corporate Planning and Financial Close, you create subscriptions for the Corporate Planning and Financial Close viewpoints so that when changes are made in the Corporate GL viewpoint, subscription requests are automatically generated to make those same changes in the other two viewpoints.
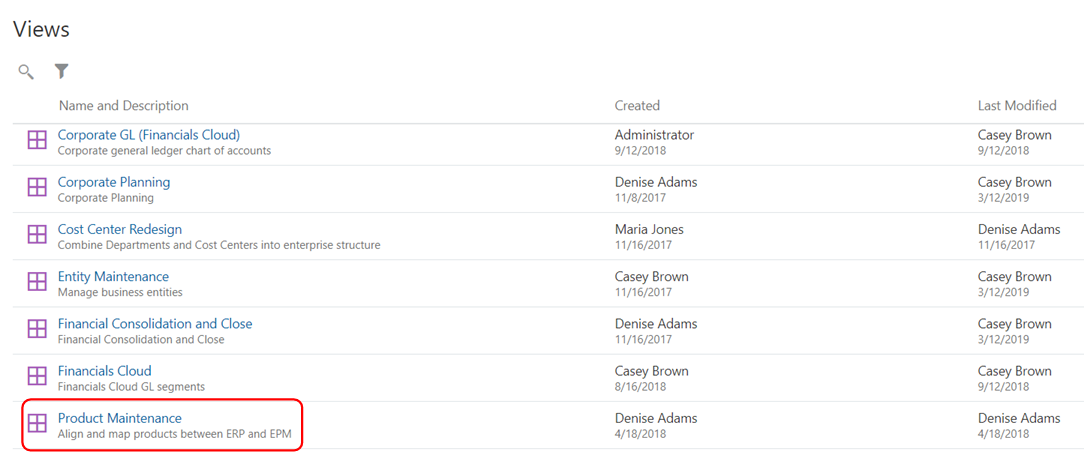
- From Views, click Product Maintenance.

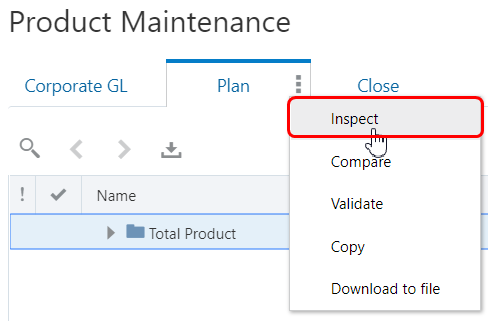
- On the Plan tab, click
 , and then select Inspect.
- On the Subscriptions tab, click Create.

- In the Subscription wizard, click the Source Viewpoint drop down menu and select the Corporate GL viewpoint in the Product Maintenance view. After you select the source viewpoint, the subscription name is automatically populated with the source view and viewpoint. Optionally, enter a description and then click Create.

The subscription is displayed in the subscription inspector.
- Next, we specify an assignee for the request. Click Edit.

- In the subscription inspector, perform these actions:
- Click the Request Assignee drop down menu and select the person to whom the subscription requests should be assigned. In this scenario, we selected Martin Conway, the Corporate Planning data manager.
- Select the Auto-Submit check box.
- Click Save, and then click Close.

- On the Close tab, repeat steps 2-6 to create another subscription with these settings:
- Source view: Product Maintenance
- Source viewpoint: Corporate GL
- Request Assignee: Alex Smith (Financial Close data manager)
- Auto-Submit: True
