Integrating the Planning Budget Revision and Budget Adjustment Request

You integrate the Planning Budget revision from the approved budget in the EPM Planning Financials to the Budget Adjustment Request. The integration enables you to simply pick the Planning Budget Revision application and specify the target Budget Adjustment Request and then set up the mappings between the applications.

To create the integration:
  1. From the Data Integration home page, click Image shows the Add icon..
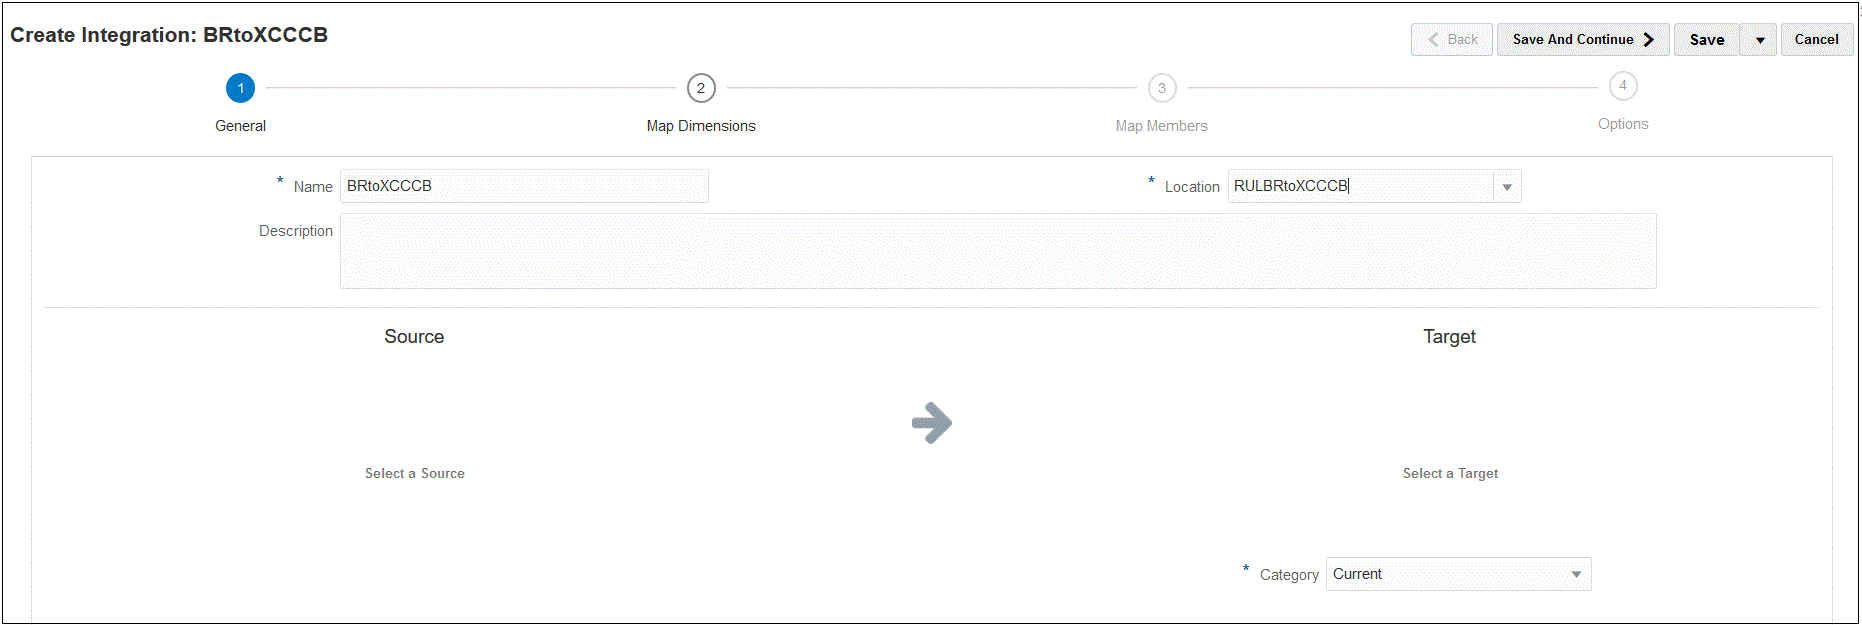
    The General page is displayed in "Create Integration" view.
  2. In Name and Description, enter a name and description for the integration of the budget revision.

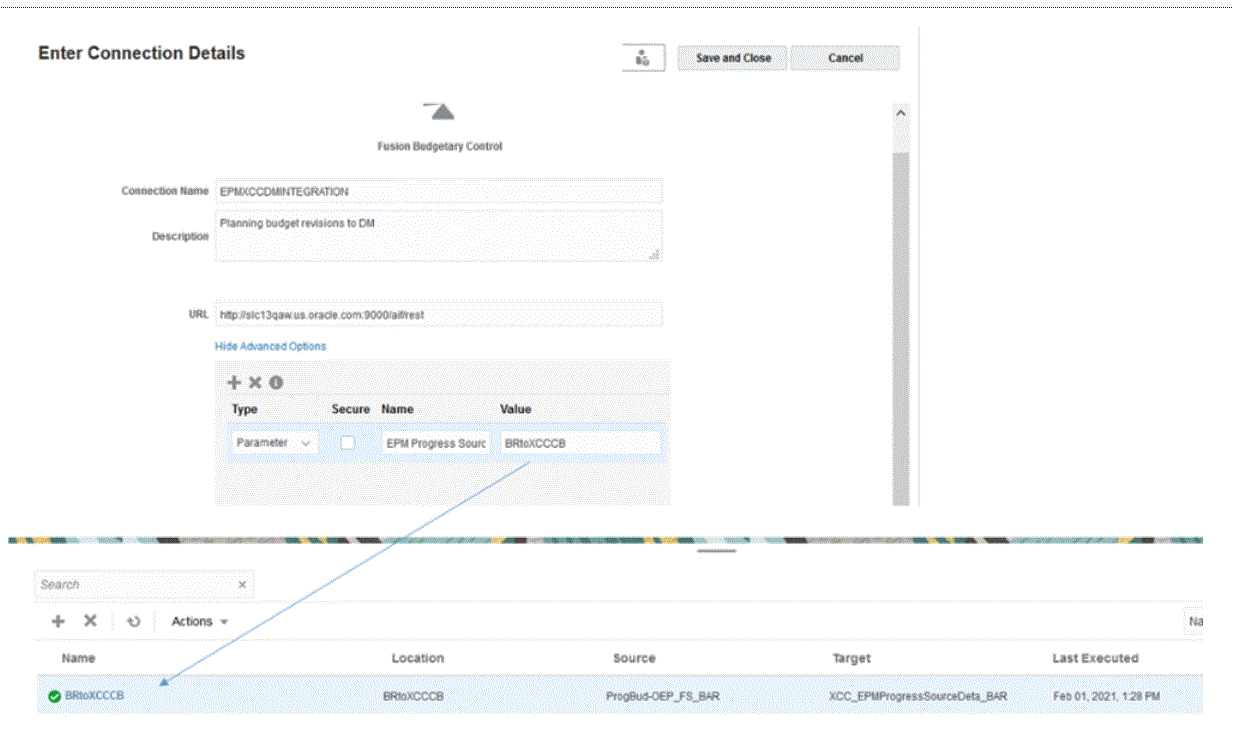
    The name of the integration is used in connections as a parameter in EPM Planning Financials as shown in the Value parameter below.

    When multiple control budgets share the same cube, the same mapping can be used to add additional parameters with the control budget name.

    Image shows the EPM Planning Financials Connection Value mapped to the integration name in Data Integration.

    For more information, see Setting Up Integration Between EPM Planning Financials and Budgetary Control.

  3. In Location, enter a new location name, or pick an existing location to specify where to load data.
  4. Click Image shows the Source icon.Image shows Source button. (Select a Source).
  5. From the Select a Source page, select the Planning Budget Revision application.

    The name of the Planning Budget Revision application is suffixed with a "_BAR" in the application name, for example, "OEP_FS_BAR."

    The Planning Budget Revision source system is registered in Data Integration and appears on the Select a Source page.

  6. Click Image shows the Target icon. (Select a Target).
    This is the target that was created in the prior step.
  7. From the Select a Target page, select the Budgetary Control cube application.

    Target applications are displayed on the Select a Target page.

    The budgetary control is suffixed with "BAR."

    Image shows the Create Integration page.

  8. From Location Attributes, under Functional Currency, specify the currency used for the budget revision.
    For example, to specify the United States dollar, specify USD.
  9. Click Save and Continue.
    The next step is to map dimensions.