Introduction
This 15-minute tutorial shows you how to push data from a source location to a target location using Groovy rules and smart push.
Background
Planners can now push data from a source location to a target location via Groovy rules. The EPM object model allows script writers to use the SmartPush object to perform the data push operation. A SmartPush object will automatically scope the data that is pushed based on the shape of a grid if one is provided. The push can be further scoped by specifying an override members map and override exclusion members map. In this exercise you will push data in context of a grid by further scoping it down to only edited employee data.
Prerequisites
Cloud EPM Hands-on Tutorials may require you to import a snapshot into your Cloud EPM Enterprise Service instance. Before you can import a tutorial snapshot, you must request another Cloud EPM Enterprise Service instance or remove your current application and business process. The tutorial snapshot will not import over your existing application or business process, nor will it automatically replace or restore the application or business process you are currently working with.
Before starting this tutorial, you must:
- Have Service Administrator access to a Cloud EPM Enterprise Service instance.
- Upload and import this snapshot into your Planning instance. If you've previously uploaded the snapshot for another Groovy tutorial, you can continue using the same snapshot.
Note:
If you run into migration errors importing the snapshot, re-run the migration excluding the HSS-Shared Services component, as well as the Security and User Preferences artifacts in the Core component. For more information on uploading and importing snapshots, refer to the Administering Migration for Oracle Enterprise Performance Management Cloud documentation.Tip:
The scripts you need for this tutorial are linked as text files within each section.Pushing edited Planning data to a reporting cube
In this section, you implement a Groovy script to push data for edited employees in Planning to the reporting cube.
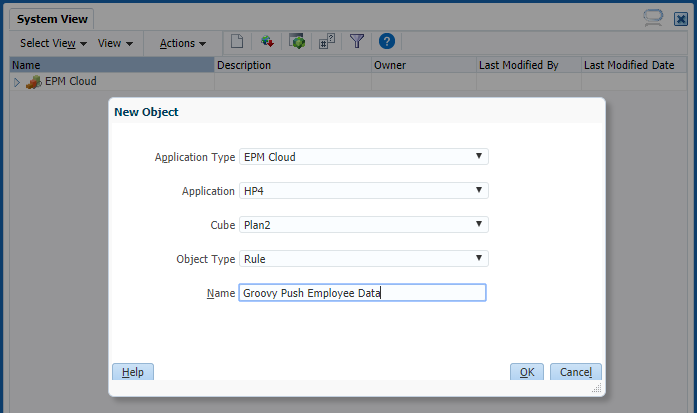
- Open Calculation Manager and create a rule named Groovy Push Employee Data in the Plan2 cube.
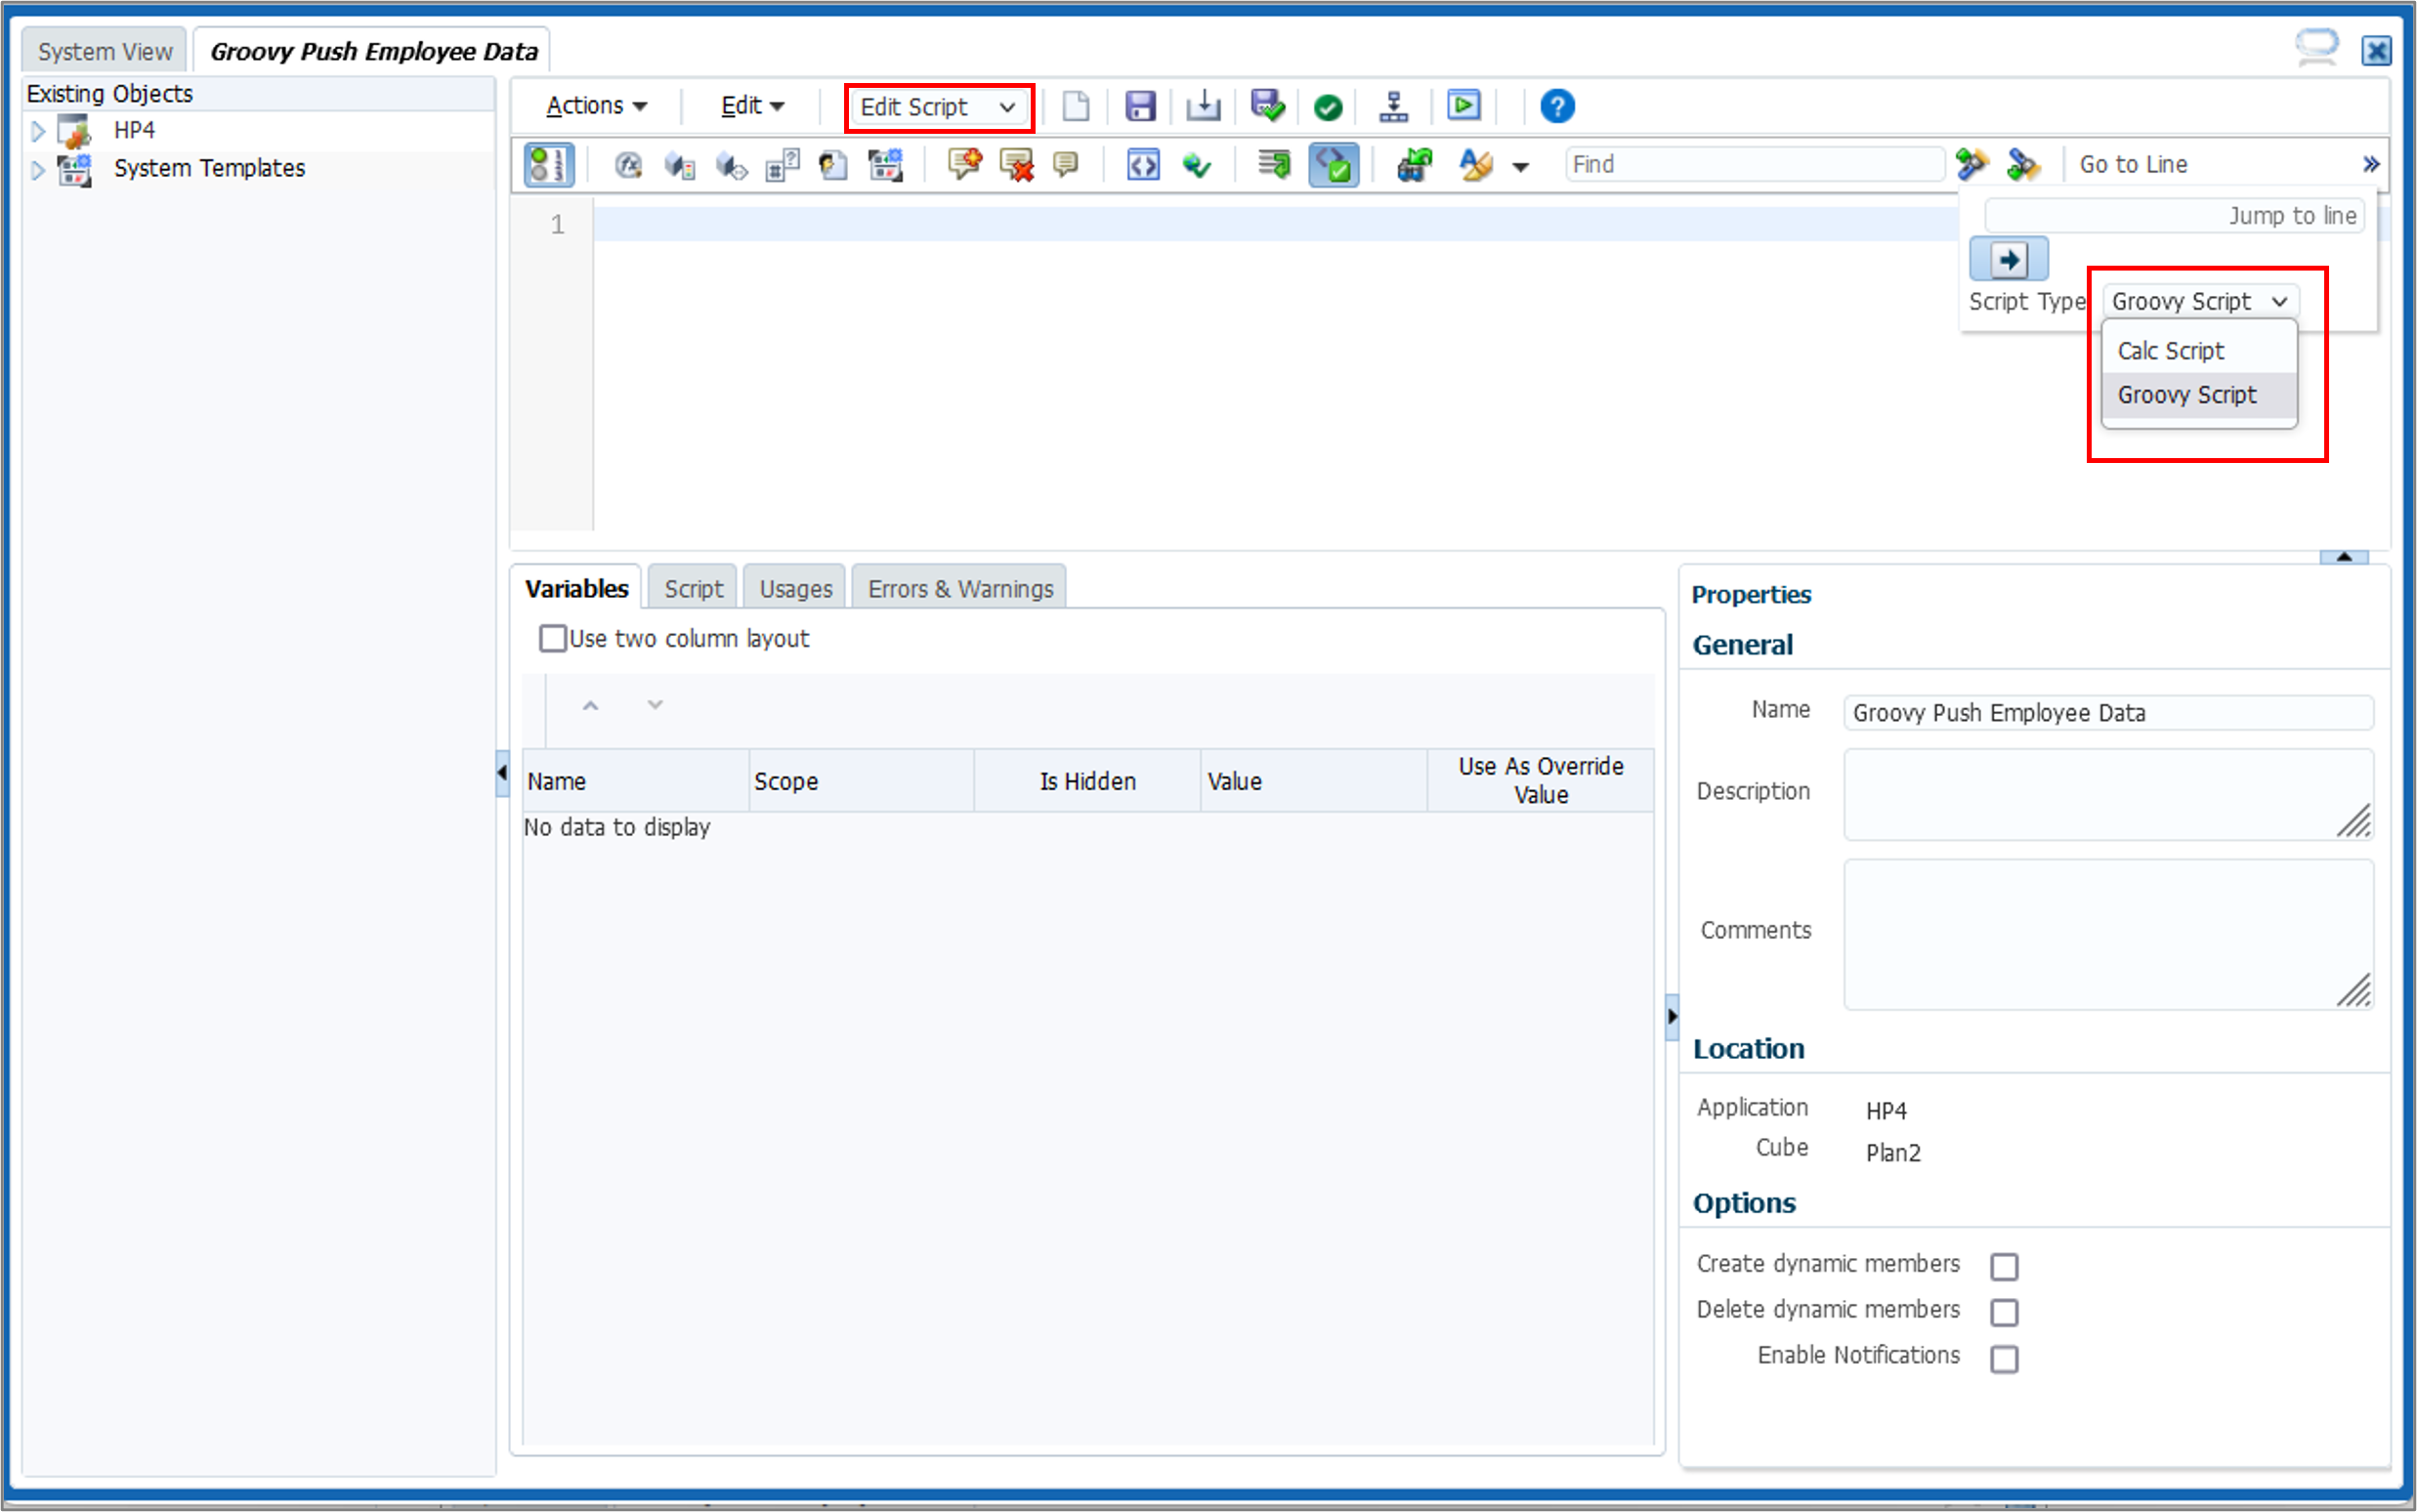
- In the Rule Editor, change the Designer option to Edit Script and set the Script Type to Groovy Script.
- Copy this script and paste it into the editor:
if(!operation.grid.hasSmartPush("Employee Data")) return // Capture the employees whose Salary and/or Reporting Manager was edited
Set
// Capture the employees whose Salary and/or Reporting Manager was edited
Setemployees = [] operation.grid.dataCellIterator('Salary', 'Reporting Manager').each { DataCell cell -> if(cell.edited) { employees << cell.getMemberName("Employee")  }
}
if(employees) {
// Push data to the reporting cube for edited employees only
String employeesStr = """\"${employees.join('", "')}\""""
}
}
if(employees) {
// Push data to the reporting cube for edited employees only
String employeesStr = """\"${employees.join('", "')}\""""  operation.grid.getSmartPush("Employee Data").execute( [ "Employee" : employeesStr ] )
  } Check if the grid has a
 SmartPushnamed “Employee Data” associated with it. If not, no further processing is required, so return from the script. Iterate over the Salary and Reporting Manager cells that have been edited and collect the unique employee names. Convert the set of unique employee names to a String with employee names quoted and separated by a comma. For example: “Employee 1”, “Employee 3”. Push the data for the edited employees to the reporting cube.Note:
You can exclude members from the data push by providing an exclusion members map when executing the SmartPush as follows:if(employees) { //Push data to the reporting cube for all edited employees except No Employee String employeesStr = """\"${employees.join('", "')}\"""" operation.grid.getSmartPush("Employee Data").execute(["Employee" : employeesStr], ["Employee" : "No Employee"]) } - On the toolbar, click
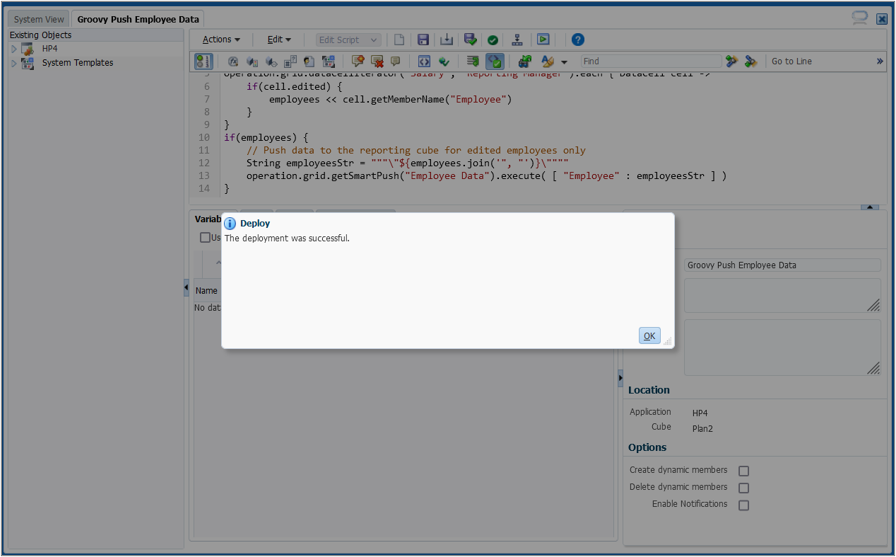
 (Save) to save the script, then click
  (Validate and Deploy) to validate and deploy the script. Click OK when prompted. Close the Calculation Manager window.
Adding the rule to a form
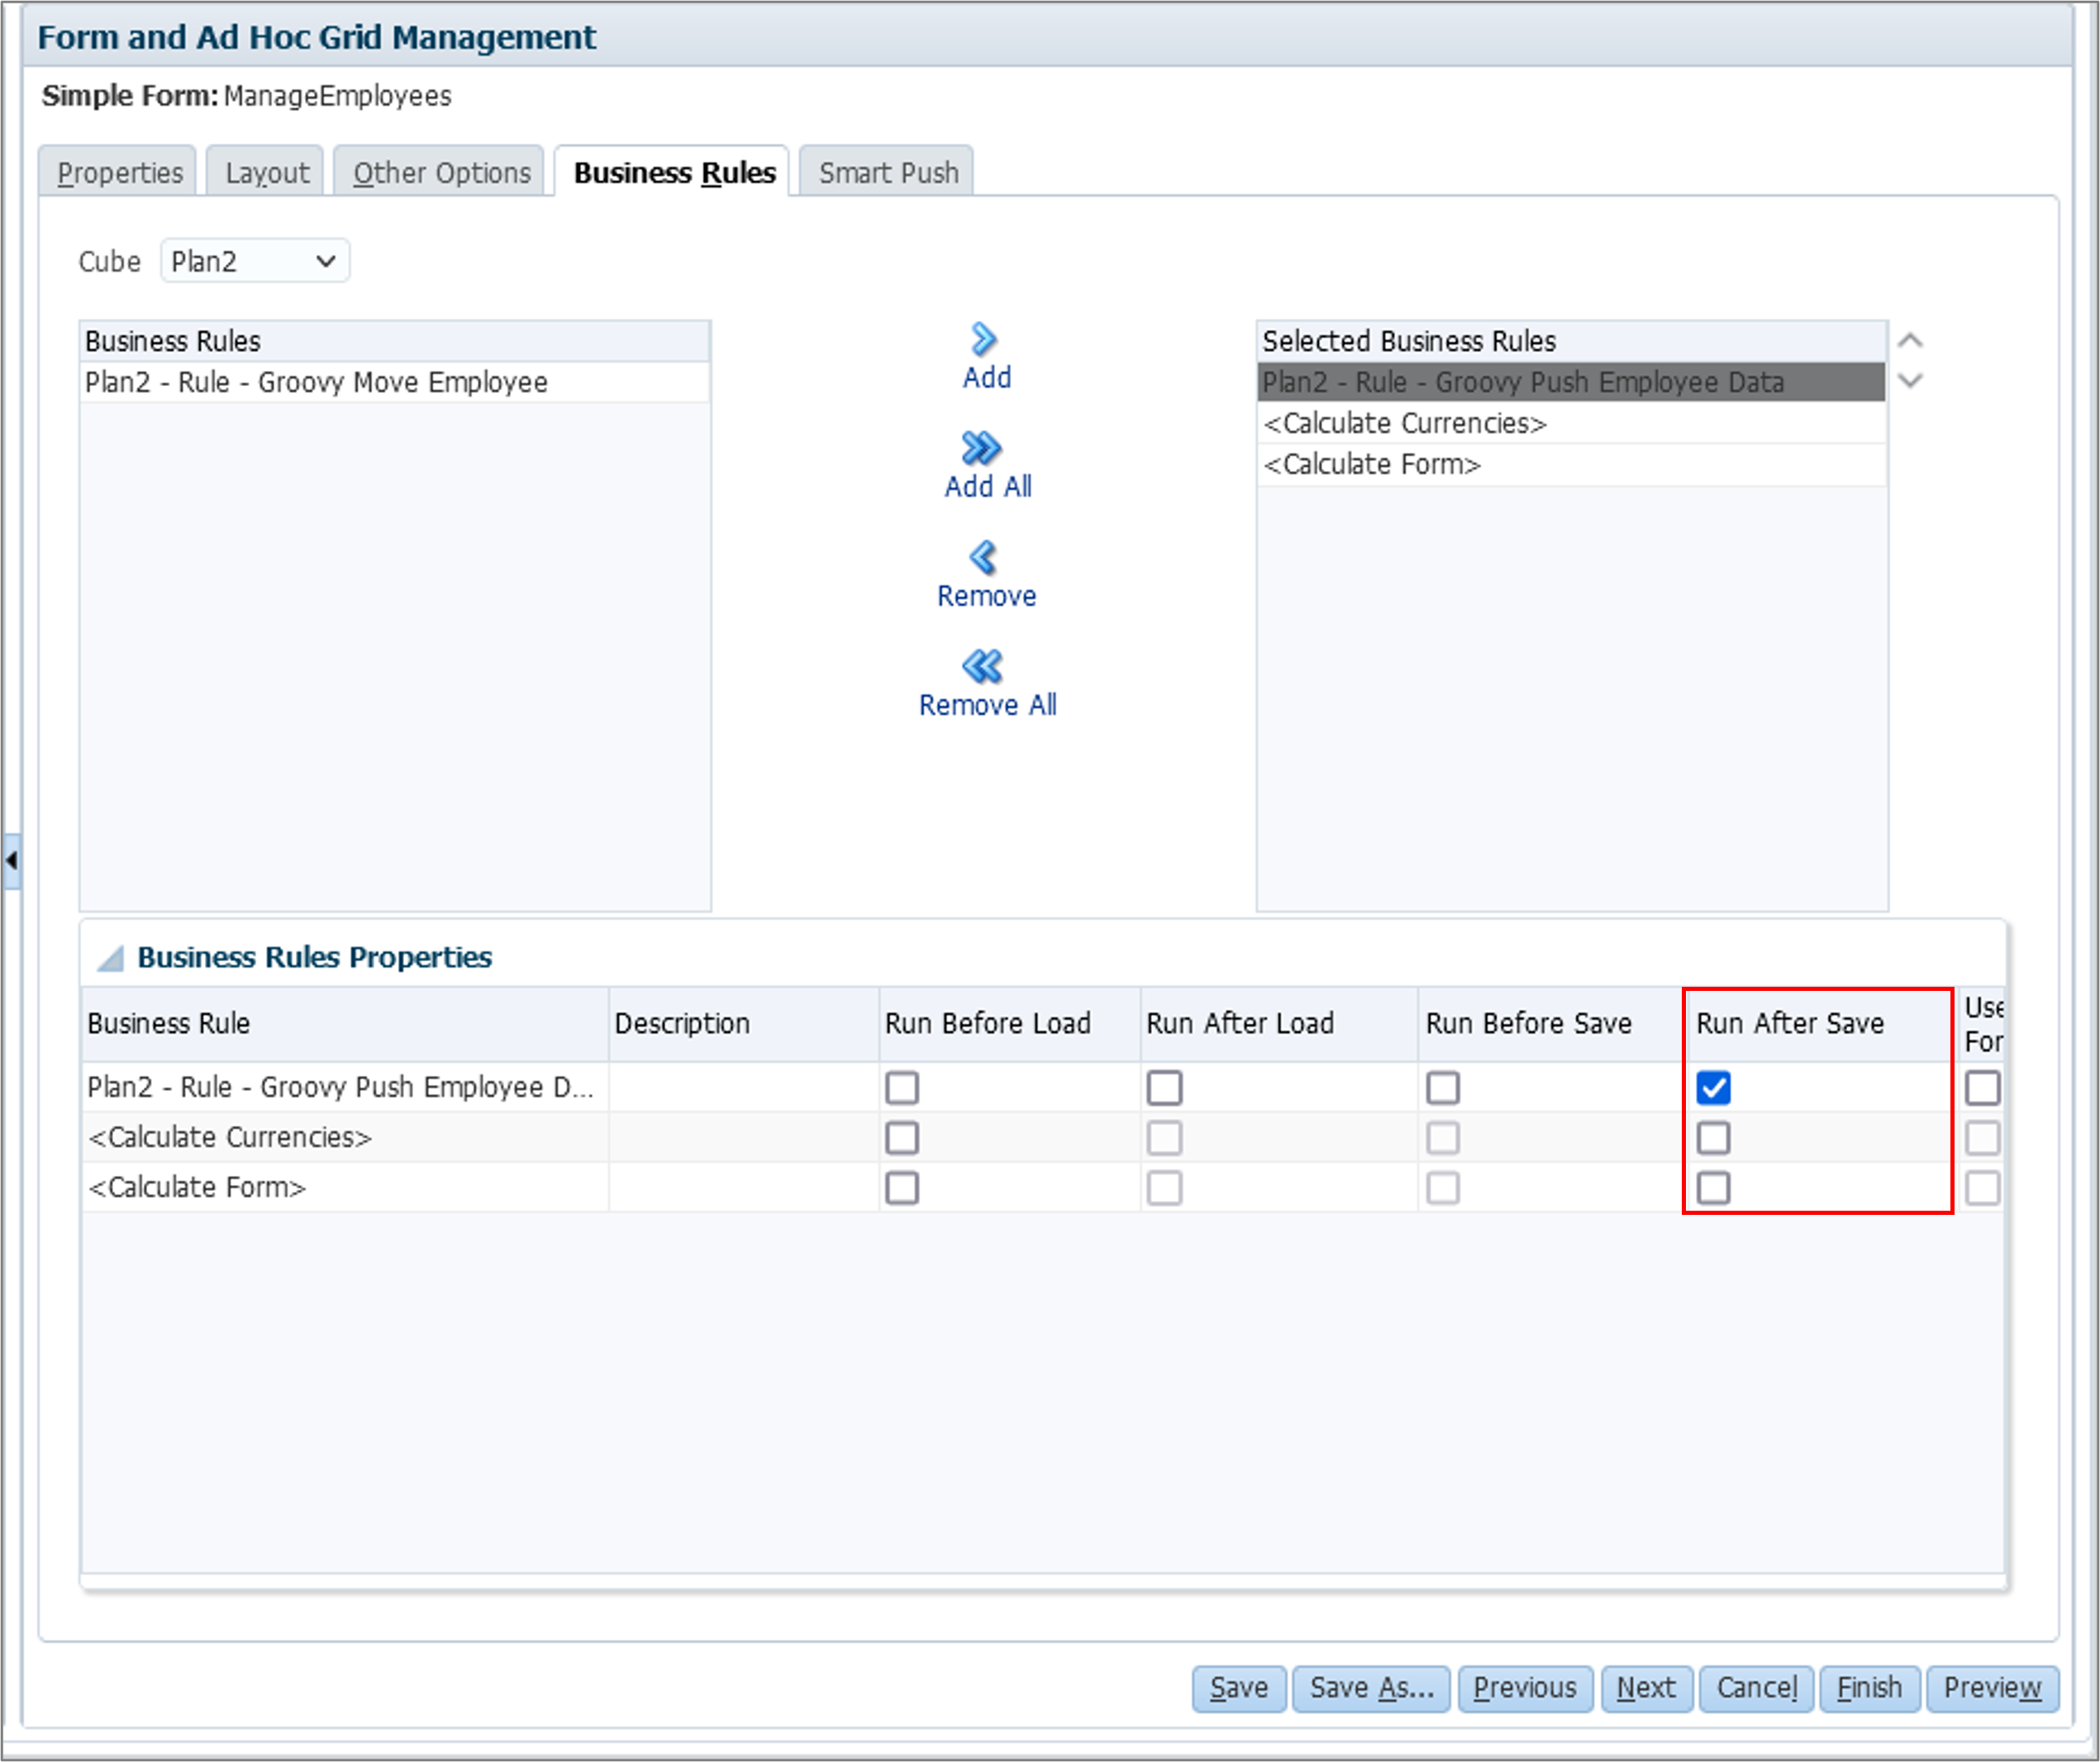
In this section, you add your Groovy script rule to the ManageEmployees form, to be run after saving.
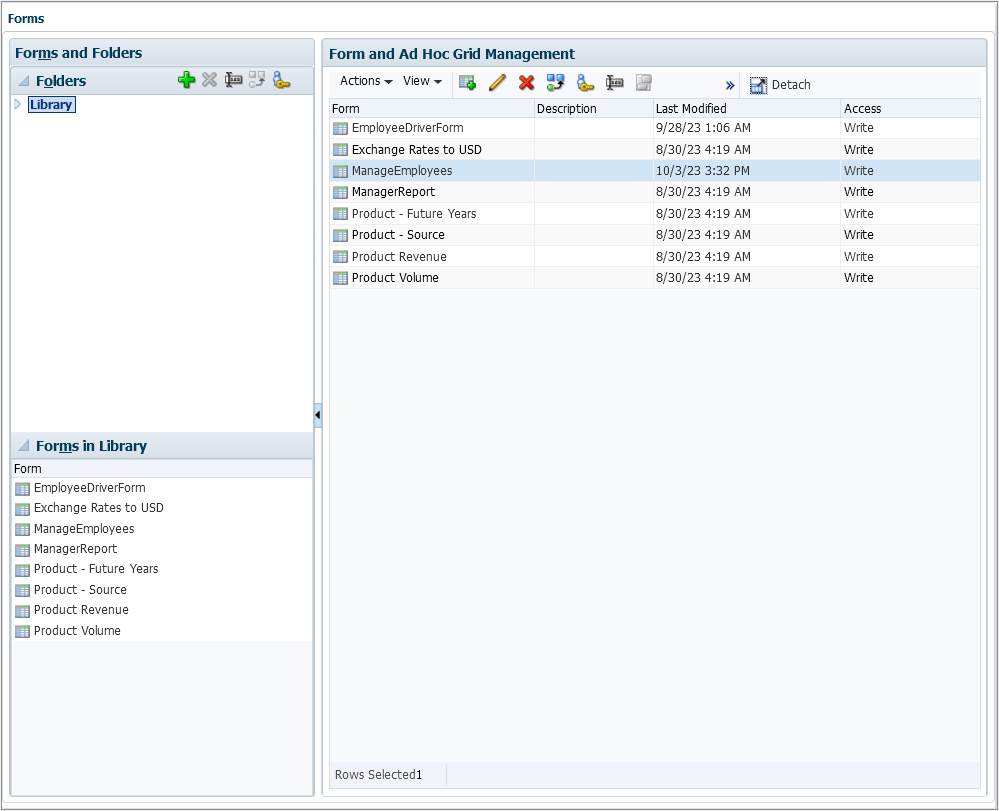
- Navigate to Forms (under Create and Manage) and select the ManageEmployees form.
- Edit the form. Add the Groovy Push Employee Data rule and set it to Run After Save. Save the form and close the Form Manager window.
Testing the Groovy rule
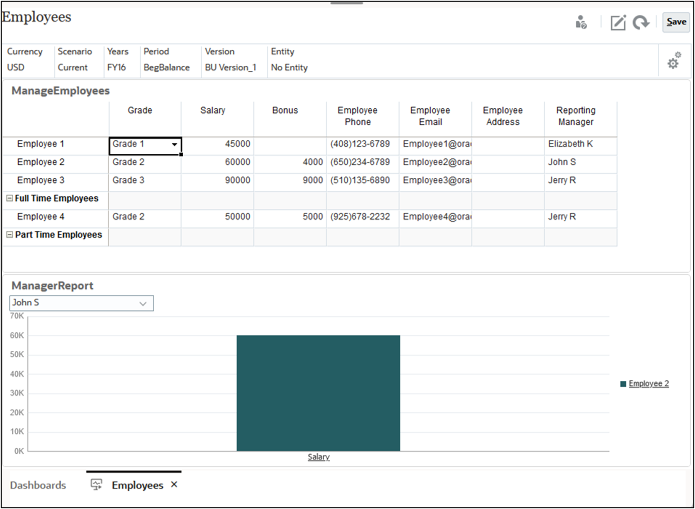
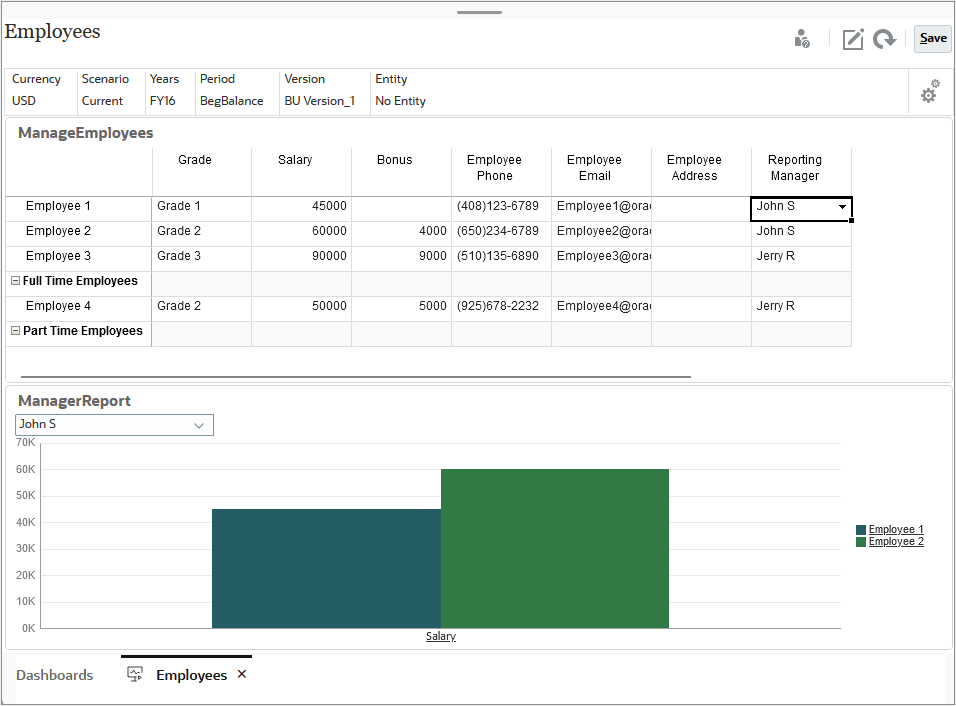
In this section, you test your Groovy rule by editing data in the Employees dashboard.
- From the Home page, click Dashboards. Open the Employees dashboard.
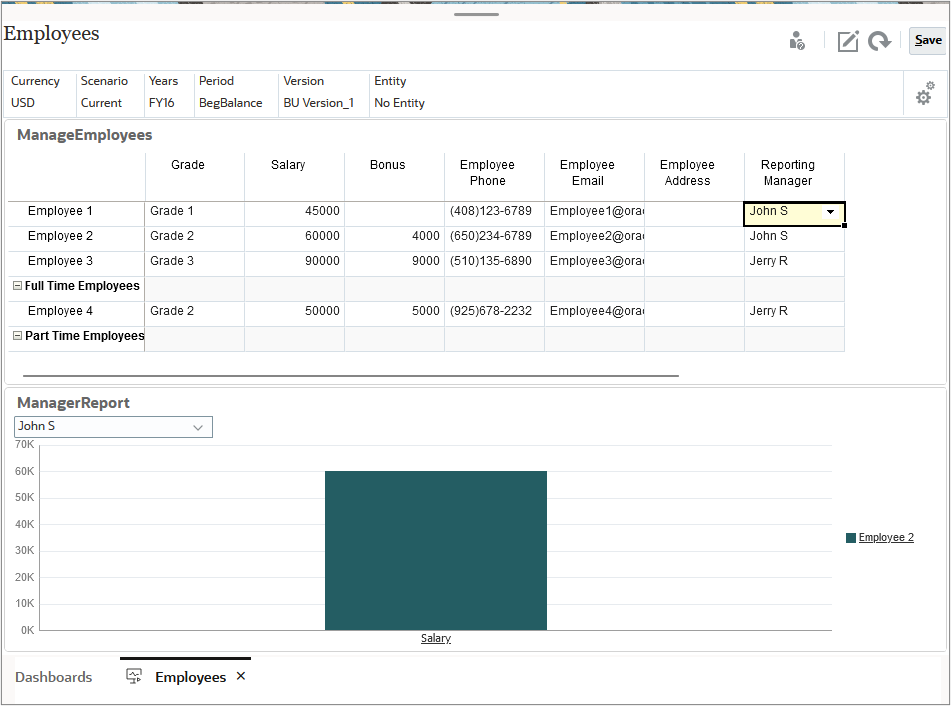
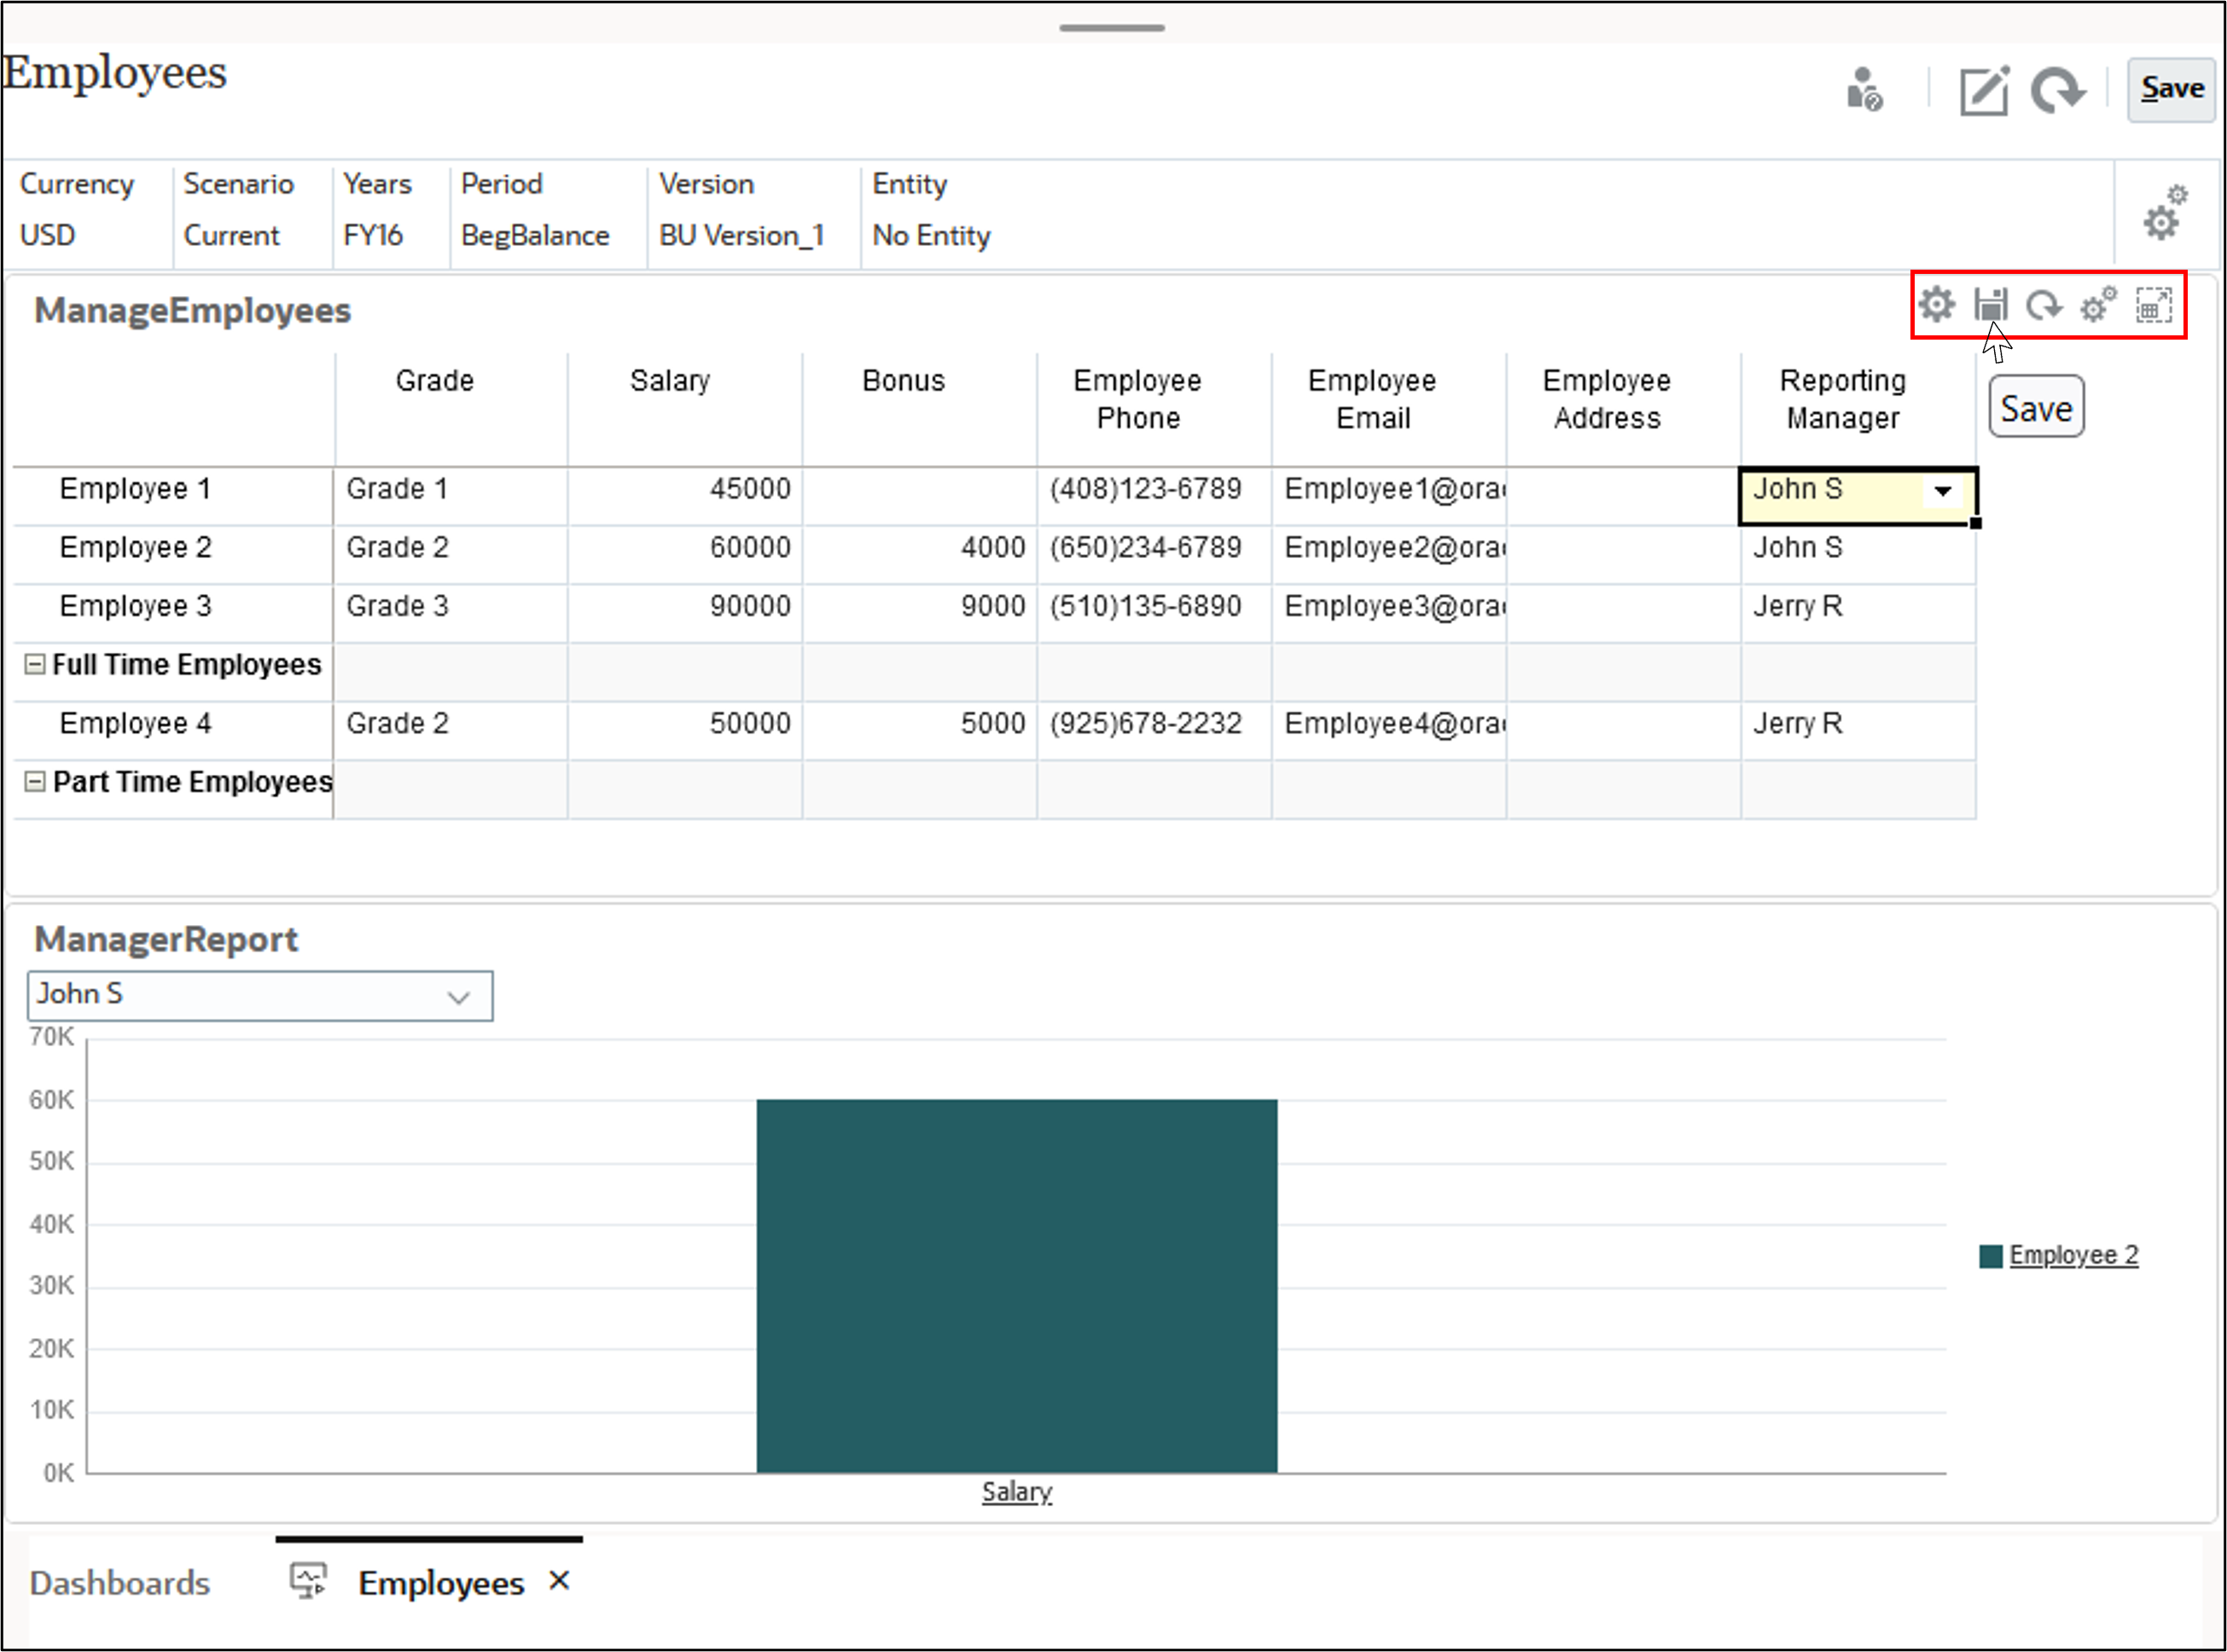
- For Employee 1, edit Salary data and set Reporting Manager to John S.
- Save the form (not the dashboard).
- The changes are reflected in the ManagerReport form.
Next Tutorial
Related Links
- Moving Modified Data Using Groovy Rules and SmartPush (video)
- Documentation: Using Groovy Rules
- Groovy videos on Oracle EPM Tutorials YouTube channel
- EPM Cloud Planning - Groovy Tutorials
- Oracle Enterprise Performance Management Cloud, Groovy Rules Java API Reference
- REST API for Oracle Enterprise Performance Management Cloud
- Groovy Scripting Reference
Moving Modified Data Using Groovy and SmartPush
F87396-01
October, 2023
Copyright © 2023, Oracle and/or its affiliates.